Yesterday I shared a Halloween jubbly. Today I’m back with the tutorial to show how to make it.
1. Start with a rectangle of paper (here I’ve used 4-1/4″ x 5-1/2″).
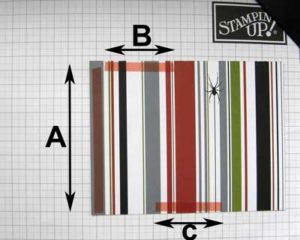 2. Working on the back (wrong side of the paper), apply Sticky Strip (leaving the backing on at this stage) to one of the short edges (A) and from one of the ends to half way across the long edge (B). Apply a piece of Sticky Strip the same length as (B) to the centre of the opposite long edge (C).
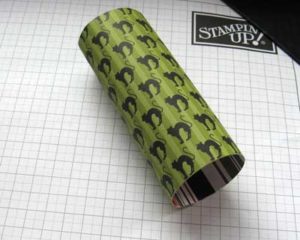 3. Remove the Sticky Strip backing from A only at this stage. Roll the paper over and adhere the short ends together along A to form a tube.
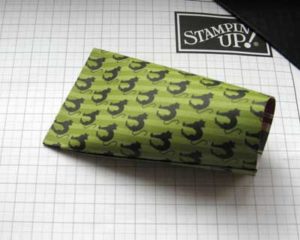 4. Remove the Sticky Strip backing from B and press the ends together so that the Sticky Strip lines up against plain DSP (rather than more Sticky Strip).
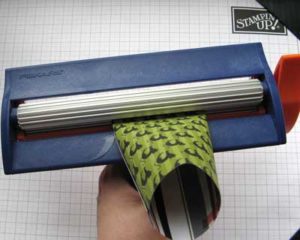 5. Insert the sealed end of the jubbly into the Crimper and turn the handle (just a short way in, say 2-3 lines).
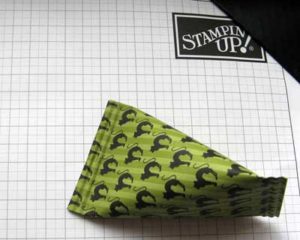 6. Add your treat, taking care not to overfill (there needs to be room to seal the package). Reach in and remove the Sticky Strip backing at C. Press together along C, again ensuring that the Sticky Strip lines up against plain DSP (rather than more Sticky Strip), this should be at right angles to the original crimped seal. Crimp this end as before (just a short way in or it squashes the contents).
0 Comments