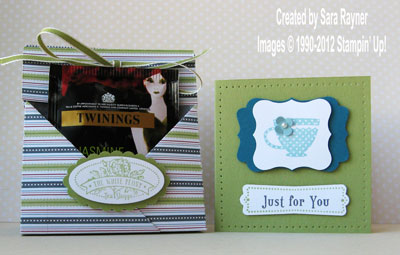
This teabag holder makes a cute gift at any time of the year. Simply pop a teabag in one side, a mini card in the other and sandwich a little packet of biscuits in between 
Recipe
Stamp sets: Tea Shoppe (W125545 0r C125547)
Plain Cardstock: Pear Pizzazz (121693), Whisper White (106549)
Ink: Pear Pizzazz (119784)
DSP: Twitterpated (125406)1/8″ Taffeta Ribbon: Old Olive (119256)
Punches: Scallop Oval (119856), Large Oval (119855)
Tools: Simply Scored Scoring Tool (122334), Crop-a-dile (108362)
Begin by trimming off 3-1/2″ from the edge of a piece of 12″ x 12″ DSP so that you have a piece that measures 8-1/2″ x 12″.
Tip – when scoring paper, use the large end of the stylus with a light/medium pressure to avoid ripping/tearing.
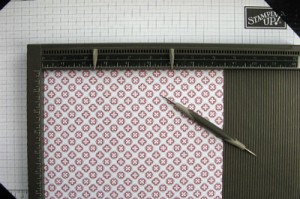
Step 1 – Place DSP onto the Score Tool, wrong side facing you, with the short edge at the top and score at:
- 2-1/2″
- 6″
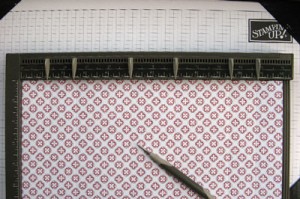
Step 2 – Turn the paper so that the long edge is at the top and score at:
- 1-1/4″
- 2-1/2″
- 5″
- 7″
- 9-1/2″
- 10-3/4″
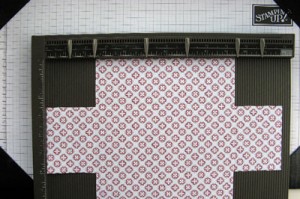 Step 3 – Cut away the four outside corner squares – the full 2-1/2″ which will have a crease down the centre. (These scraps are good for punching small flowers from).
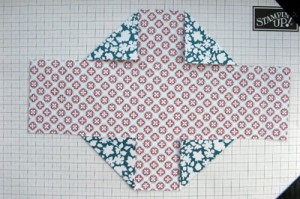 Step 4 – Fold the top and bottom left and right squares diagonally into the centre so that the points line up with the centre score lines.
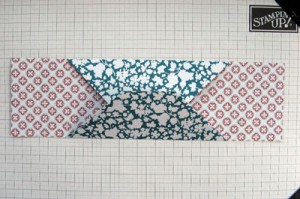 Step 5 – Fold the top section along the top scoreline, towards the centre. Fold the bottom section along the bottom scoreline towards the centre.
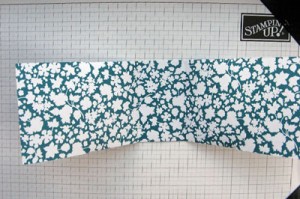 Step 6 – Flip the paper over (so that only one (right side) pattern is showing) and fold the left and right sections upwards along the innermost scorelines to create a “U” shape with the holder.
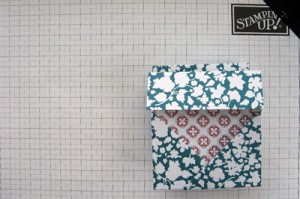 Step 7 – Fold over the top flap of DSP on either side.
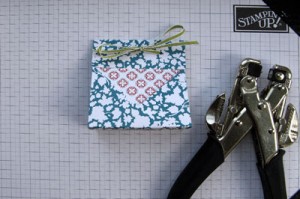 Step 8 – Holding the tops of the holder together, use the Crop-a-dile to punch holes. Thread with ribbon and tie in a bow.
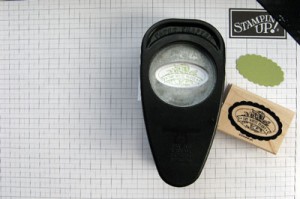 Step 9 – Using Pear Pizzazz ink (or your preferred colour), stamp The White Peony onto Whisper White card and punch out with the Large Oval. Punch a Scalloped Oval from matching cardstock.
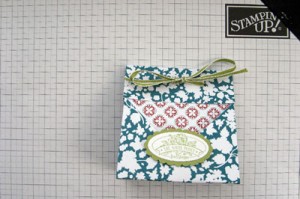 Step 10 – Layer the ovals with dimensionals in between, then pop the layers up on more dimensionals on the front of the holder. (Tip – keep the dimensionals widely spaced so that they don’t stick to the back of the holder).
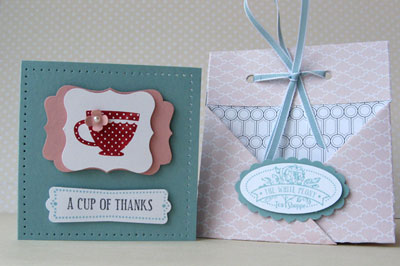
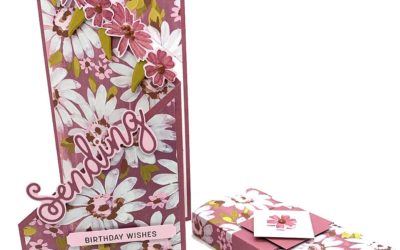
Here’s the same project in an alternative colour combo:
What a lovely little gift, thanks for the tutorial. I am going to make some very soon as I am sure they will be very well received.
Thanks again
Linda x