I’ve had a lot of requests to post a tutorial for this origami box:
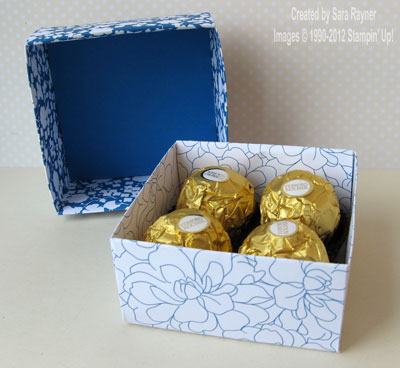
So here it is …
To make this size (which holds 4 Ferrero Rocher chocolates ), you will need to start with a 9″ square piece of DSP for the lid and an 8-1/2″ square piece of DSP for the base. The box can also be made with card, but this adds more bulk and requires sharper, cleaner folds.
(I’ve kept the first couple of photos large to help see the score lines more clearly).
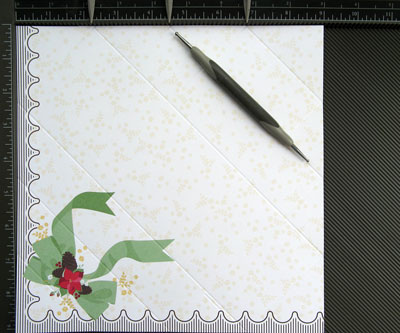
Step 1 – With the Diagonal Plate on top of your Scoring Tool (arrow pointing to the top), and starting with the 9″ lid of DSP (wrong side facing up), score at:
- 2-1/4″
- 4-1/2″
- 6-3/4″
Rotate the paper and repeat the scoring at the same measurements on all four sides.
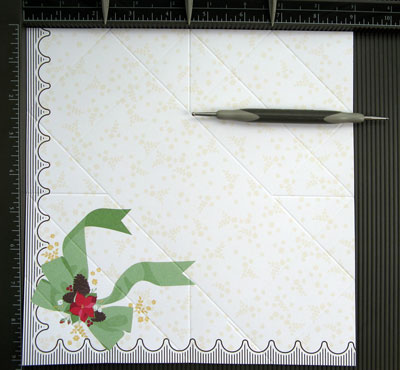
Step 2 – Remove the Diagonal Plate and at the 4-1/2″ mark, score down the middle of the centre top diamond (created by the diagonal lines), just as far as the intersection of lines. Rotate the paper and repeat scoring the middle of the diamonds on all four sides. These diamonds are the key to folding the box together smartly.
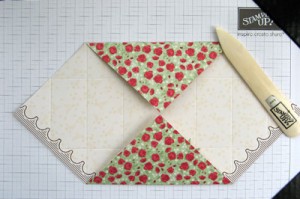
Step 3 – Taking two opposite corners, fold them to meet in the centre (along the middle scoreline of the three) and burnish the folds with a bone folder.
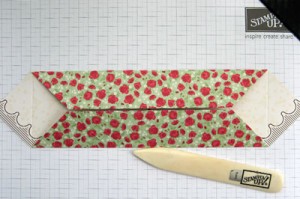 Step 4 – Fold the outer edges into the centre (along the inner score lines of the three) and burnish these folds with the bone folder.
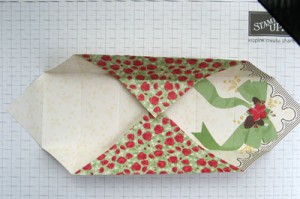
Step 5 – Unfold the paper and repeat steps 3-4 with the remaining, uncreased opposite corners. Unfold part way so that a pair of corners meet in the centre and two folds stand vertical, creating the box sides.
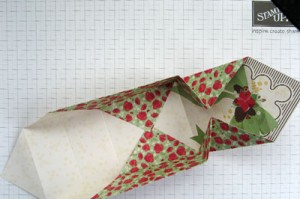
Step 6 – Find a pair of opposite diamonds along each edge of the paper. Push along the centre line of each diamond, pressing them to create two “v” shaped wedges that meet in the centre.
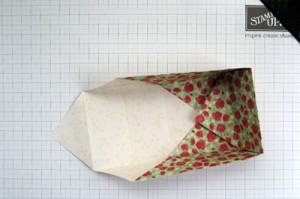
Step 7 – Fold the corner flap of paper over the top of the wedges and into the centre of the box.
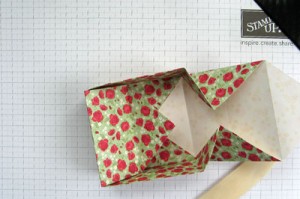 Step 8 – Repeat steps 6-7 with the remaining, untucked corner to create the box lid.
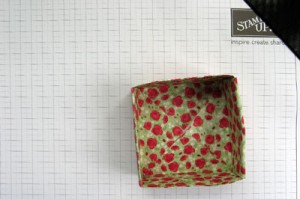
Step 9 – The triangles that meet in the centre of the inside box lid tend to flap a little. They can be adhered down if preferred, or a square of card can be inserted to hold them in place (see step ).
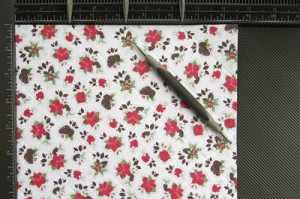 Step 10 – With the Diagonal Plate back on top of your Scoring Tool (arrow pointing to the top), and using the 8-1/2″ base of DSP (wrong side facing up), score at:
- 2-1/8″
- 4-1/4″
- 6-3/8″
Rotate the paper and repeat the scoring at the same measurements on all four sides. Remove the Diagonal Plate and at the 4-1/4″ mark, score down the middle of centre top diamond (created by the diagonal lines), just as far as the intersection of lines. Rotate the paper and repeat scoring the middle of the diamonds on all four sides.
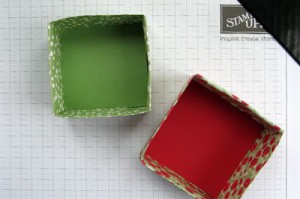
Step 11 – Repeat the folds of steps 3-8 for the box base. If adding inserts to hold the triangles in place, then the box lid is approximately 3-1/8″ square and the box base is approximately 3″ square (you may need to shave a tiny edge from each side if the fold lines weren’t exact).
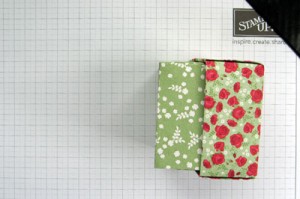
Step 12 – Slide the box base inside the box lid (it’s a snug fit). Embellish/decorate and fill as preferred!
Here’s one I made earlier 
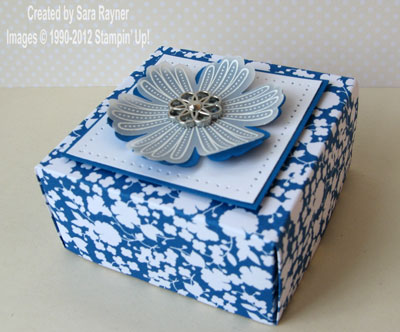
Enjoy making your origami boxes.
Sara xx


Sara, Thanks so much for the tutorial. What a cute box for those little gifts!