I recently shared a couple of these teeny tiny boxes; a Halloween pumpkin box and this Christmas present box.
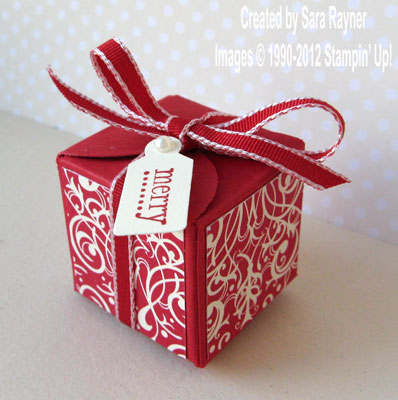
They’re simple and straightforward to make as you’ll see from the tutorial below.
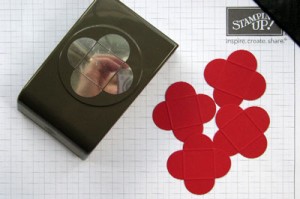
Step 1 – Punch four Petal Card Doubles from your chosen colour of cardstock. (Tip – see here for how to get the best results with this punch)

Step 2 – Cut one petal from each piece, just outside the scoreline.
Halloween box – if making an open box then cut two adjacent petals from each piece so that each one looks like a heart.
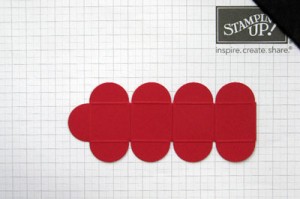
Step 3 – Adhere each piece to the next, keeping all the petals above and below (or above or below for an open box) and leaving one sticking out at one edge.
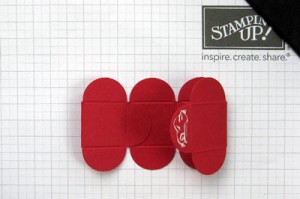
Step 4 – Fold the last middle petal into the centre, apply adhesive and fold the other, straight edge over onto it. (Tip – take care not to use too much adhesive or the box will stick to itself!).
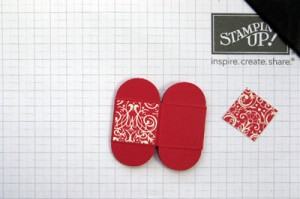
Step 5 – Decorate the outside panels if wished, before assembling the box.
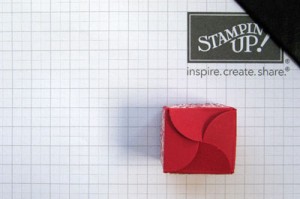
Step 6 – Assemble the box, folding the petals into each other in an interlocking design as shown in the photo.
Decorate further as wished.


Hi Kate
So glad that it fit the need. You’re always welcome to case and thanks for linking back.
Sara xx
Hi Sara – this box is super – it’s just what I need for a ring gift box for a friend.
I have cased it and put it on my blog, with a mention and a link back here to your blog. Hope that this is OK.
Hugs
Kate
xx