I recently shared a couple of these paper strip ornaments; a pumpkin and this Christmas bauble:
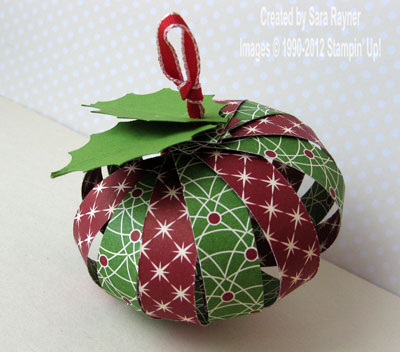
Although the ornament looks striking made in a single colour/single piece of paper flipped over alternately, it’s also great for using up your spare scraps of paper to make a multi-coloured bauble. Different width strips of paper when using scraps will also work just as well, as long as they are all the same length.
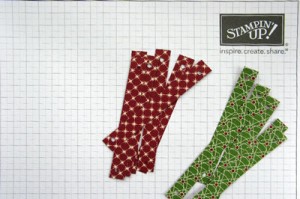
Step 1 – Cut approximately 12 strips of paper to the same length. (Here I used strips 3″ long x 0.5″ wide). You may need a few more or less strips depending on the size of the strips and therefore the size of the finished bauble. Punch a small hole at the same position at either end of each strip.
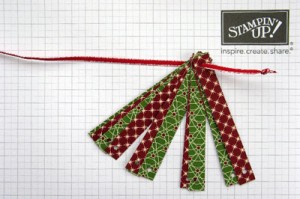
Step 2 – Tie a substantial knot in the end of thin/sheer ribbon. (Here I used Real Red Taffeta Ribbon approx. 6″ long). Thread the strips of paper onto the ribbon, alternating the design shown if desired.
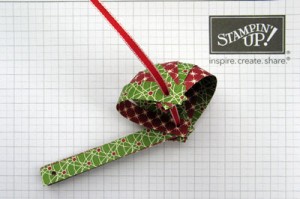
Step 3 – Starting with the first strip threaded and carrying on in the same order, thread the other end of the strip onto the ribbon. Push down the ribbon to create an arc in the paper to your desired shape. Carry on threading all the other strips in order, fanning out the paper strips as you work around to the starting piece.
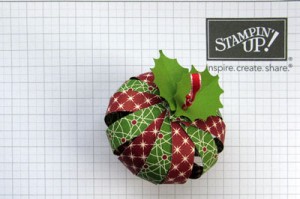
Step 4 – Thread any leaf/other embellishments through the ribbon so that they sit on the top of the ornament (or adhere separately afterwards). Tie another knot and or a loop in the ribbon to hold the paper strips in place.


Fabulous will have to have a go
Shirley x