For one of my recent newsletter projects I wanted to partially emboss the card front. This is easy to do with totally random pattern designs but can present a difficulty when the pattern only runs in one direction.
Here, I wanted to have the vine stems positioned vertically on the bottom half of the card. The new embossing folders are larger than previous ones, which means that they will only fit through the Big Shot in one direction (ie. with the folder hinge in line with the platform hinge). This would leave part of the card overhanging the side of the Big Shot and crumple it as it runs through.
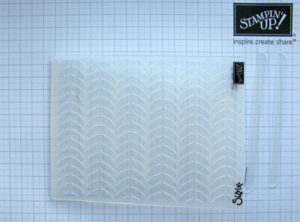
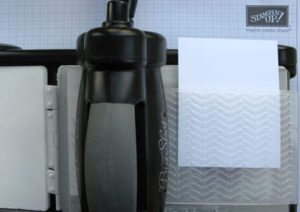
The solution was to shorten the embossing folder slightly by cutting off each end of the folder just below the Sizzix and Stampin’ Up! logos (leaving the hinge at the other end, intact).* This allows the folder to run through with the design positioned either horizontally or vertically and yet doesn’t cut away any of the actual design.
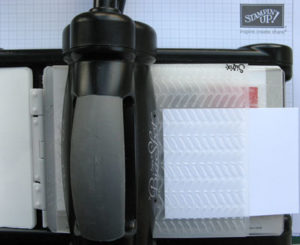
The folder can now be turned the other way so that overhanging card will follow the folder through without crumpling.
* Please note that if you alter your embossing folder in this way, it cannot then be returned to Stampin’ Up! for replacement or refund. Although I was reluctant to take this drastic action on one of my purchased folders, my Vine Street folder (130492) was free with purchase during Sale-a-bration and so was perfect for testing this tip out.


Great tip Sara! Wishing you a great Sale-A-Bration. *hugs*