Today I had the good fortune to be helping out at a Learning at Work day – where employees get to have “taster” sessions of different skills and pastimes.
(If you were there today and are stopping by my blog for the first time then “Hi”, it was lovely to meet you  ).
).
At my cardmaking taster there was a choice of either a masculine or feminine card and as everyone was likely to be a beginner, I kept things simple – not too many supplies (but I can never resist sharing how our matching punches make professional looking cardcrafting so easy) 
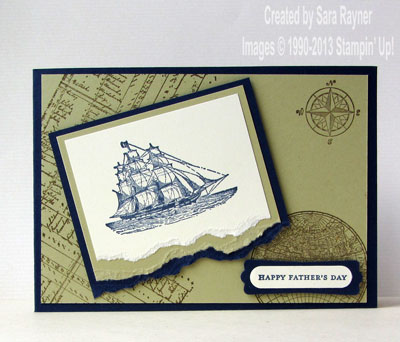
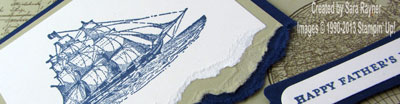
The card base is an A6 landscape of Night of Navy. It was matted with River Rock card that had been stamped with a variety of stamps from the Open Sea set (W123030 or C123032) all in Soft Suede ink. The ship was stamped onto Very Vanilla card with Night of Navy ink and the bottom edge torn away. It was then matted onto River Rock and Night of Navy card, tearing again each time before popping up on the card front using dimensionals. The sentiment from Teeny Tiny Sentiments (W129579 or C120024) was stamped in Night of Navy ink onto Very Vanilla card and punched out with the Word Window (119857). It was matted onto a Modern Label (119849) punched from Night of Navy card and popped up on more dimensionals.
The feminine card was another variation on a layout I’ve used before but simplified slightly to reduce the tools and materials needed.
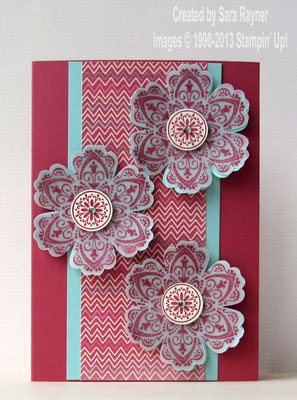
The card base is an A6 portrait of Primrose Petals matted with a panel of Pool Party and a slimmer one of More Amore DSP (129309). After stamping the ornate flower three times onto cardstock vellum (106584) using Raspberry Ripple ink it was punched out with the Blossom (125603). These were adhered to more Blossoms punched from Pool Party card. The flower centre was also stamped three times onto Very Vanilla card using the Raspberry Ripple ink and punched out with the 3/4″ Circle (119873). Each flower was popped up on the card front with a dimensional and the flower centre popped up in the same way. Finally, a Basic Rhinestone (119246) was added to the centre of each flower for a little sparkle.
With each card we also stamped a separate insert and where there was time, also the envelope.
Everyone seemed really pleased and proud of their results, and deservedly so, they looked really professional. A comment I kept hearing, was how relaxing it was. That’s certainly one of the things that drew me to card making and stamping in the first place and has kept me hooked ever since
Sara xx


Hi Sara. Thank you again for your time on Wednesday. As you can see I have found your blog and have been inspired by your creativity. I’ll be in touch regarding your classes and buying some supplies to get me started.
Regards Donna 🙂
Hi Donna
Pleased to bits that you enjoyed Wednesday and that you’ve found your way to my blog. Thanks so much for leaving me a comment so that I know. I look forward to seeing you again soon 😀
Sara xx