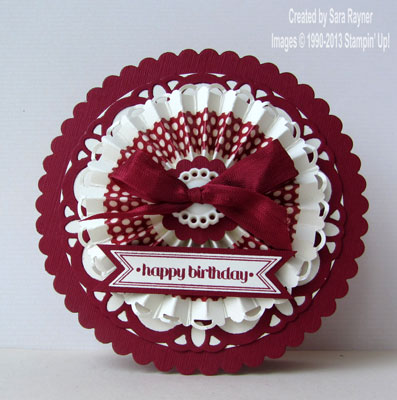
A few days ago I shared this circle card with a washi tape rosette at the centre.
Here is the technique I used to make it, along with a couple of tips along the way.
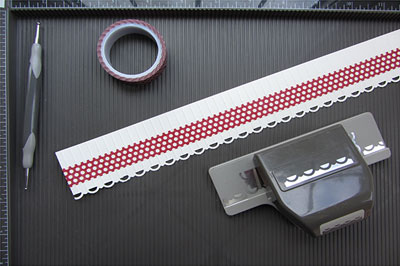
Step 1 – Cut your card strip. The width of the rosette will be approximately twice the short edge of your strip.
Step 2 (optional) – Punch the edge of your strip if desired (here I used the Scallop Trim Border 118402).
Step 3 – Score evenly along the length of the strip. The Simply Scored Scoring Tool (122334) makes this very easy and this rosette was scored every 1/4″. Fold back and forth alternately along each score line.
Step 4 – Apply the washi tape along the length of the scored strip. The washi tape both looks decorative and helps strengthen the scored strip.
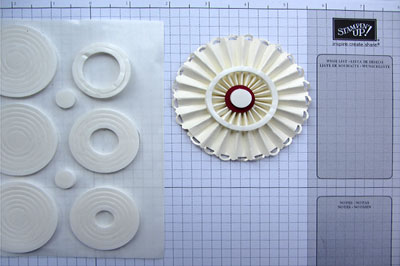
Step 5 – Glue the ends of the strip together to form a cylinder, then force the cylinder flat and apply more glue in the centre (Multipurpose Liquid Glue or Crystal Effects work best), top with a punched circle (or similar) and hold in place whilst the glue sets (placing clear blocks, or similar, either side and on top allow you to leave this to set whilst you complete the rest of the card).
Step 6 (optional) – If popping the rosette up, then it’s worth considering using shaker frames (124155) instead of dimensionals as these will provide a bond all the way around the rosette and help stabilise it.
Step 7 – Apply more glue to the front centre of the rosette and top with another punched circle (or similar), this helps prevent your rosette from popping apart.
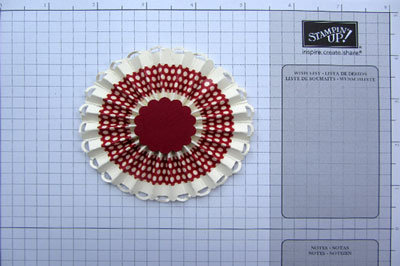
Now have fun creating your own washi tape rosettes.
Sara xx
![]()


0 Comments