Happy Mother’s Day to the Mums reading and a happy day to everyone else!
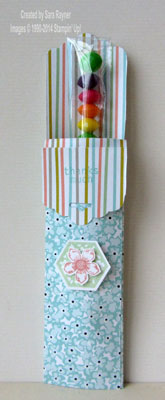
I had a question recently from Jean about how to make the tag topper treat bag above. Great question Jean! I hadn’t been very precise in my instructions – I said to snip away the centre piece but didn’t say whether this was the centre before or after folding 
I actually meant the piece that’s in the centre once it’s folded, but the question sent me back to testing and I realised you get a different pattern showing on the front flap, depending on which portion you cut away. So here is a tutorial showing both ways and you can choose which you prefer 
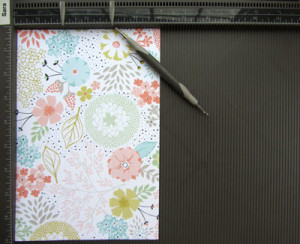
Step 1 – Cut your chosen paper to 9″ x 6″. It needs to be either spot on 6″ or just a smidge under so that it will fold into the punch. With the short edge at the top, score at 2″ and 4″ and fold each side into the centre.
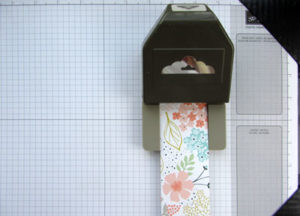
Step 2 – Insert the folded paper all the way into the Tag Topper and punch. We’ve used the Scalloped Tag Topper (133324) but either one works.
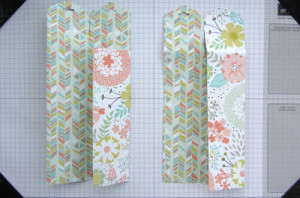
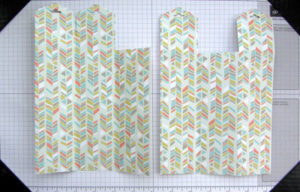 Step 3 – Cut down each scoreline from the top, approx. 2″. Cut away the centre portion from the point you’ve cut down to. This can either be what will be the centre once folded but is actually the right hand outer edge at this stage (shown on the left in the pic); or it can be the centre whilst it is unfolded (shown on the right in the pic).
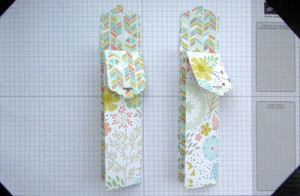
Step 4 – Fold over from the right.
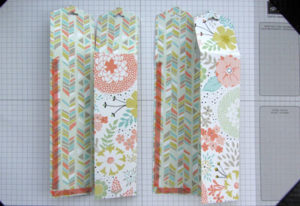
 Step 5 – Fold over again from the right and fold down the front flap. If the piece you cut away is on the outer edge then your front flap will match the back of the treat pouch (on the left on the pic) . If the piece you cut away is the unfolded centre, your front flap will match the front of your treat pouch (on the right in the pic).
Step 6 – Whichever version you choose, unfold and apply glue in an “L” shape along the outer edge and bottom of the back of the treat pouch. We prefer a strong adhesive such as Sticky Strip or Tombow Multipurpose Liquid Glue as there will be some stress on it.
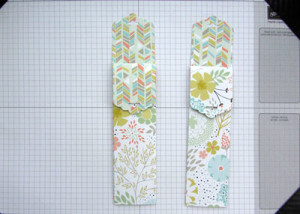 Step 7 – Fold back over and adhere in place. Decorate as preferred and fill with your treat.


0 Comments