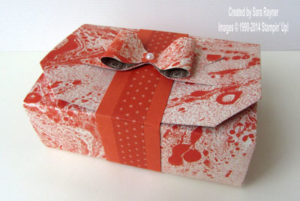
The Envelope Punch Board (133774) is ideal for making quick and easy bows to match and embellish your card making and 3D projects.
Here are the simple steps needed to create one.
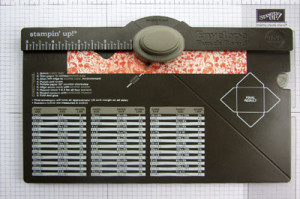
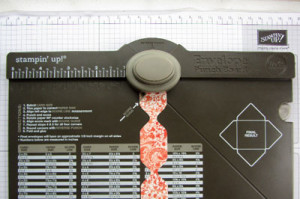
Step 1 – Start with a strip of paper 1″ x 7″. Line the paper up on the board at 1-1/2″ and punch. Move along to 3-1/2″ and punch again.
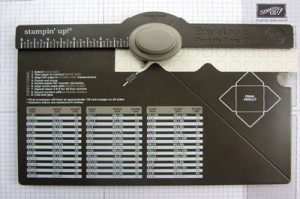 Step 2 – Flip the paper over to the reverse side. Line the paper up at 1-1/2″ and punch. Move along to 3-1/2″ and punch again.
 Step 3 – Turn the paper around so the “notches” are on the right. Line the paper up at 1-1/2″ and punch. Flip the paper over to the reverse, line it up at 1-1/2″ and punch.
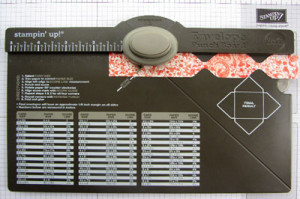
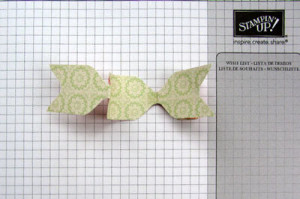
 Step 4 – To create the fish-tails, insert the short end of the paper evenly into the punch area and punch again. Repeat at the other short end.
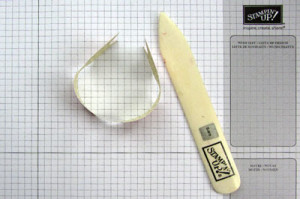 Step 5 – To get a rolled bow look, curl the centre sections over a bone folder.
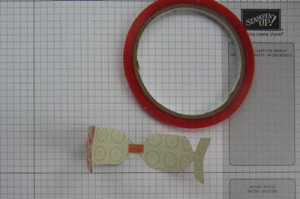
Step 6 – Add a small piece of Sticky Strip to the centre back of the bow. (The bow will have some tension so Sticky Strip will hold better than Snail). Don’t remove the backing from the Strip yet.
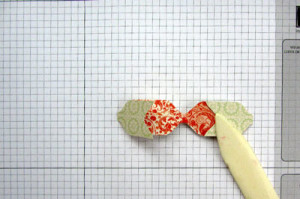
Step 7 – Fold the fish tail ends back over the centre front of the bow, aligning the main and the fishtail section and crease in place.
Step 8 – With the bow face down, remove the backing from the Strip and adhere the fold into the centre, taking care not to flatten the outer curve. Repeat on the other side.
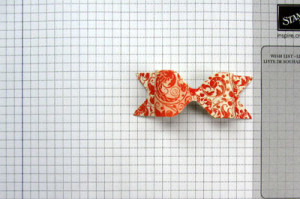
Step 9 – Your bow is now ready to use. Optional – decorate further by adding another strip of DSP, a Pearl, a Rhinestone or similar to the centre of the bow.


I think this tutorial is great. I can not wait to try it. Thank you, you did a good job.
Thank you Linda