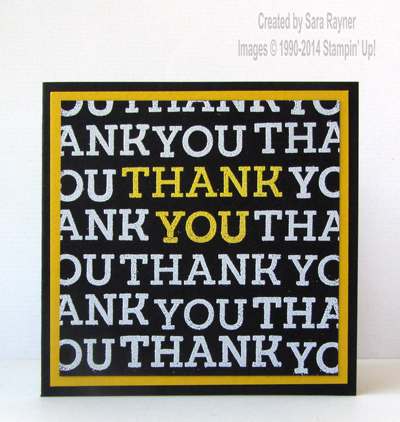
A few days ago I shared this card and I’m back again today with a few tips for positioning the stamps to get the repeat effect. You can see that my stamping isn’t quite straight – so hopefully you can learn from my mistakes 🙂
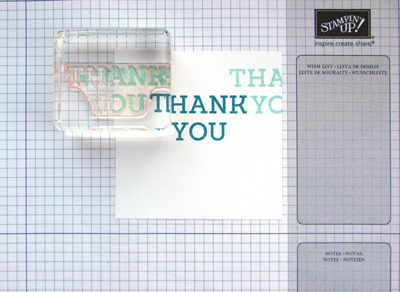
Tip 1 – Use photopolymer stamps on clear blocks. You can see through the block and the stamp to see exactly where you’re stamping.
Tip 2 – Stamp your first sentiment where you want the main focus to be (eg. centred on the card front layer) and then use this “base stamp” to work outwards from. I used a different colour so that it would provide further focus.
Tip 3 – Stamp your next sentiment (using a different colour ink) just above and to the right, lining up the the top and bottom bars of the “Y” with those of the “K” and centring the “T” above the “K”. Repeat on the upper left, lining up the the top and bottom bars of the “U” with those of the “T” and centring the “K” above the “T”. Continue by “filling in the spaces” above and below and working down the right and left edges.
Tip 4 – If using embossing powder on a dark cardstock, then consider stamping in White Craft ink instead of Versamark. My stamping isn’t quite straight because I couldn’t see the clear Versamark on the black card clearly enough.
Tip 5 – Again, if using embossing powder, then heat set the first colour before moving on to adding others but take care not to overheat already embossed areas as you add further stamping, otherwise the embossing powder melts back into the card and you don’t get the raised effect.
Have fun.
Sara xx


0 Comments