This hostess set is elegant, simple to use and just needs the addition of a few sentiments (which I’m sure you’ll have in your stash already – if not, I can help). Hostess sets cannot be purchased in the same way as regular products but you don’t necessarily need to have a workshop to qualify to purchase them if you meet the minimum purchase order level (£150 before P&P) in some other way (eg. gathering a few orders from friends or maybe shopping for a larger portion of your wishlist in one go). If you’d like to know more then please email me, or you can simply shop (don’t use my host code – when your order reaches the minimum amount you’ll get the opportunity to use your Stampin’ Rewards and can add the hostess set(s) to your order total).
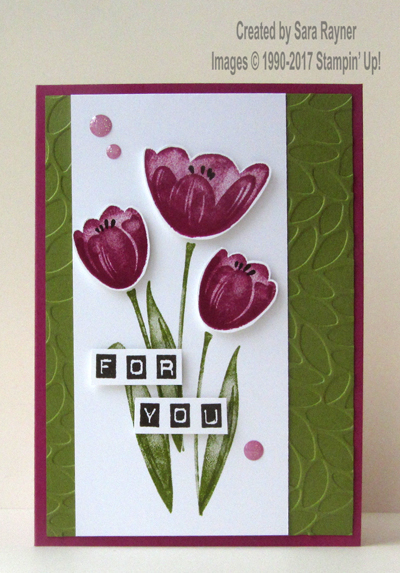
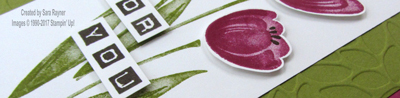
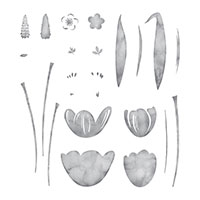
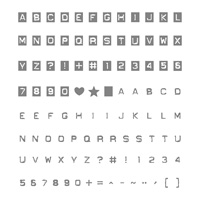
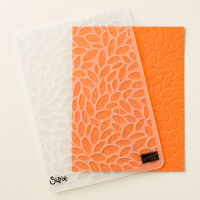
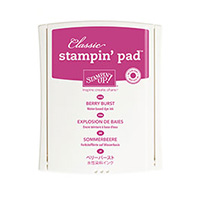
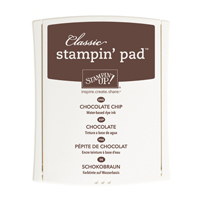
The card base is an A6 portrait of Berry Burst. A card front layer of Old Olive was run through the Big Shot with the Petal Burst embossing folder and adhered direct to the card front with the debossed pattern uppermost. A panel of Whisper White was stamped with the stems and leaves from Tranquil Tulips with some of the leaves overstamped with two-step shading stamps. The panel was adhered direct to the card front. The main flowerheads from the same set were stamped onto scraps of Whisper White and then overstamped with the detailed flowerheads, all with Berry Burst ink. Chocolate Chip ink was used to add the little stamens in the centres. These flowerheads were fussy cut out and then were popped up on the card front with dimensionals. A sentiment was put together using the Labeler Alphabet, stamped onto small strips of Whisper White card using Chocolate Chip ink and then popped up on the card front with dimensionals. The card front was finished with some of the Glitter Enamel Dots.
Admission – I caught the edge of one of the leaf stamps on my main Whisper White panel so I hid the booboo with the popped up text layers.
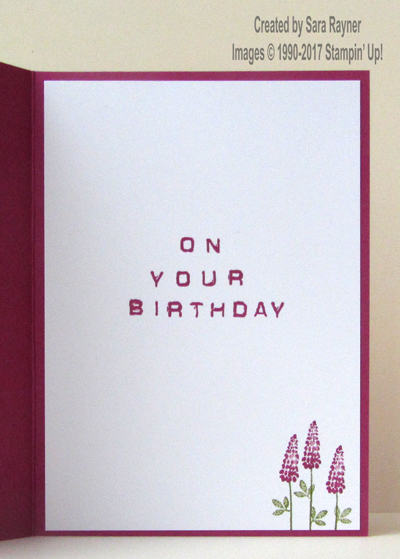
On the Whisper White insert, another sentiment was constructed using the Labeler Alphabet and stamped with Berry Burst ink (tip – it’s easier to simply stamp one letter at a time, than try to put the letters together evenly on a block). The same Berry Burst ink was used to stamp the detailed dinky flowerheads and then stems and leaves (all from Tranquil Tulips) added with Old Olive ink.
Have a great weekend.
Sara xx


0 Comments