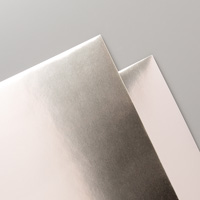
I think I may have a new favourite … metallic that is. SU! have introduced a new Champagne Foil in the Autumn/Winter catty and it’d gorgeous! The Copper was fantastic but Champagne is amazing and it’s really difficult to do it justice with my pix.
You can combine it with new items, especially those from the Year of Cheer suite in which it sits, or you can use it to update your older stamp sets and products.
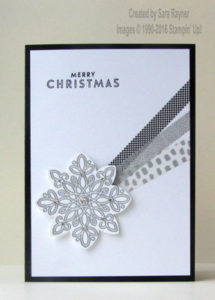
It’s just a shade or so warmer than Silver but not as brash as the Gold or Copper. Here it’s teamed with Cherry Cobbler to make the most of those warmer tones.
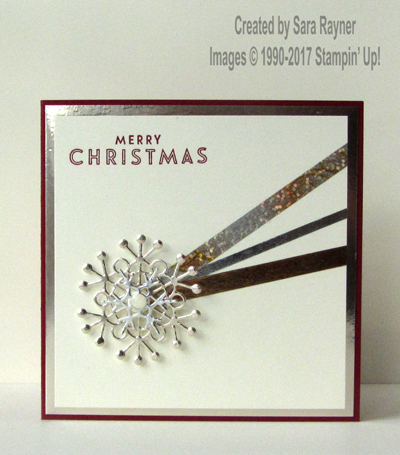
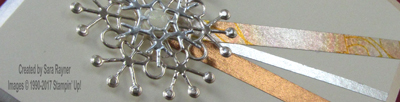
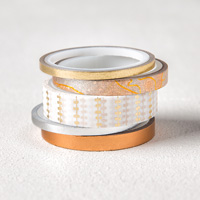
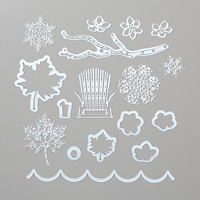
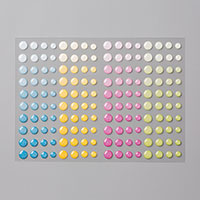
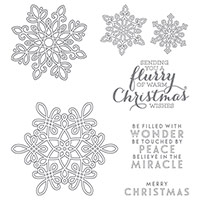
The card base is a small square of Cherry Cobbler. The large snowflake from the Seasonal Layers thinlits was die cut from the centre of a square mat of Champagne Foil that was then retained for the front of the card (you get more from your Foil that way). Using Cherry Cobbler ink a sentiment from Flurry of Wishes was stamped onto a slightly smaller square of Very Vanilla and pieces of Year of Cheer Specialty Washi Tape were arranged to come to a point below the sentiment. This layer was adhered direct to the Champagne Foil layer and then direct to the card front (take care not to press the Vanilla layer too hard into the hole left by the snowflake). The smallest snowflake from the Seasonal Layers thinlits was die cut from Silver Foil and tiny circles of Very Vanilla were die cut with the “lemon slice” die from the set and used to back the snowflakes. This provided a better base to hide mini dimensionals behind, to pop the snowflakes up on the card at the intersection of the washi tape. A small Glitter Enamel Dot was used to finish the centre of the snowflakes.
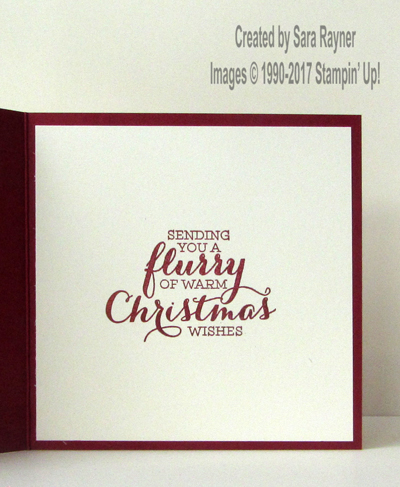
On the Very Vanilla insert, another sentiment from Flurry of Wishes was stamped in Cherry Cobbler.
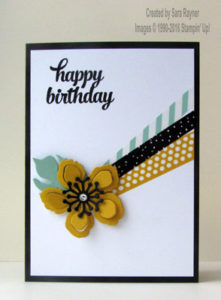
If you recognise the card design slightly it’s because I reused an idea from earlier years. If your inspiration has gone for a wander then it’s always worth kickstarting it by taking a design you enjoyed making and swapping colours and/or stamps … or even just changing the shape of the card from a rectangle to a square. These are the earlier versions I based this card on.
Hope these tips help you.
Thanks for stopping by.
Sara xx
These are the supplies used on this project. Click on any product to shop online.


0 Comments