You’ll need a few punches for this little cat, but he’s easy to put together.
Punches used:
- 1-3/8″ Circle
- 1″ Circle
- 1/2″ Circle
- 5-Petal Flower
- Owl Builder
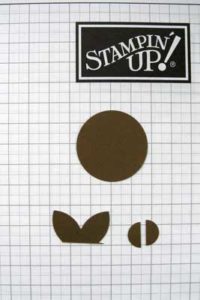
1. From Soft Suede card, punch:
- 1 x 1-3/8″ Circle (cat’s body)
- 1 x 1/2″ Circle and cut it in two (cat’s paws)
- 1 x 5-Petal Flower, trim off and retain two of the petals (cat’s outer ears)
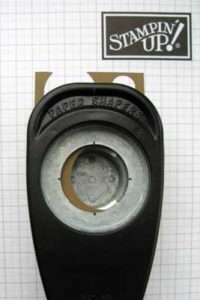
2. Reinsert the card used to punch the 1-3/8″ Circle back into the same punch and punch out a crescent sliver of card for the cat’s tail.
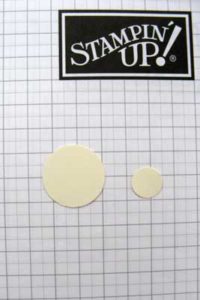
3. From Very Vanilla card, punch:
- 1 x 1″ Circle (cat’s tummy)
- 1 x 1/2″ Circle (cat’s face)
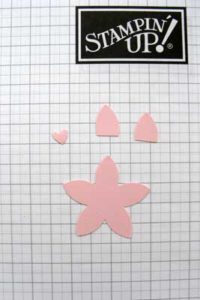 4. From Pink Pirouette card, punch:
- 1 x Owl’s heart (cat’s nose)
- 1 x 5-Petal Flower, trim off and retain two of the petals (cat’s inner ears)
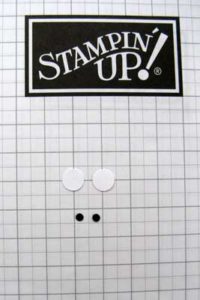 5. From Whisper White card, punch:
- 2 x Owl’s middle size eyes (cat’s eyes)
From Basic Black card, punch:
- 2 x Owl’s smallest size eyes (cat’s eyes)
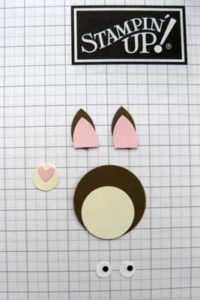
6. Adhere:
- the inner ears to the outer ears
- the nose to the face
- the tummy to the body
- the smallest eyes to the middle eyes
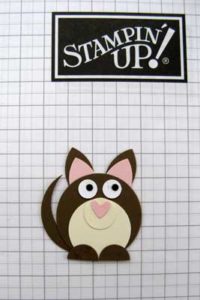 7. Adhere:
- the tail behind the base of the body
- the ears behind the top of the body
- the face to the top of the tummy
- the paws to the base of the tummy
- the eyes above the tummy
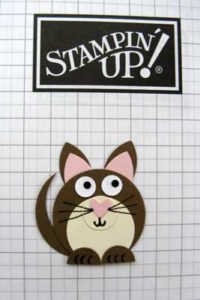 8. Use an Early Espresso marker to draw :
- claws on the paws
- a mouth below the nose
- whiskers
Glad you like him Anne-Marie.
He is so cute, thanks for the tutorial Sara.