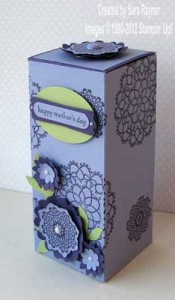
Bought a gift for someone and need a box to fit it in? You can create your own tailor made boxes using the Stampin’ Up! grid paper. I even re-use the paper I’ve already been using as a base for stamping, to get best value from it 

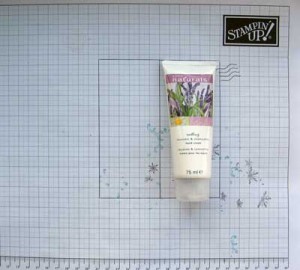
Step 1 – Lay the item(s) on the grid paper and mark around to determine the width (a) of the box.

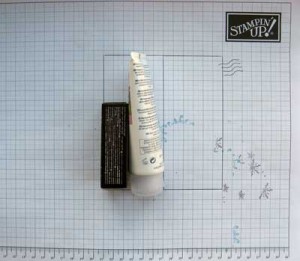
Step 2 – Move the item(s) along the grid paper and mark around to determine the breadth (b) of the box.

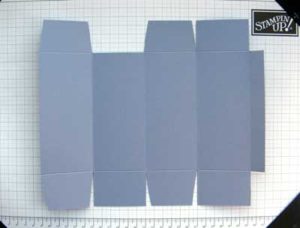
Step 3 – Repeat the dimensions (a) and (b) for the next two sides of the box and add a flap (approx 1-1.5cm) to the side for closure. Ensure that top and bottom flaps are no less than half the measurement of (a) and (b) so that there will be no gaps when the box is made up.
The box lid needs to be equal to (b) plus another flap (approx 1cm) to tuck in. I couldn’t fit this onto a single A4 sheet and so for my box I created the lid separately and adhered it to the gap in the top flaps that you can see in the image above.
Clear as mud? I’ll try to put a video together sometime soon to show you.
Sara xx


0 Comments