Whilst our paper piercing templates are easy to use to create pretty pierced frames, your projects will look even more special if you can take the time to actually stitch them.
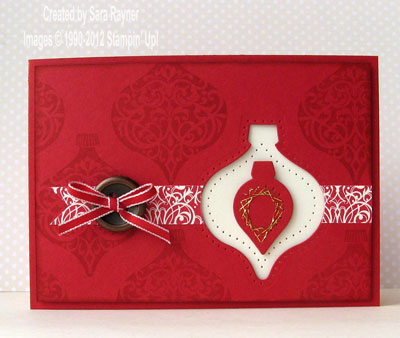
You can use any type of embroidery floss or specialty thread. If stitching a large area then you’ll probably need to use multiple lengths of thread – simply secure the beginning and end of the thread on the reverse and pick up at the next pierced hole in the sequence.
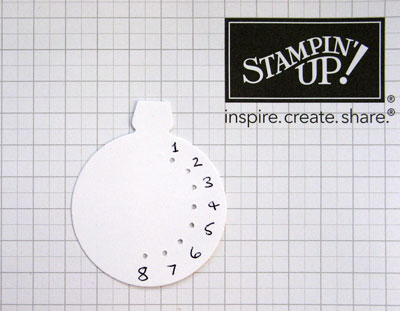
This is an enlarged mock-up of a piercing design to act as a stitching map and visual guide when reading the instructions below.
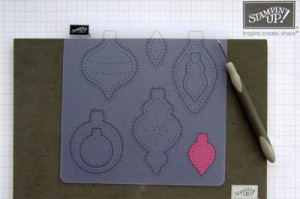 Step 1 – Die cut your shape, place it on the paper piercing mat and line up the matching template over the top of the shape. Holding the template steady, pierce through each hole with the paper piercing tool.
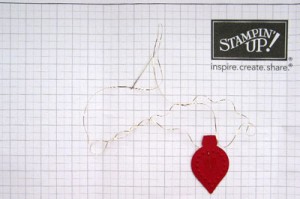
Step 2 – Thread a needle with your chosen thread. Secure the end of the thread on the reverse of the die cut with a small piece of Sticky Strip.
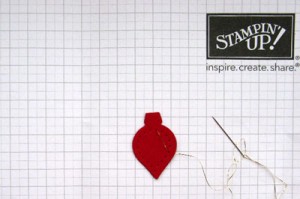
Step 3 – Although you can start anywhere on the design I recommend that you bring the needle up through a hole at the very top of the shape (this allows the option of stitching an open design if preferred) – point 1 on the stitching map. Skip a set number of holes (here I skipped 4) and take the needle back down through the next hole – point 5 on the stitching map. The more holes you skip, the smaller will be the gap in the centre of the stitching over the die cut.
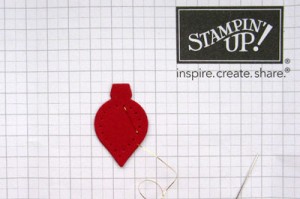
Step 4 – Come back up through the next adjacent hole (moving away from the original) – point 6 on the stitching map.
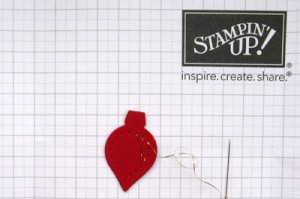
Step 5 – Stitch back down through the hole very next to the original (working towards where you’ve already stitched) – point 2 on the stitching map.
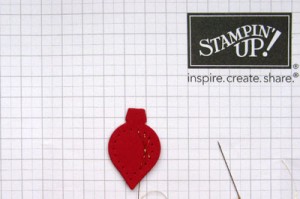
Step 6 – Come back up through the next hole – point 3 on the stitching map. Skip another four holes and stitch back down – point 7 on the stitching map.
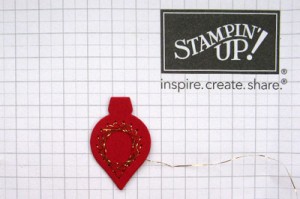
Step 7 – Continue around the pierced holes, moving to the next hole and working backward/forward the same number of holes each time until there are two threads in each hole.
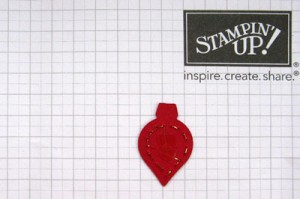
Step 8 – Secure the end of the thread on the reverse of the die cut with another small piece of Sticky Strip.


0 Comments