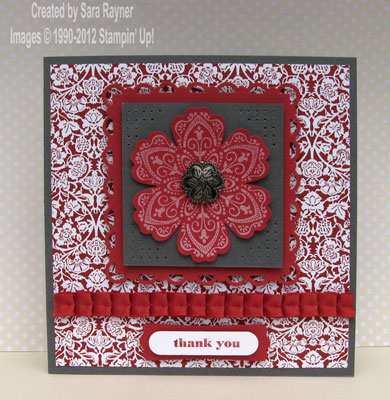
Our Scallop Trim Border (118402) and Scallop Trim Corner (118870) punches can be used in combination to create a fully Scallop Trim edged mat as seen behind this Blossom here.

I was asked about the measurements for this some time ago so apologies for only just getting around to sharing them now.
Mats don’t need to be square. Combine different sets of measurements to create rectangular mats by selecting the width and length of your card mat from the list below. Please bear in mind that the finished mat will be smaller, as the punches trim away a small edge, as well as providing the decorative border.
| Scallops | Measurement |
| 4 | 1-15/16″ |
| 5 | 2-3/8″ + smidge |
| 6 | 2-7/8″ |
| 7 | 3-5/16″ + smidge |
| 8 | 3-13/16″ |
| 9 | 4-1/4″ + smidge |
| 10 | 4-3/4″ |
The “+ smidge” means add just a teeny, tiny bit, something like a 1/32″
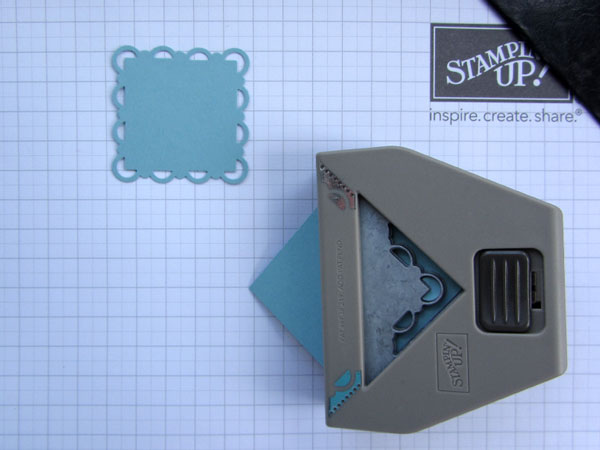
To punch your mat, begin by punching the corners with the Scallop Border Corner (a 4 scallop square mat only requires the Scallop Border Corner punch).
Only insert the corner as far as you can see it upside down in the punch. It can be pushed in further (to one side or the other, though not all the way into the corner) but doing so will throw all the measurements out.

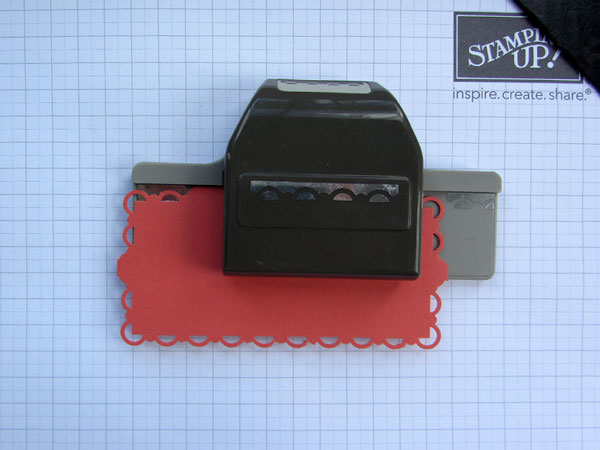
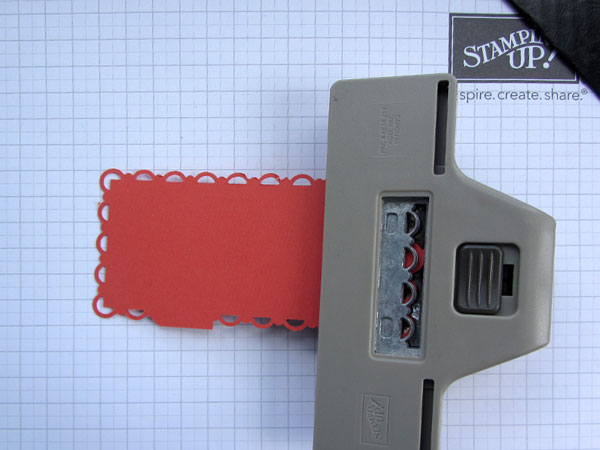
For larger mats (8 scallop length and over) you’ll then be able to line up the corners on your Scallop Border punch the “right way up”, ensuring that only the silver design shows.

For smaller mats you’ll achieve better results if you turn the Scallop Border punch upside down and line up the corners/scallops through the window.

Have fun creating mats of all sizes.
Sara xx


0 Comments