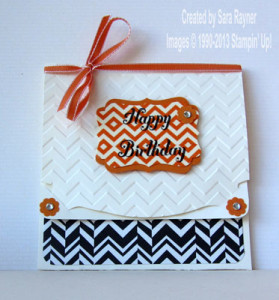
The Pop ‘n’ Cuts Card Base die (130099) is versatile enough to be turned into a cute little gift card holder with just a couple of non-standard score lines.
Here’s how to do it along with a few tips for embossing the top cover for a little added interest.
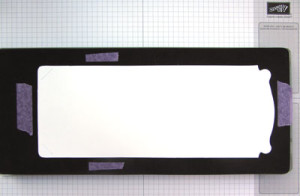
Step 1 – Die cut the card base from your chosen colour card stock. There is no need to mark the centre of the card base (as you would do normally), as our score line will not be in the centre.
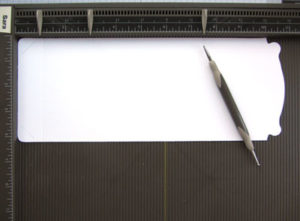
Step 2 – Place the card base on your scoring tool with the curvy end to the right. Score at 1″, 3″ and 7-1/2″.
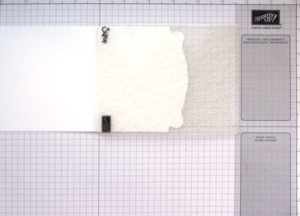 Step 3 – If embossing the top cover with the card running along the length of the folder then the rest of the card will follow along after without a problem (as can be seen here).
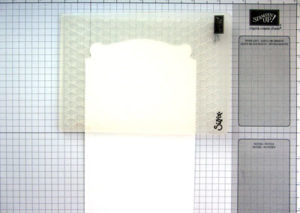
Step 4 – If you want the design to run aligned with the short edge of the folder you will need a couple of extra folds along existing scorelines. Place the top cover inside the folder as far as the first scoreline.
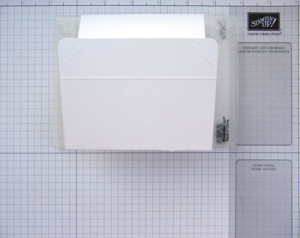
Step 5 – Fold the extra card back over the outside of the folder and back on itself . This outer card will not be embossed however we recommend running it through the Big Shot on “no tabs” to avoid the folded card embossing itself.
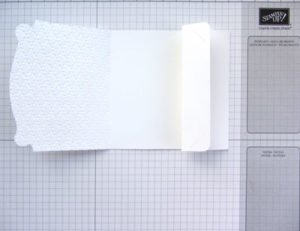
Step 6 – Remove the embossed card and refold so that the slotted corners appear just above the base of the card forming a “z” fold.
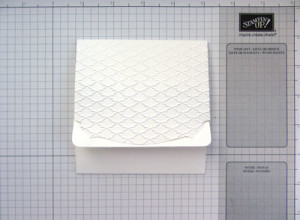
Step 7 – Adhere the two outer edges to create a pocket and tuck the corners of the embossed cover into the two slots to close. (Tip – adhere the centre of the bottom flap down direct or with dimensionals to stop the corners pulling open).
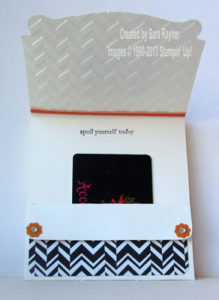
Here’s how the gift card holder looks on the inside when finished.
To purchase the Pop ‘n’ Cuts Card Base die just click here and you’ll be taken direct to it in our online store.
Sara xx
0 Comments