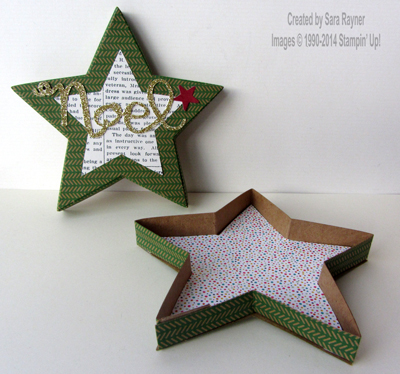
The stars in the Many Merry Stars kit are 3D and fully enclosed but they can be converted into a shallow box. Here’s how:
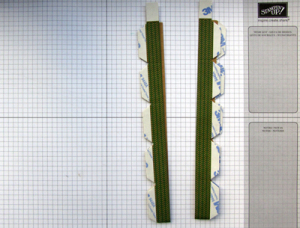
Step 1 – Cut the adhesive backed box side into two lengthways.
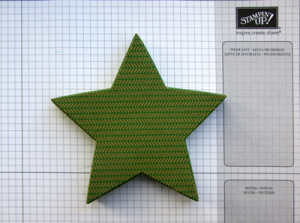
Step 2 – Apply one of the box sides to one of the stars, keeping it so that it is just a teeny smidgeon (technical term 🙂 ) outside the star. This becomes the box lid.
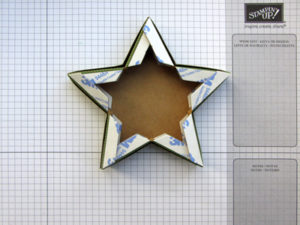 Step 3 – Place the other box side into the constructed box and join the points where they meet. Remove the backing from the adhesive and apply the other star to create the box base.
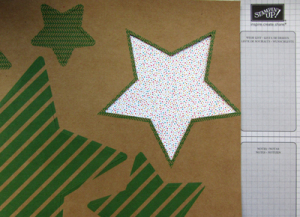 Step 4 – Use the aperture of the star that has been pressed out as a template to trace the lining from DSP.
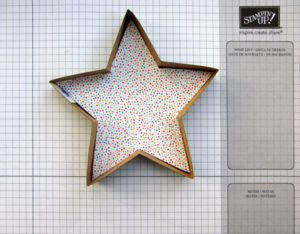 Step 5 – Cut out the DSP star and adhere within the box.
Have fun!




0 Comments