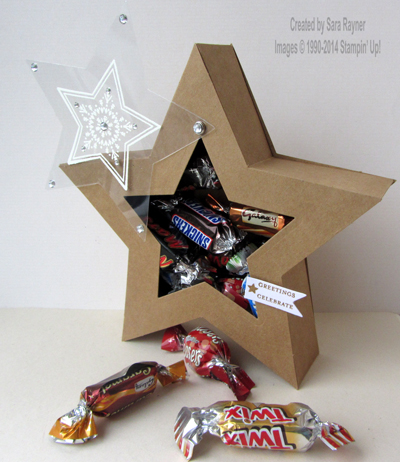
Yesterday I shared this swing hinge star box. I’m back today with a couple of tips for making it.
Now the Many Merry Stars kit isn’t identified as being food safe. Why would it be? It’s designed for the stars to be fully enclosed as decorations, not opened up as boxes – it’s just that we demos like to find other ways and uses, lol. But as it’s not food safe, I wanted to make sure that my chocs were already wrapped and would therefore be okay.
Rather than have a dinky box with maybe 3-4 chocs inside, I opted for one of the largest (though not quite the largest) stars, which easily fits upwards of 10 chocs in there.
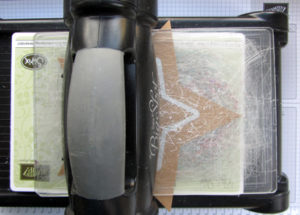
However, the large star will not fit through the Big Shot without squishing the points.

Tip 1 – To cut the aperture from a large star, position the framelit in the centre and then roll through the Big Shot as far as it will go without damaging the overhanging points. Unroll and lift off the top plate. Rotate the star around, holding the framelit in place, until a different two points are leading. Roll again as far as possible without damaging the overhanging points. Repeat all the way around. This will die cut through all points of the star without squishing any.
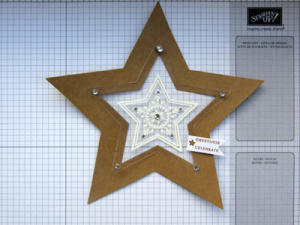
 Tip 2 – Assemble the box lid before you adhere it to the box base and sides (see here for a video on how to build a regular one). Here, a brad base was used to secure the top point to the star window frame and then large Rhinestones were used to top the brad base and add decoration to the other points. The teeny sentiment banner was popped up on a dimensional, creating a stopper for the box lid so that it stays shut when it swings back to base. All this was done before adding to the rest of the box so that it is easier to get at the sections of the star.
Hope these tips help you create your own swing hinge star box 🙂
Sara xx


0 Comments