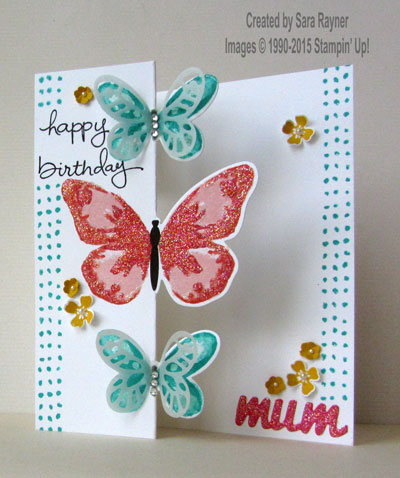
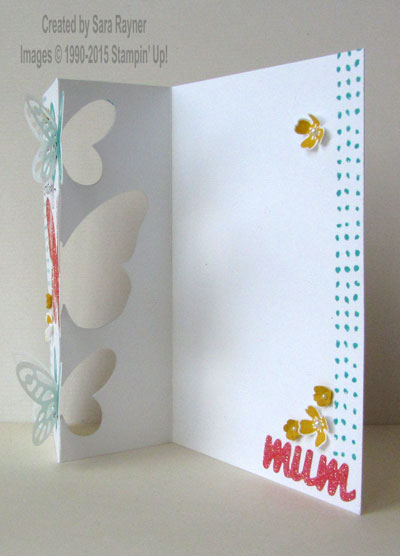
On Sunday I shared this partial die cut butterfly card.
As promised, here is a quick tutorial for how to do this.
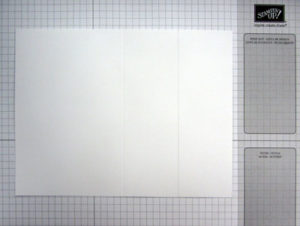
Step 1 – Score an A6 card (portrait ways) at the halfway mark (4-1/8″) then mark a light pencil line down the centre of the card front (2-1/16″).
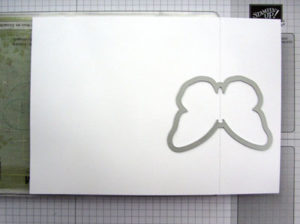 Step 2 – Line the pencil line up with the edge of the cutting plate and platform of your die cutting machine and position the butterfly die along the pencil mark (ensuring there is enough room above and below for your other butterflies). Place the other cutting plate over the top as far as the pencil line. The butterfly will only be cut along the portion on the platform, not beyond it.
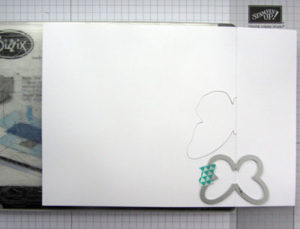 Step 3 – Repeat with the other butterflies. (Tip – I found the the smaller butterfly wanted to jump around on the magnets when using the magnetic plate so I switched to a regular platform and wash tape to keep the die in place). I like to work to the right of the platform so I needed the card upside down. If you want to work with the card the correct way up you will need to position everything on the left side of the platform.
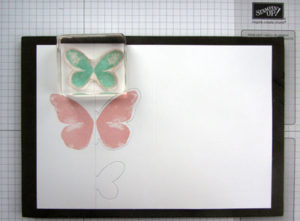
Step 4 – With everything still flat, stamp your butterflies. Score along the pencil mark, above and below all the butterflies (but not through them). Erase the pencil mark. Fold the card closed along the centre line, with the butterflies on the inside and then fold back along the new score line leaving the butterflies flat. This then shows the butterflies in full from the front and creates an aperture on the inside.
Have fun!
Sara xx


0 Comments