
Now, to be absolutely honest with you, I’m not happy with today’s card but I’m sharing it so that you can learn from my mistake 🙂
I took a lot of care applying the die cut to the vellum but obviously wasn’t careful enough in applying the adhesive behind the vellum and it has spread and shows through. I would recommend either; taking lots of care applying the adhesive, or apply the adhesive fully over the back of the vellum so that it’s all darker (rather than the patches I have here).
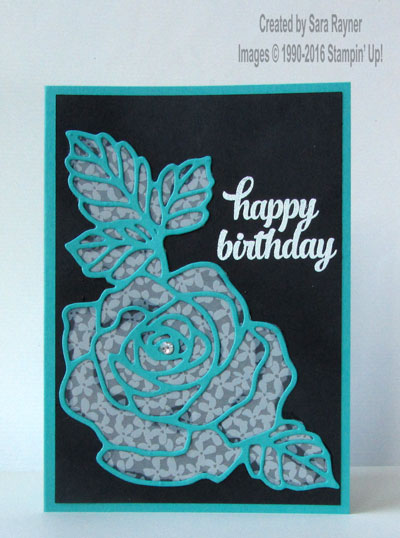
The card base is an A6 portrait of Bermuda Bay, matted with Basic Black. The large flower and leaves were die cut from Bermuda Bay card and adhered to a sheet of the Botanical Gardens Designer Vellum (still a free Sale-a-bration item until the end of March). The excess vellum was trimmed away from the die cut. Adhesive (the Fine Tip Glue Pen) was applied on the reverse of the vellum, only over the area of the die cut (but not finely enough in my case) and the vellum flower adhered to the front of the card. A sentiment from Tin of Cards was stamped in Versamark ink and heat embossed with White EP.
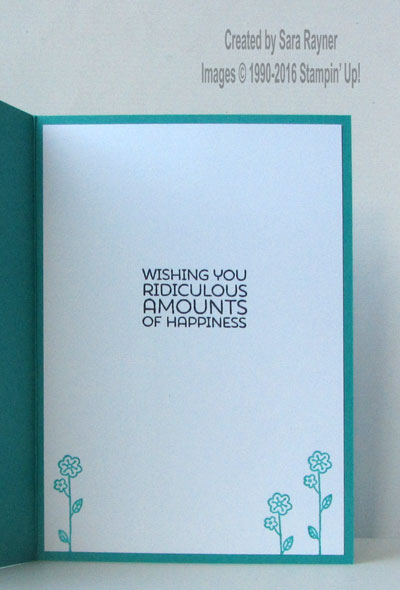
On the Whisper White insert, a sentiment and flower from the Cottage Greetings set were stamped in Basic Black and Bermuda Bay respectively.
I was actually a lot happier with my leftover pieces from this card so please pop back soon, to see how I used them.
Sara xx


0 Comments