It’s Wednesday, so it’s washi-tape again 🙂
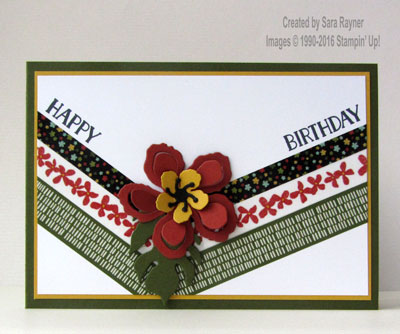
Continuing our new feature – we’re sharing a new washi-tape project every Wednesday and this week we’re using it to create stripes – but to add a little more interest to the card, we’re bending those stripes into a “v”.

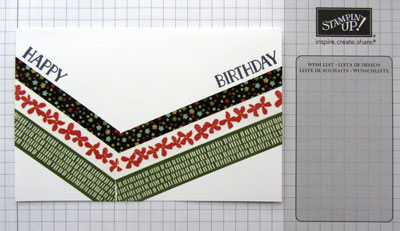
Choosing a point approx. one third of the way across the card layer, lay the first washi-tape at an angle. Lay the same design of tape at an angle to meet it and trim the two where they meet in the centre. (You can easily lift the tape to trim it even if you’ve already stuck it down). Lay the next design of tape right up against the first and then a third next to that. Don’t worry too much if the tapes don’t meet up/match absolutely exactly in the centre as we’ll cover the join with embellishments.

The card base is an A6 landscape of Mossy Meadow, matted with Hello Honey. Three designs of the Botanical Gardens washi-tape were used on Whisper White card to create the striped “v”. Using Basic Black ink, the sentiment from Tin of Cards was stamped along the same angle of the tape on opposite edges of the card layer. This layer was adhered direct to the card front. The Botanical Builder framelits were used to die cut a leaf and flowers from Mossy Meadow, Cajun Craze, Hello Honey and Basic Black card, the flower assembled and popped up over the join in the tapes with dimensionals.

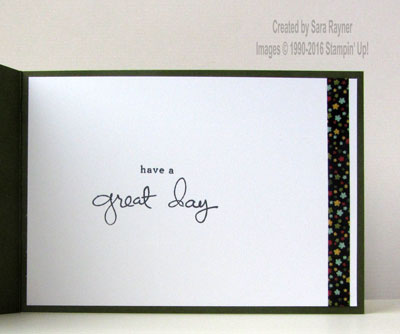
On the Whisper White insert, a sentiment from Endless Birthday Wishes was stamped in Basic Black and another strip of washi-tape was used to edge it.
Again, if you don’t have/like washi-tape then you could substitute strips of DSP to make this project.
Sara xx


0 Comments