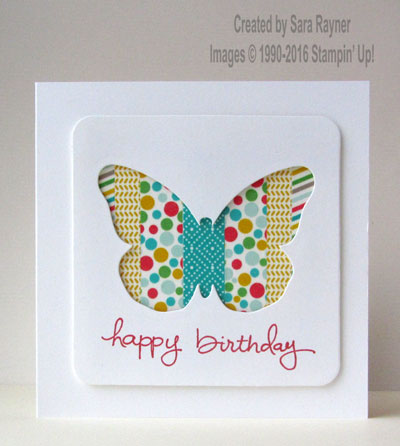
It’s Wednesday already, so we’re back to washi-tape and another new project idea for you – still using dies and this time making the most of the negative space.

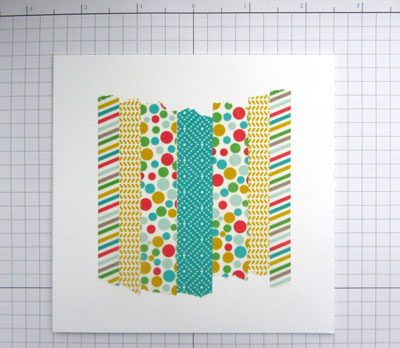
Working direct on the card front lay pieces of washi-tape side by side. (Tip – for a symmetrical design like this one then use grid paper behind the card to keep the pieces centred and straight). Take care that your washi-tape doesn’t extend beyond the edges of the layer you plan to pop over the top.

The card base is a 5″ square of Thick Whisper White card. Four designs of Cherry on Top Designer Washi Tape were laid side by side, direct on the card front. For speed and ease, we used the large rounded square die from the Project Life Paper Clips thinlits, to die cut a panel from regular Whisper White card. The larger Bold Butterfly framelit was used to die cut an aperture from the centre of the panel. Watermelon Wonder ink was used to stamp a sentiment from Endless Birthday Wishes onto the panel before popping it up on the card front with dimensionals.

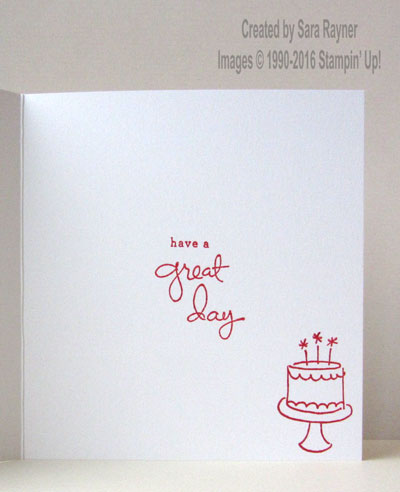
On the inside, a further sentiment and stamp from the same set were stamped in Watermelon Wonder ink.
As before, if you don’t have/like washi-tape then you could substitute strips of DSP to make this project.
Sara xx


0 Comments