It’s Wednesday so it’s washi. Last week’s project seemed popular and so we’re keeping this one simple and quick too.

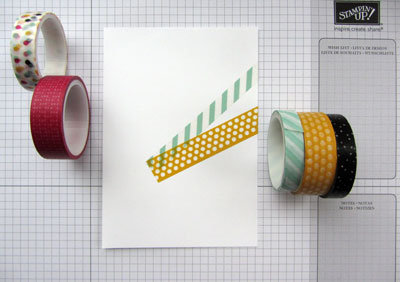
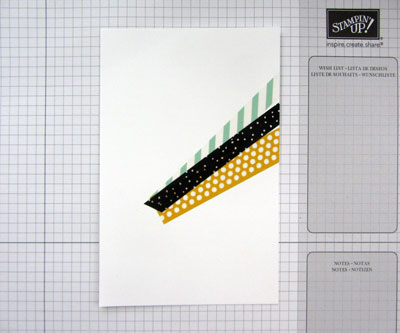
Cut a layer of Whisper White for your card front and wrap pieces of washi tape across the front of it, starting at the area you want to be your focal point and trailing off the edge of the card. After placing the first piece, add the second at enough of an angle to leave space between the two for a third.

It helps to have the more transparent styles of tape for the bottom layers and the more opaque tape in the centre over the top of the other two as we’ve done here.

The card base is an A6 portrait of Basic Black. A layer of Whisper White card was wrapped with the Mint Macaron, Crushed Curry and Basic Black tapes from the It’s My Party Washi Tape pack. Using Basic Black ink, a sentiment from the Tin of Cards set was stamped in the top left corner before adhering the layer direct to the card front. A large flower was die cut from Crushed Curry card, the stamens from Basic Black and the leaf from Mint Macaron, all with the Botanical Builder framelits. After assembling, these were popped up at the focal point created by the washi tapes and finished with a Basic Rhinestone.

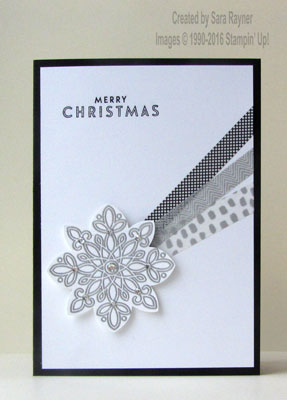
This card is so quick and easy that we also created one as a Christmas card, using the Everyday Chic washi tapes and the Flurry of Wishes stamp set.
As usual, if you don’t have/like washi-tape then you could substitute strips of DSP to make the cards.
Sara xx


0 Comments