
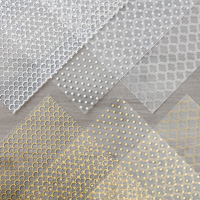
Today’s card uses the Fabulous Foil Designer Acetate. This fabulous patterned acetate is gold on one side and silver on the other. It comes in three different designs (2 sheets of each, 6 in total) so you have plenty of choice.
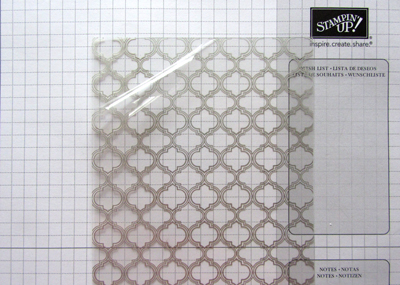
I purchased my Fabulous Foil Designer Acetate last year and this is the first time that I’ve used it (anybody else keep materials “for best”?). When I did, I initially had difficulty getting the scored edge to stay glued down. The more I pressed it, the more it lifted. I discovered that this was because there was a protective film on one side of the acetate that can be peeled off!
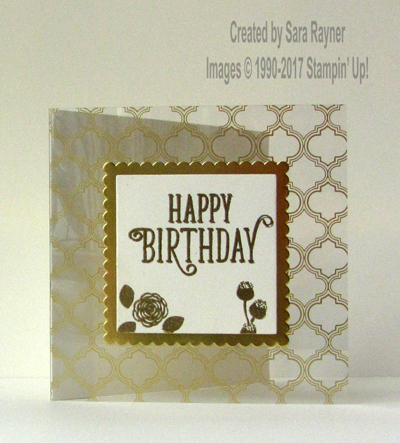
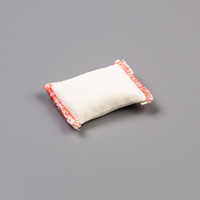
The card base is a 4″ x 4″ square of Thick Very Vanilla. A 4″ x 4-3/4″ piece of Fancy Foil Designer Acetate was scored at 3/4″ on the long edge. Tear and Tape was added to the narrow scored edge and it was adhered behind the card base. A Layering Square was die cut from Thick Very Vanilla and prepared with the Embossing Buddy. Using Versamark ink, a sentiment, flowers and leaves from the Happy Birthday Gorgeous set were stamped and then heat embossed with Gold EP. A scalloped Layering Square was die cut from Gold Foil and adhered direct to the card front with Tear and Tape, keeping the Tape confined nearer to the centre of the square. The embossed piece was popped up on dimensionals on the Gold Foil.
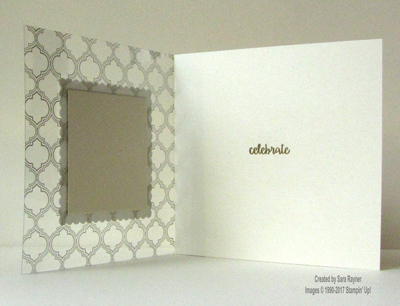
Using Versamark ink, another sentiment from the same set was stamped and heat embossed again with Gold EP. A Layering Square of Thick Very Vanilla was added behind the scalloped square on the card front so that the Tape would not be on view.
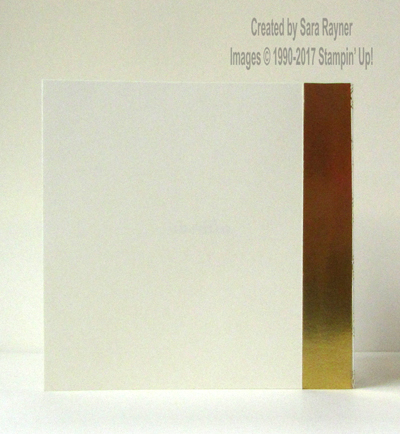
To tidy the reverse of the card, a strip of Gold Foil was adhered over the folded acetate.
Thanks for stopping by.
Sara xx








0 Comments