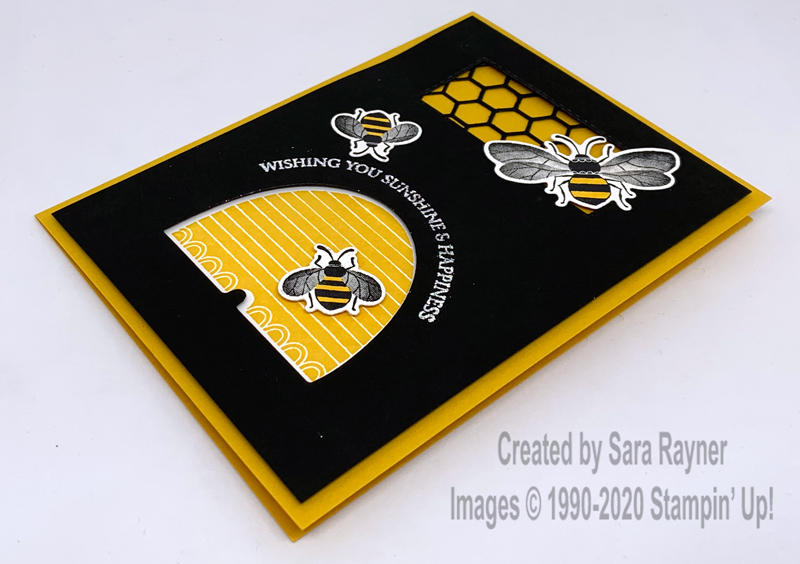
This bright and cheery Honey Bee Happy card went out with a little thank you gift, to those customers who purchased from me last month. Hopefully they have received them by now and I’m not spoiling any surprise.
Don’t forget to use my host code when you shop online with me and get your own thank you package in the mail.
COLOUR COMBO
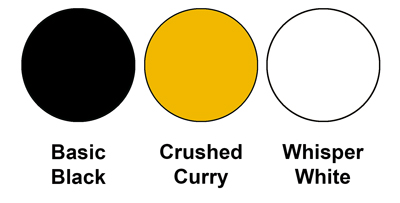
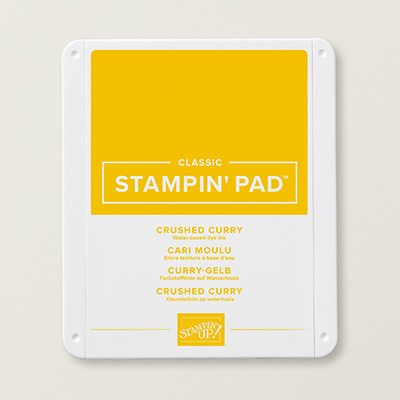
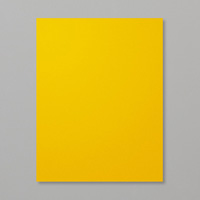
This colour combo mixes Basic Black, Crushed Curry and Whisper White.
INSTRUCTIONS
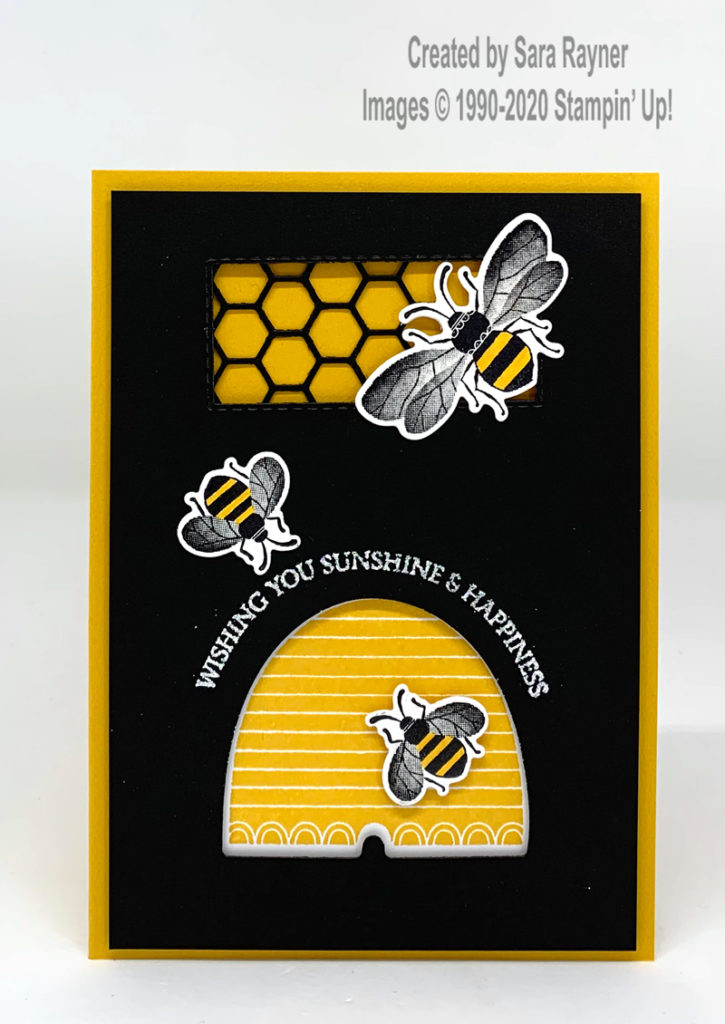
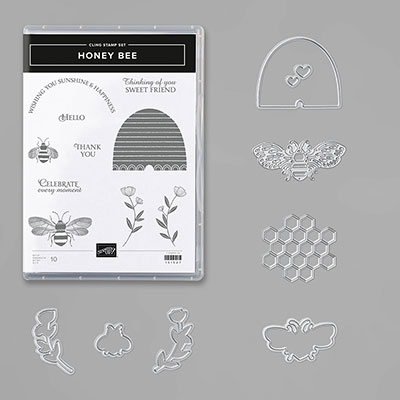
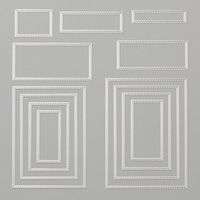
Start with an A6 portrait card of Crushed Curry. From a card front layer of Basic Black, die cut a Stitched Rectangle at the top of the layer and a beehive, from the Detailed Bee dies, near the base. Using Versamark ink, stamp the sentiment from Honey Bee above the beehive negative space and heat emboss with Shimmer White EP. Die cut the honeycomb from the leftover beehive die cut and adhere this behind the rectangle. Using Crushed Curry ink, stamp the beehive from the Honey Bee set onto a small square of Whisper White card. Pop this up on dimensionals behind the card front layer, lining up with the die cut negative. Pop the stamped and die cut layer up on the card front with dimensionals.
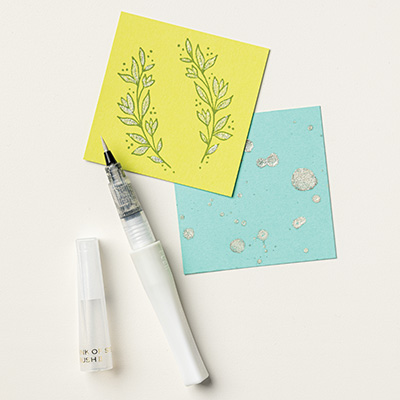
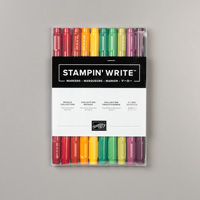
Using Stazon Black ink, stamp the large bee once and the smaller bee twice onto scraps of Whisper White card. Die cit out with the matching Detailed Bee dies. Colour the bumble bee stripes with a Crushed Curry marker. Use the Wink of Stella Glitter brush to add a little sparkle to the bee wings. Once dry pop the bees up on the card front with dimensionals.
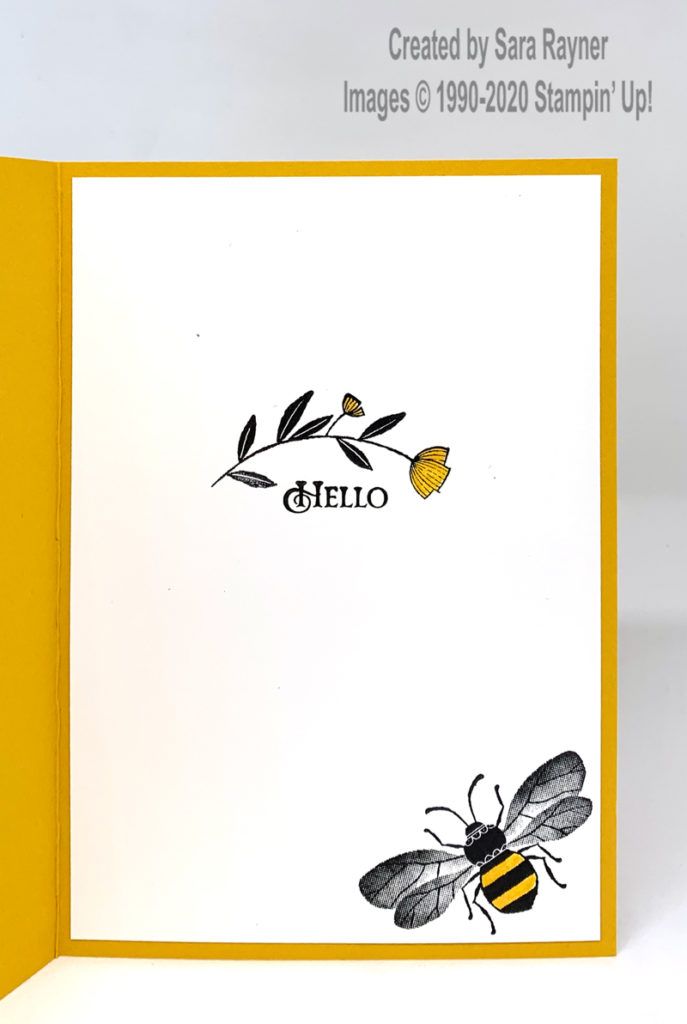
On the Whisper White insert, stamp the sentiment from Honey Bee with Black Stazon. Add a flower above the sentiment and the large bee in the corner, both with Black Stazon ink. Colour the flower and bee stripes with a Crushed Curry marker.
Thanks for stopping by.
Sara xx
SHOP
These are the supplies used on this Honey Bee Happy card project. If you live in the UK, Austria, France, Germany, or the Netherlands, then click on any product to shop online.




0 Comments