Today’s sneak peek is this Snowflake Wishes card. My first stop whenever the Christmas crafting catties come out, is to look for snowflake sets. I love to craft them in blues and purples as a more contemporary Christmas card.
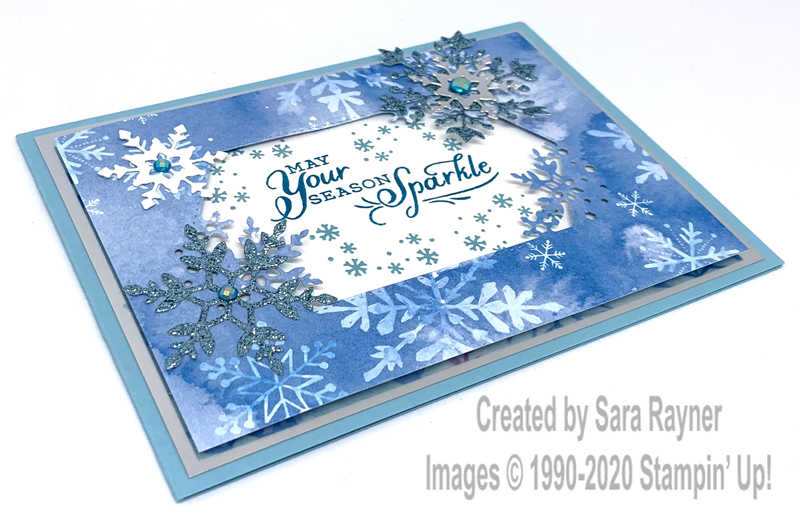
Well the new Snowflake Splendour suite is just perfect for me! The stamp set not only has hand-painted snowflakes but great sentiments that go beyond Christmas wishes. Add to that matching dies, DSP, embossing folder, gorgeous gems, frosty glimmer paper and sparkly ribbon and I just had to have it all 😍
I’ve not quite used all of it on this card though.
Would you like to see a few demonstrations of card making from the new catty? I’ll be hosting a launch workshop via Facebook Live next Tuesday evening, 4 August, at 7pm. Just join my Facebook Group and switch on notifications to make sure you don’t miss the party!
Colour Combo
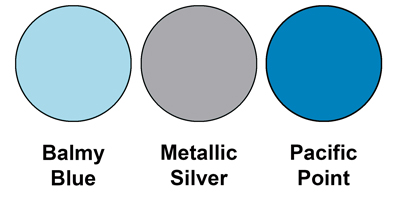
The colour combination mixes Balmy Blue, Metallic Silver and Pacific Point.
Instructions

Start with an A6 landscape card of Balmy Blue. Mat with a layer of Silver Foil. Using Pacific Point ink, stamp a sentiment from the Snowflake Wishes set onto a card front layer of Whisper White. Add teeny snowflakes all around the sentiment with Balmy Blue ink. Adhere the layer direct to the card front. Using the frame from the So Many Snowflakes die set, die cut an aperture in a card front layer of Snowflake Splendor DSP. Pop this up on the card front with dimensionals.
Die cut two detailed snowflakes from Balmy Blue Glimmer Paper, one from Silver Foil and one from Whisper White card, all using the So Many Snowflakes dies. Adhere the snowflakes around the frame, stacking a set of Glimmer Paper and Silver Foil snowflakes. Finish the centres of the die cut snowflakes with Blue Adhesive-backed Gems.
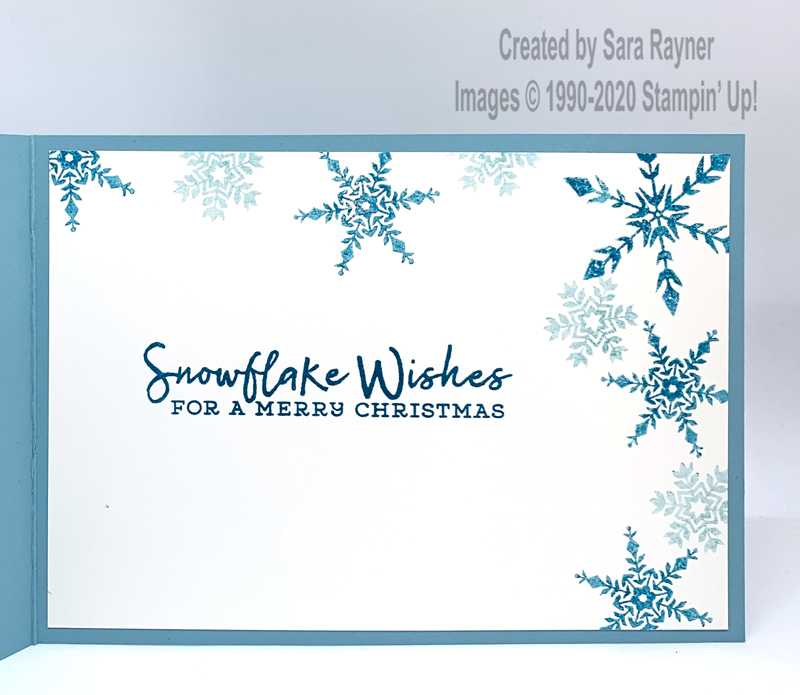
On the Whisper White insert, stamp another sentiment from the Snowflake Wishes set using Pacific Point ink. With the same ink, stamp a couple of different sizes of snowflake, off the top and right edge of the insert. Stamp off first each time for a lighter shade. The stamp does all the work of giving the slightly watercoloured look. Using Balmy Blue ink, add smaller snowflakes between those already stamped.
Thanks for stopping by.
Sara xx
This post will be edited with shopping supplies for this sneak peek of Snowflake Wishes card project when the new catty goes live.


0 Comments
Trackbacks/Pingbacks