Today I have a tutorial for a gnome Christmas card. I’ll be featuring the Gnome for the Holidays set in my projects this week. It’s such a cute set with fun sentiments.
In the tutorial below, I take you step by step through creating the gnome Christmas card. I also have a supply list for purchasing anything you don’t already own.
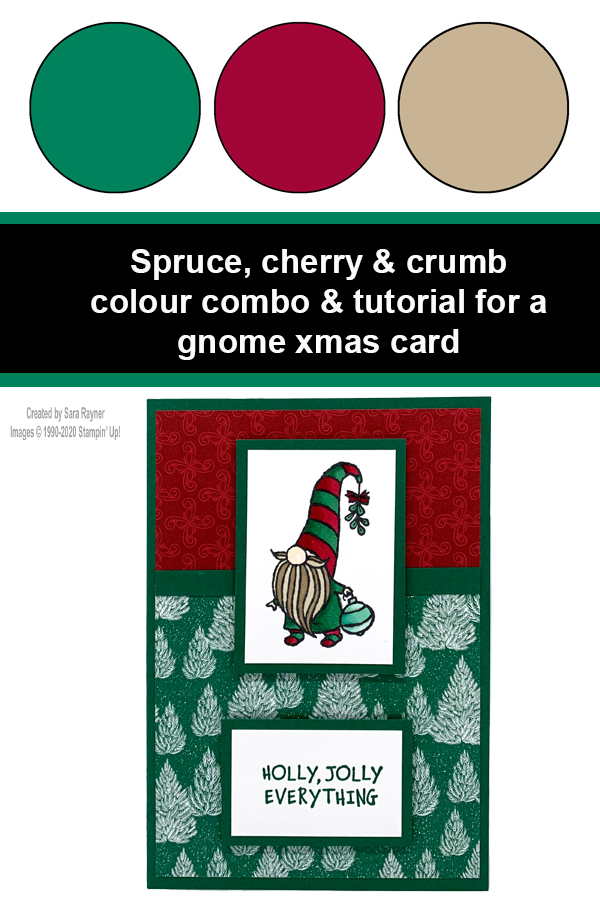
I combined the stamp set with the ‘Tis the Season DSP, which is one of the packs that has a 15% discount this month.
The colour combo comes from the colours in the DSP and the gnome’s beard.
Colour Combo
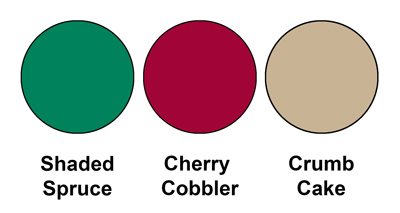
The colour combo mixes Shaded Spruce, Cherry Cobbler and Crumb Cake.
Gnome Christmas card tutorial
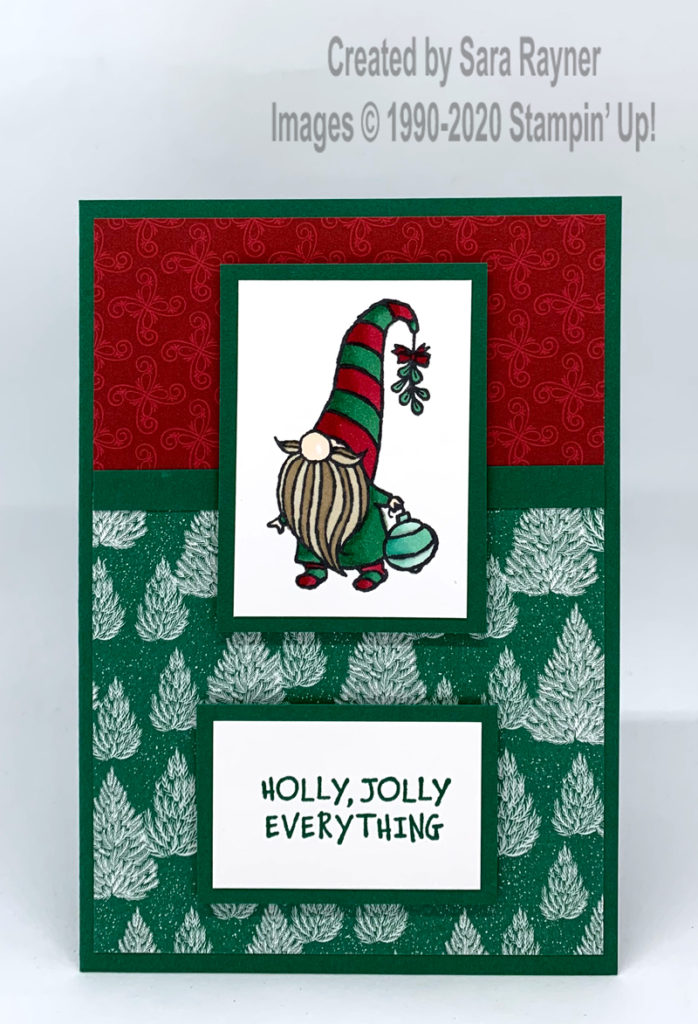
Start with an A6 portrait card of Shaded Spruce. Trim a piece of ‘Tis the Season DSP to the size of a card front layer. Cut across approx. 1/3 down and flip over one piece of the DSP. Adhere them direct to the card front. Adhere a skinny strip of Shaded Spruce card across the join in the DSP. Using Memento Black ink stamp the gnome with the bauble onto a panel of Whisper White. Colour with Blends. Mat the panel onto Shaded Spruce card and pop up on the card front with dimensionals. Using Shaded Spruce ink, stamp a sentiment from the same set onto another panel of Whisper White. Mat the panel onto Shaded Spruce card again and pop up on the card front with dimensionals.
Gnome Christmas card insert
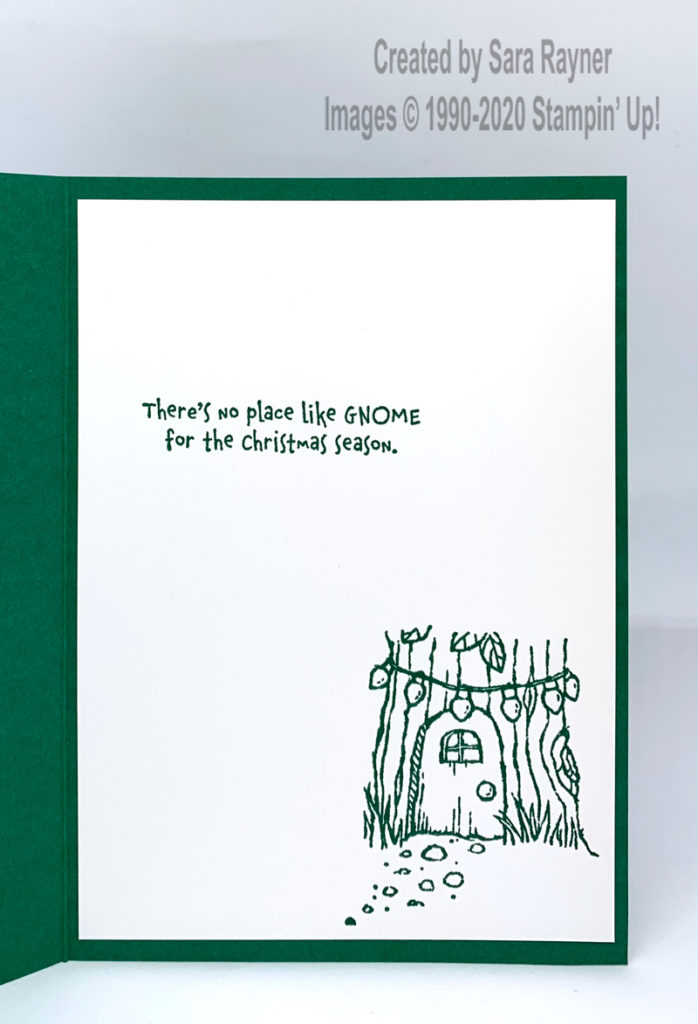
On the Whisper White insert, stamp another sentiment and an image from Gnome for the Holidays, using Shaded Spruce ink.
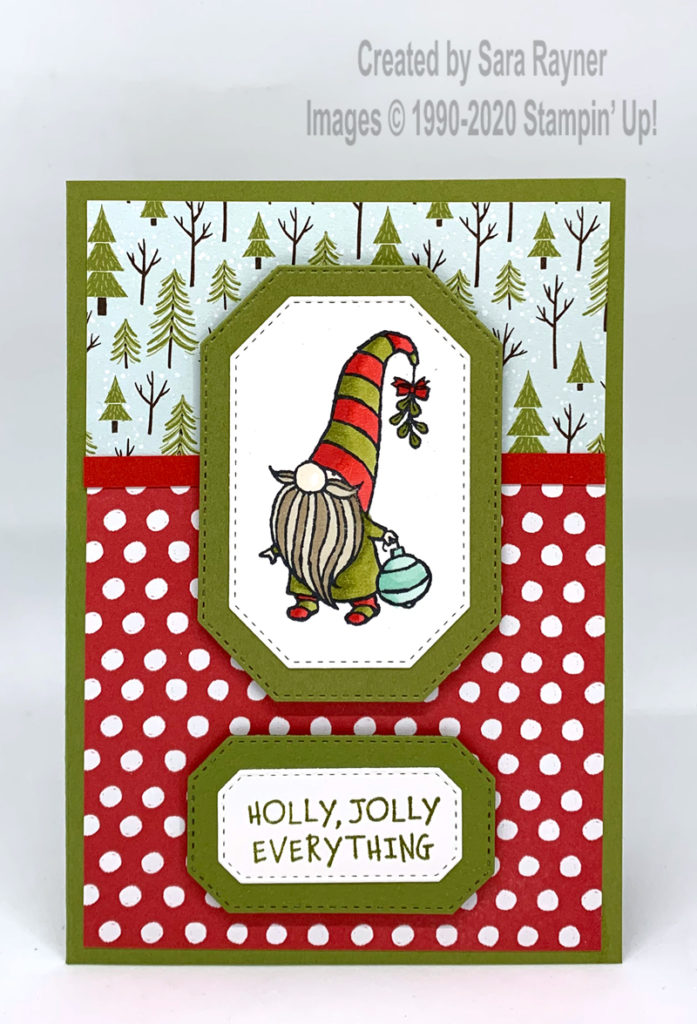
I made this slightly stepped up version of the same card in my Online Workshop last week. Still green and red but somewhat lighter shades of them.
Thanks for stopping by.
Sara xx
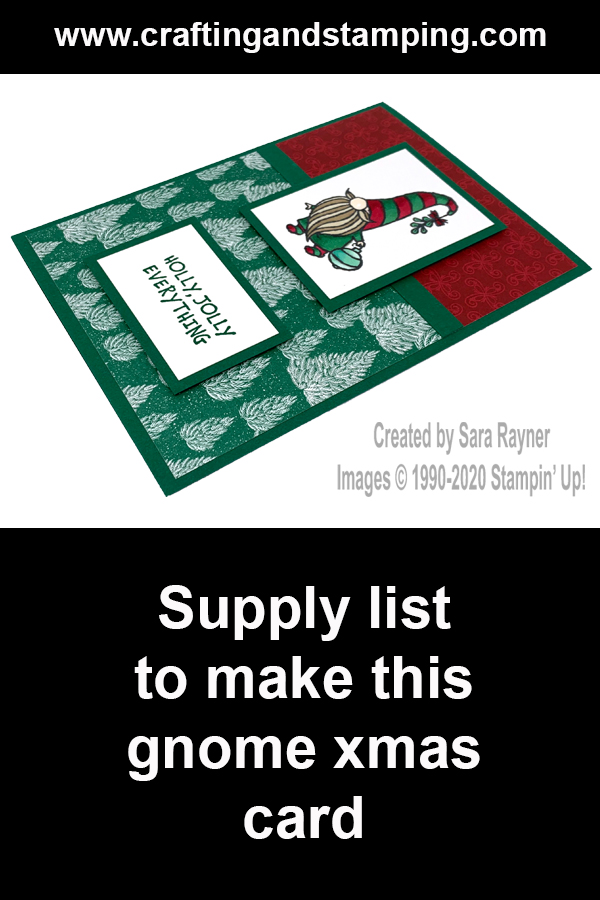
You can find supplies for this gnome Christmas card in my online shop.


0 Comments
Trackbacks/Pingbacks