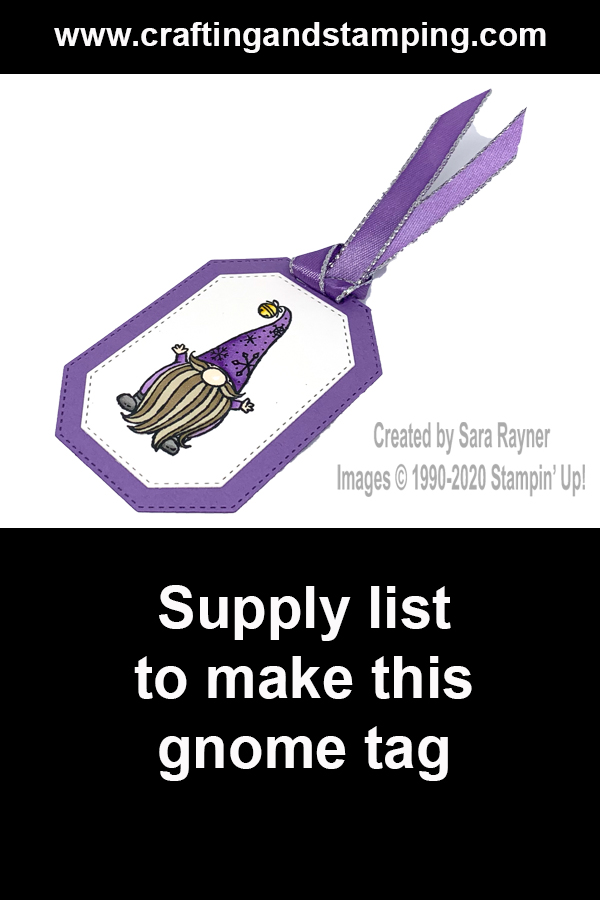
Today I have a quick tutorial for a gnome tag. On the run up to Christmas I like to add tags to my project shares. If you don’t use tags for your gift packaging, then still give them a try – they also look great popped up on a card front!
I’m featuring the Gnome for the Holidays set in my projects this week but this is a different gnome from that used on my recent card.
In the tutorial below, I take you step by step through creating the gnome tag. I also have a supply list for purchasing anything you don’t already own.
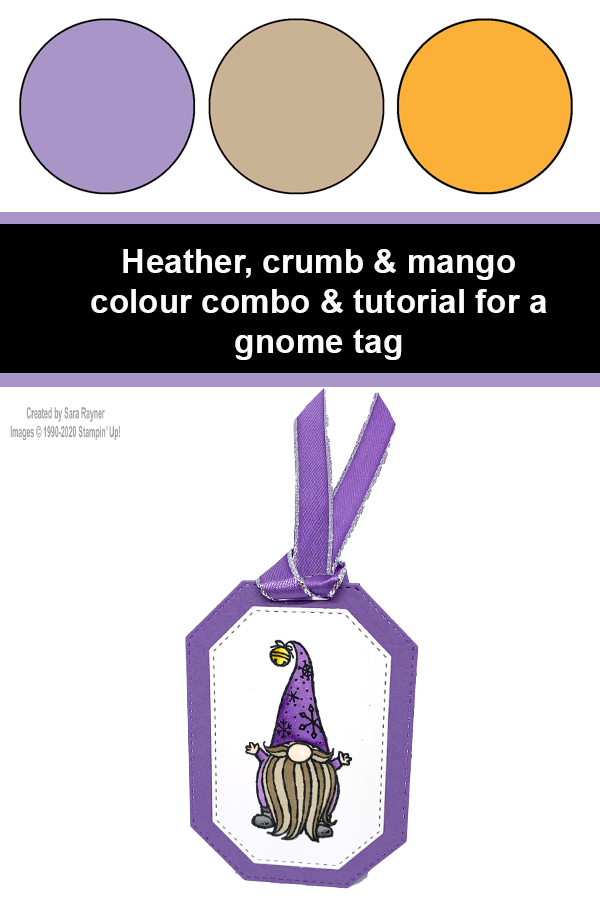
Wondering where I got the Heather ribbon from? It’s actually white ribbon that I coloured to match my project. I’ve noticed that I tend to use more of the lighter colour Blends on my projects so it makes sense to even things out and use my darker ones when I’m colouring with a single shade rather than blending.
Colour Combo
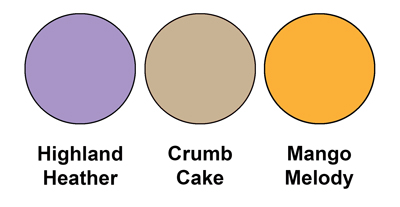
The colour combo mixes Highland Heather, Crumb Cake and a tiny touch of Mango Melody.
Gnome tag tutorial
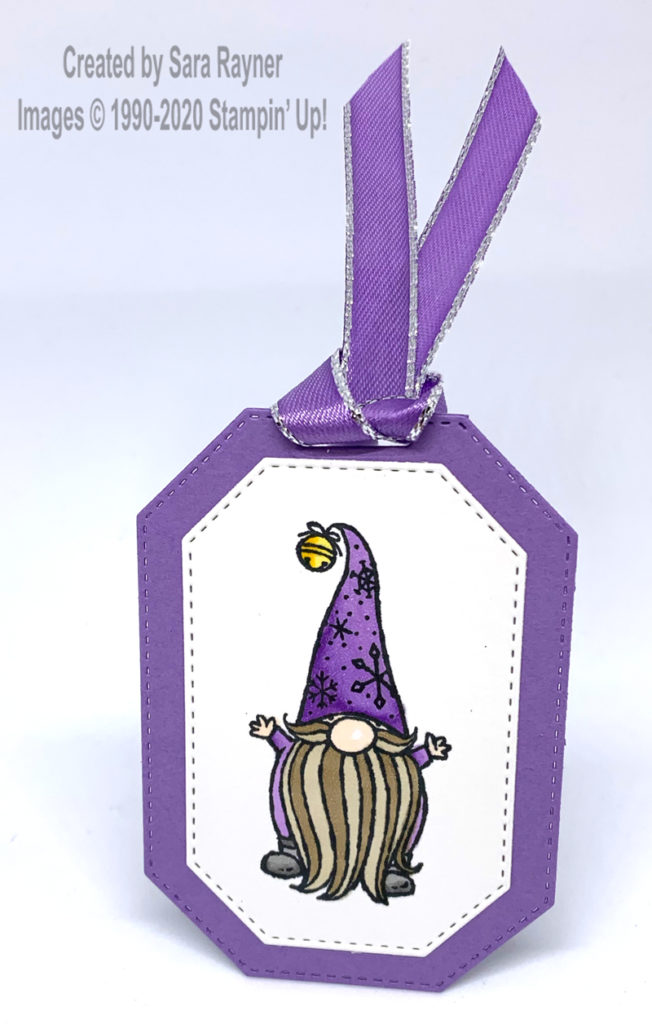
Using Memento Black ink, stamp the gnome with the jingle bell hat, from the Gnome for the Holidays set, onto a scrap of Whisper White. Die cut out with the stretched hexagon frame from the Hippo Friends dies. Colour with Stampin’ Blends. I used the following duos:
- Highland Heather
- Crumb Cake
- Mango Melody
- Basic Black
- Petal Pink
Die cut a larger stretched hexagon from Highland Heather card. Add a ribbon slot to the top of this tag with the die from the same Hippo Friends set. Adhere the stamped image to the centre of the tag.
Using the darker Highland Heather Blend, colour a piece of Silver Metallic-Edge Ribbon. Once dry, thread through the ribbon slot.
Gnome tag reverse
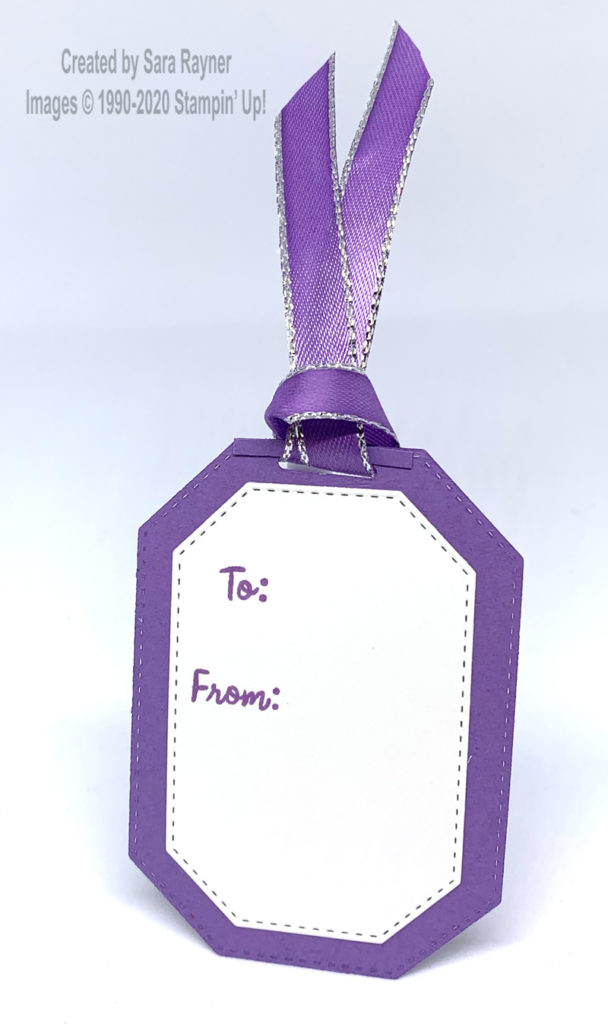
Die cut another stretched hexagon from Whisper White card, the same size as the stamped one used on the front. Using Highland Heather ink, stamp the sentiment from the Snowman Season set onto this tag before adhering to the larger one.
Thanks for stopping by.
Sara xx
You can find supplies for this gnome tag in my online shop.

0 Comments