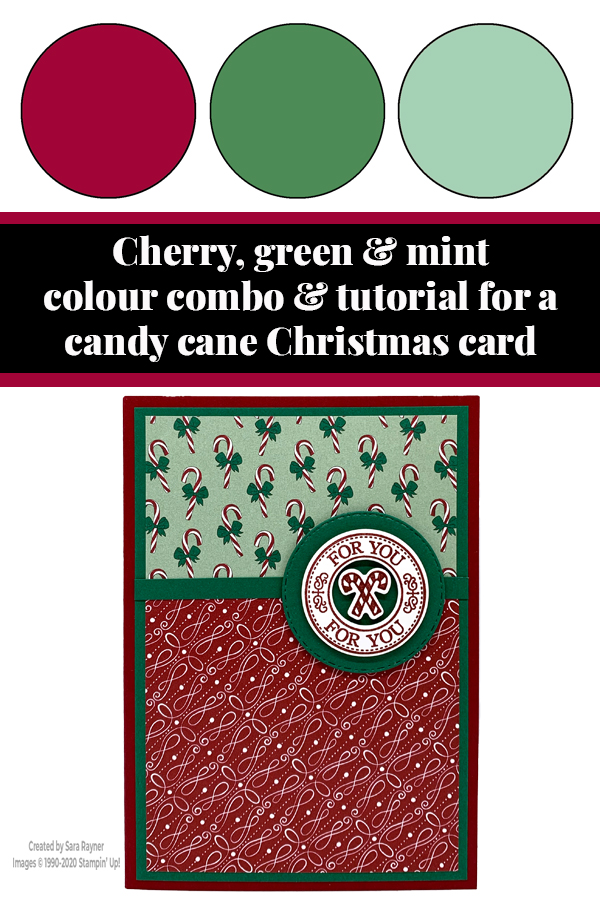
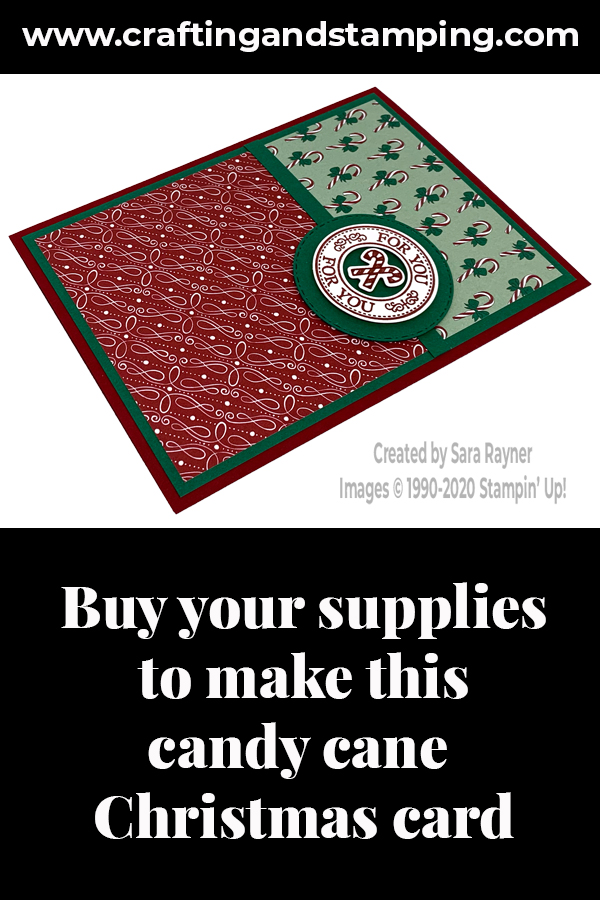
Happy Halloween! Today I have a tutorial for a candy cane Christmas card. When I shared the mistletoe owl card I suggested a few other stamp sets that would work with the ‘Tis the Season DSP and this combination was one of them.
In the tutorial below, I take you step by step through creating the candy cane Christmas card. I also have a supply list for purchasing anything you don’t already own.
Today is your last chance to get the ‘Tis the Season DSP at a 15% discount! Don’t miss out!
I shared a quick video tip demonstrating exactly how to cut the DSP background for this card and giving measurements. Please hop over to my Facebook page or Youtube channel to check it out and Like/Follow/Subscribe for further tips in the future. Thanks!
Colour Combo
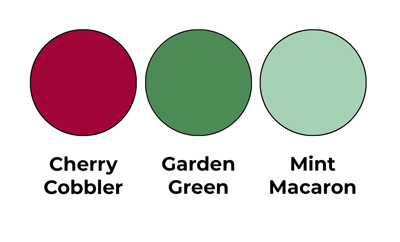
The colour combo mixes Cherry Cobbler, Garden Green and Mint Macaron.
Candy cane Christmas card tutorial
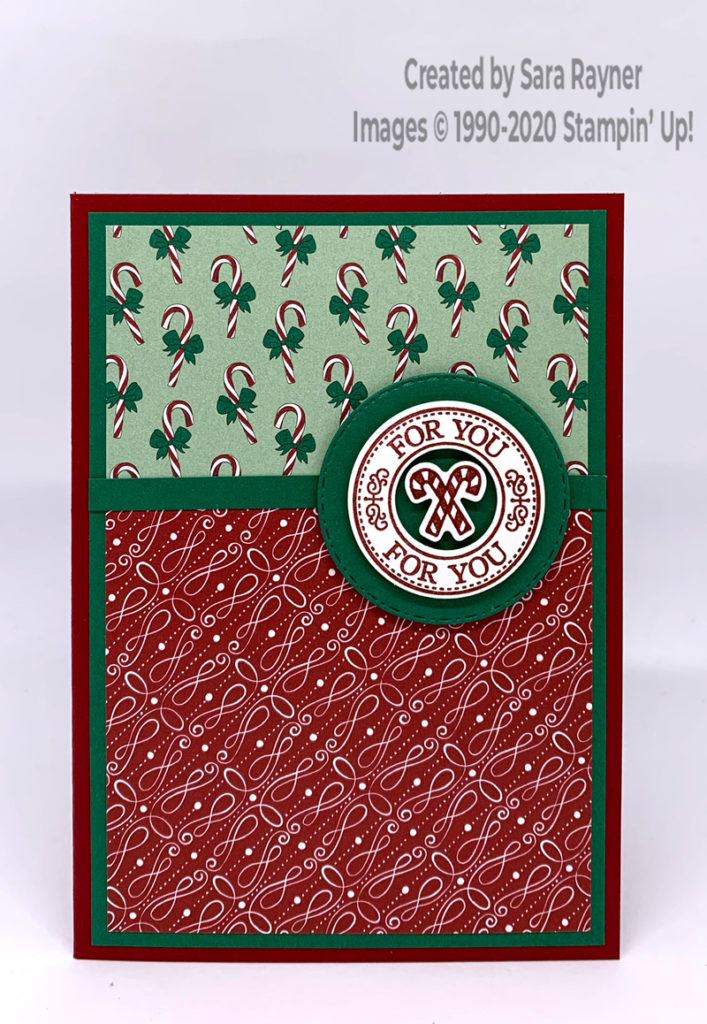
Start with an A6 portrait card of Cherry Cobbler. Cut a mat of Garden Green card. Trim two patterns of ‘Tis the Season DSP to the size of a card front layer, just smaller than the Garden Green layer. Cut across both pieces of DSP in one go, approx. 1/3 down. Mix and match the pieces, adhering them direct to the Garden Green layer. Adhere a skinny strip of Garden Green card across the join in the DSP. Using Cherry Cobbler ink stamp a sentiment from the Warm Hugs set onto a scrap of Whisper White. Stamp the outline and infill candy canes from the same set onto another scrap. Die cut the sentiment and candy canes with the co-ordinating Warm Wraps dies. Pop these up on mini dimensionals on a stitched circle cut from Garden Green card and the pop all the layers up on the card front.
Candy cane Christmas card insert
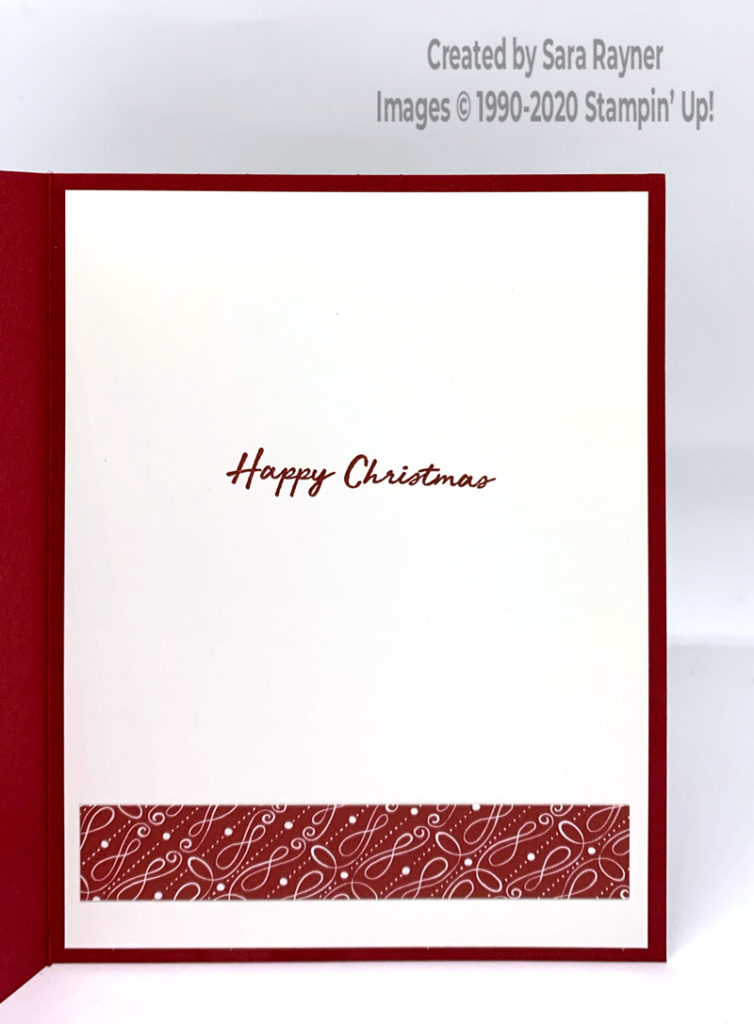
On the Whisper White insert, stamp another sentiment from the Warm Hugs set, using Cherry Cobbler ink. Add a strip of one of the patterns of the ‘Tis the Season DSP used on the front, along the base.
Thanks for stopping by.
Sara xx
You can find supplies for this candy cane Christmas card in my online shop.


0 Comments