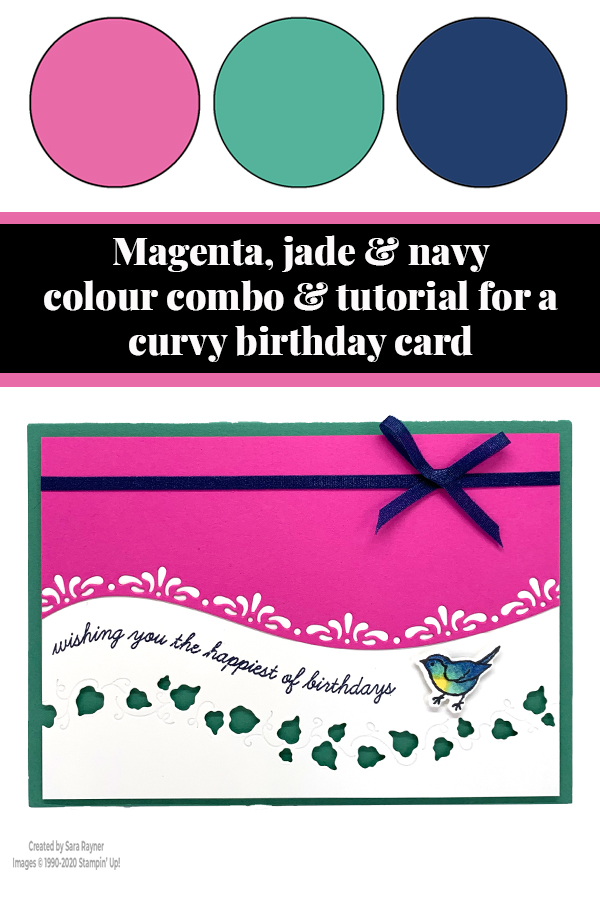
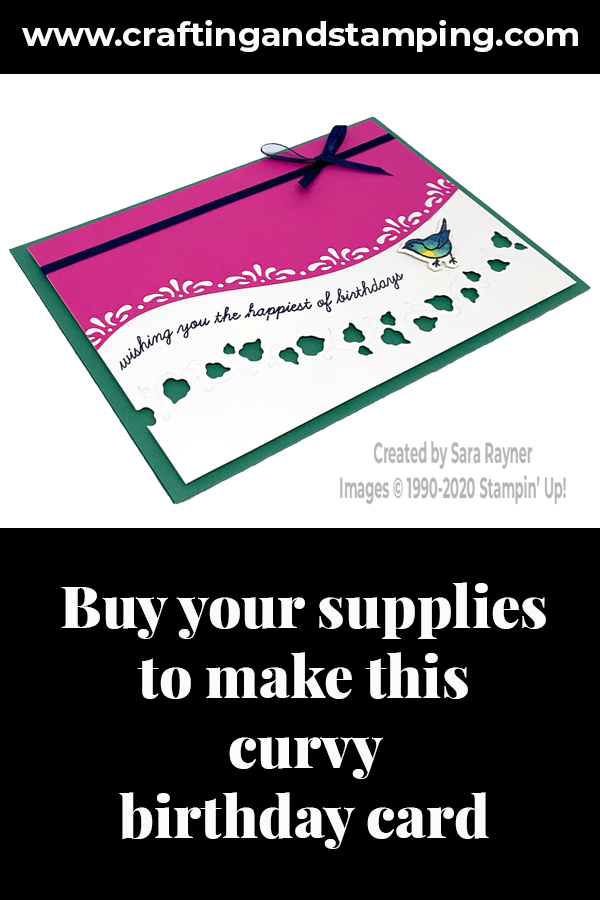
Today’s tutorial is for a curvy birthday card. This uses the new Quite Curvy bundle that launched today.
In the tutorial below, I take you step by step through creating the curvy birthday card. I also have a supply list for purchasing anything you don’t already own.
Today is your last chance to get the ‘Tis the Season DSP at a 15% discount! Don’t miss out!
Colour Combo
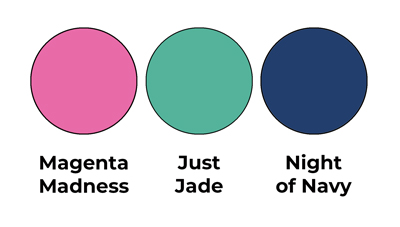
The colour combo mixes Magenta Madness, Just Jade and Night of Navy.
Curvy birthday card tutorial
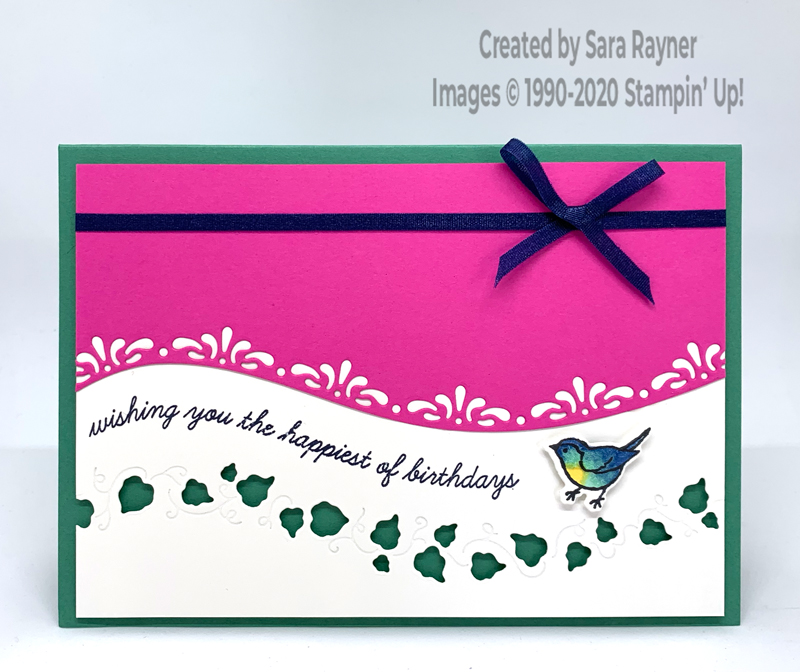
Start with a top folding A6 landscape card of Just Jade. Take a card front layer of Whisper White and die cut with the little leaves die from the Curvy dies. (This die cuts out little leaves but also embosses a trailing vine at the same time). Cut a card front layer of Magenta Madness and use the lacy curved edge to die cut approximately half-way down the front. Adhere this direct to the die cut Whisper White layer. Using Night of Navy ink, stamp the birthday sentiment from the Quite Curvy stamp set between the Magenta layer and the die cut leaves. Wrap Night of Navy ribbon around the top of the card layers before popping them up on the card front with dimensionals. Add a bow of the same ribbon with Mini Glue Dot. Using Memento Black ink, stamp one of the birds onto a scrap of Whisper White. Colour with Blends then die cut out and pop up on the card front with a mini dimensional.
Curvy birthday card insert
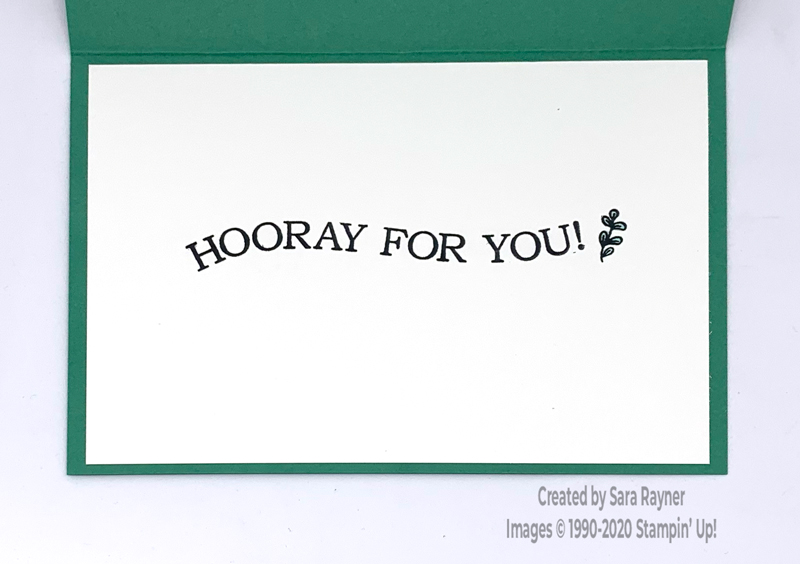
On the Whisper White insert, stamp another sentiment and the little leaf frond from the Quite Curvy set, using Memento Black ink. Colour the leaves.
Thanks for stopping by.
Sara xx
You can find supplies for this Curvy birthday card in my online shop.


0 Comments