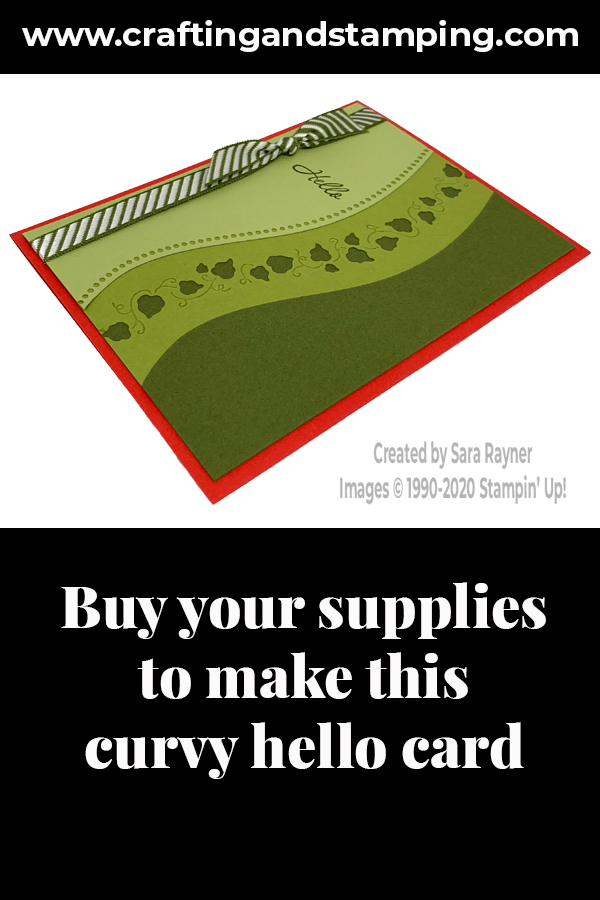
Today’s tutorial for a curvy hello card, marries tones of green with a pop of poppy. After the bright colours of yesterday’s curvy birthday card this colour combo could work well for a masculine card.
In the tutorial below, I take you step by step through creating the curvy hello card. I also have a supply list for purchasing anything you don’t already own.
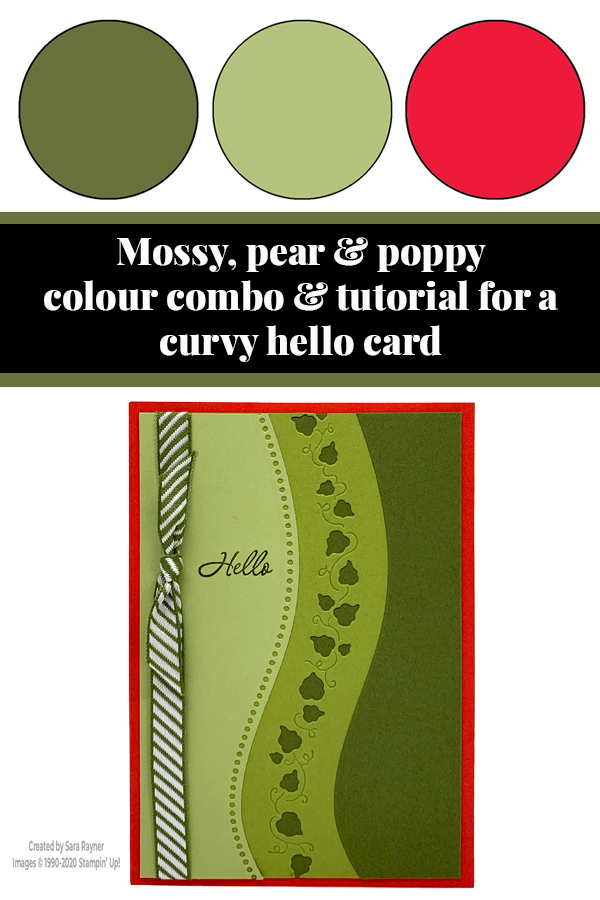
If you enjoy making shaker cards then you may want to retain all the dots and leaves that get die cut out of this card and use them as confetti.
Colour Combo
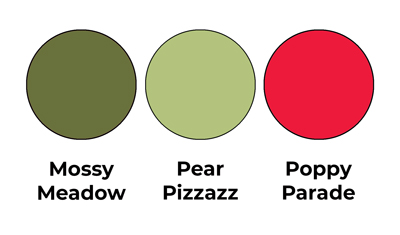
The colour combo mixes Mossy Meadow, Pear Pizzazz and Poppy Parade.
Curvy hello card tutorial
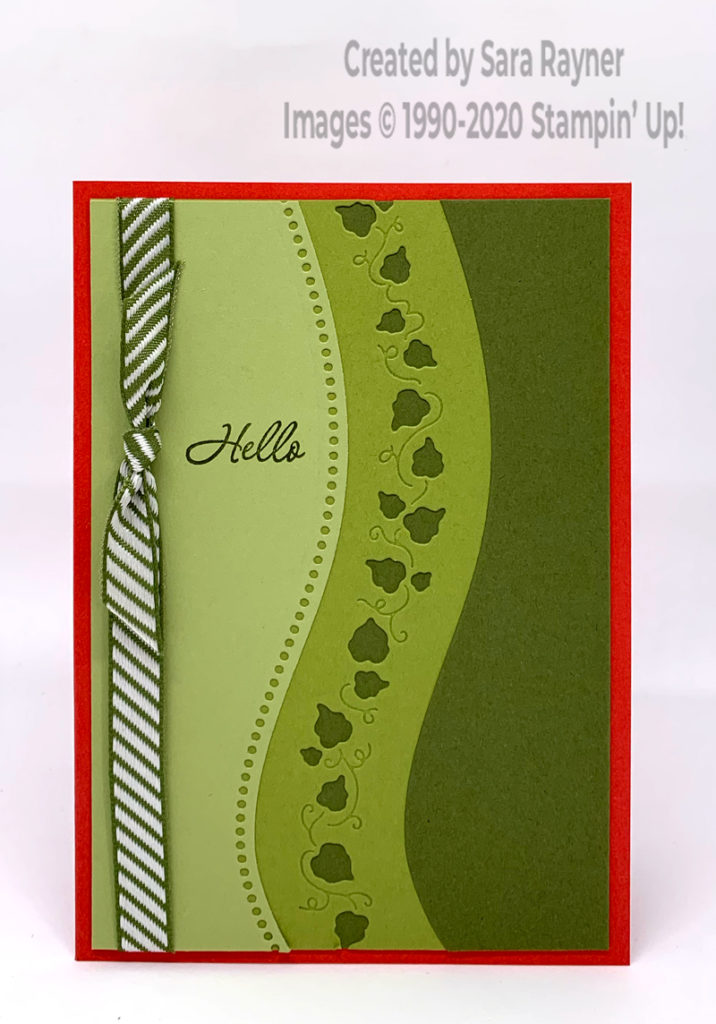
Start with an A6 portrait card of Poppy Parade. Take a 3/4 width card front layer of Old Olive and die cut with the little leaves die from the Curvy dies. Take a 1/2 width card front layer of Pear Pizzazz and die cut with the dotted curve die from the Curvy dies. Using Mossy Meadow ink, stamp the hello sentiment on the widest part of the Pear Pizzazz layer. Adhere the card front layers together, stacked on top of each other. Tie two ends of Mossy Meadow Diagonal Stripe Ribbon together and wrap vertically around the card front layers before adhering them direct to the front of the card. Trim the ends of the ribbon along the diagonal lines.
Curvy hello card insert
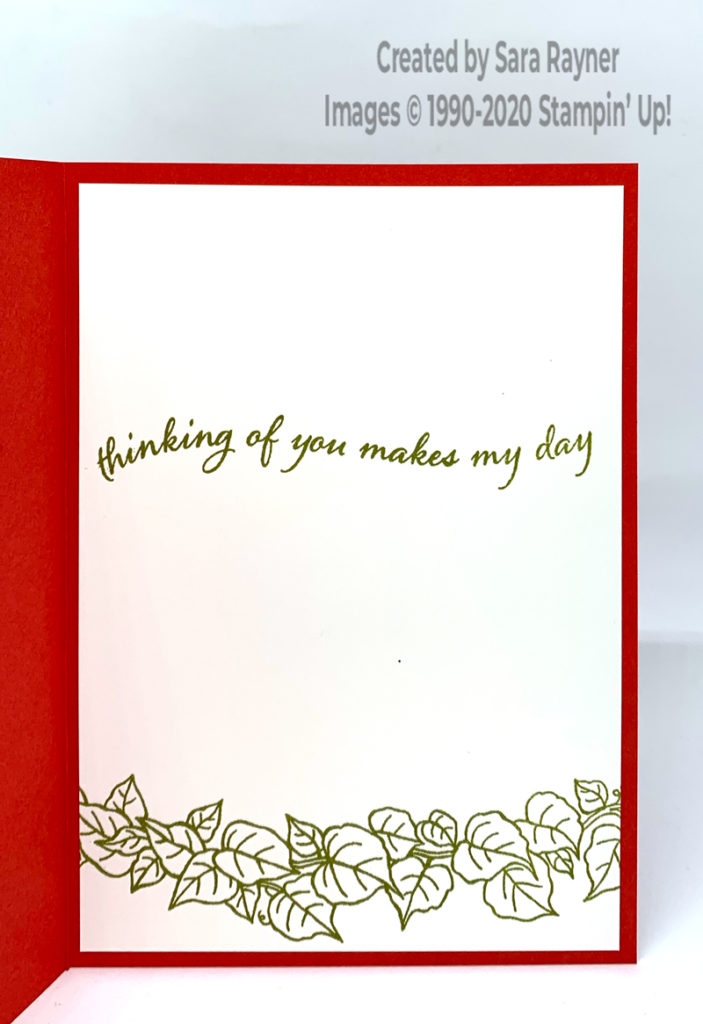
On the Whisper White insert, stamp another sentiment and the broader leaf border from the Quite Curvy set, using Mossy Meadow ink.
Thanks for stopping by.
Sara xx
You can find supplies for this Curvy hello card in my online shop.


0 Comments
Trackbacks/Pingbacks