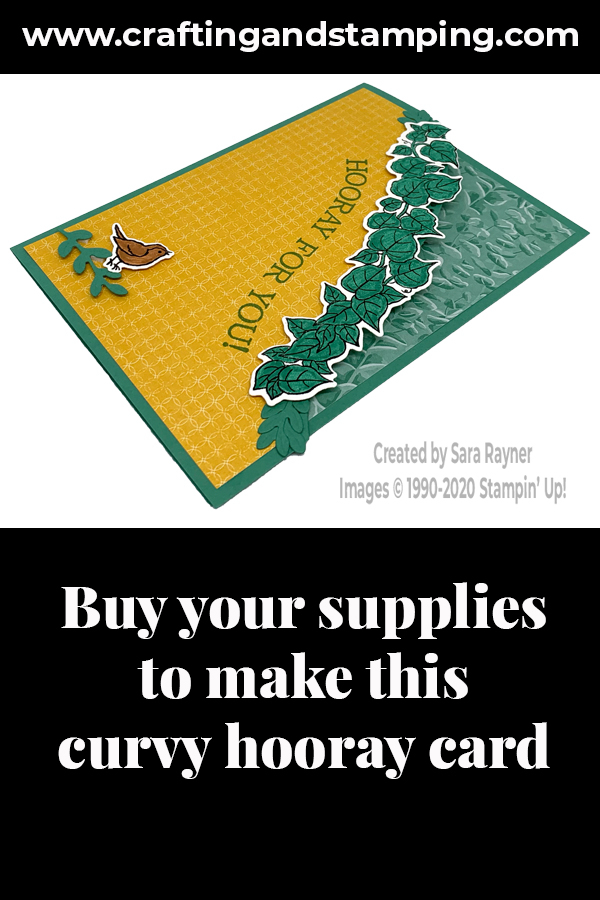
This tutorial walks you through creating a curvy hooray card, perfect to celebrate someone’s good news. Something I think we all could do with right now.
In the tutorial below, I take you step by step through creating the curvy hooray card. I also have a supply list for purchasing anything you don’t already own.
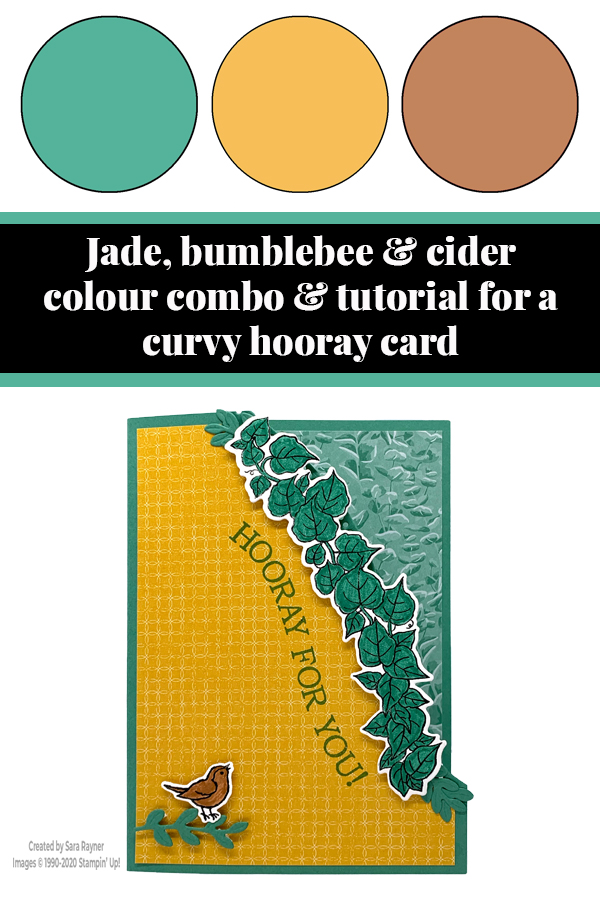
The design means that the leafy jade background is actually on the inside of the card but can still be seen with the card closed.
This time we’re using the broad leaf dies rather than the thin ones used on this card front.
Colour Combo
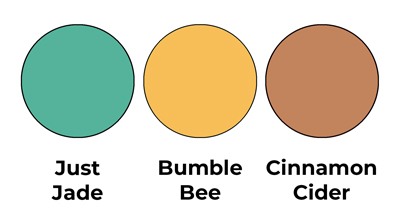
The colour combo mixes Just Jade, Bumble Bee and Cinnamon Cider.
Curvy hooray card tutorial
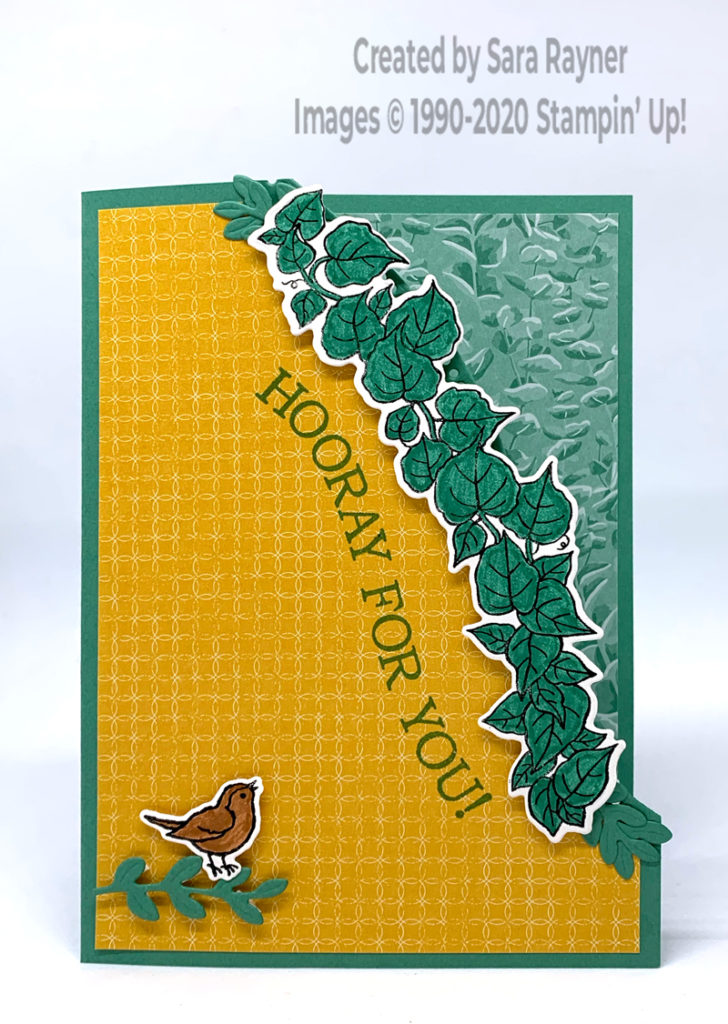
Start with an A6 portrait card of Just Jade. Die cut away the upper right corner of the card front with the dotted curve die from the Curvy dies. Die cut away a similar piece from a card front layer of Flowers for Every Season DSP. Using Black Stazon ink, stamp the broad leaf border and a right facing bird from the Quite Curvy set onto Whisper White card. Colour the leaves and the bird with Stampin’ Write markers. Die cut out with the matching Curvy dies.
Place the leaves over the DSP without adhering to get the placement of the sentiment and stamp with Just Jade ink. Adhere the DSP to the card front and pop the leaf border up on dimensionals along the curve. Die cut little leaves from Just Jade card. Pop one of these up on the lower left corner and use the others to extend the leaf border and cover any mismatched edges. Pop the bird up over the top of the corner branch.
Curvy hooray card insert
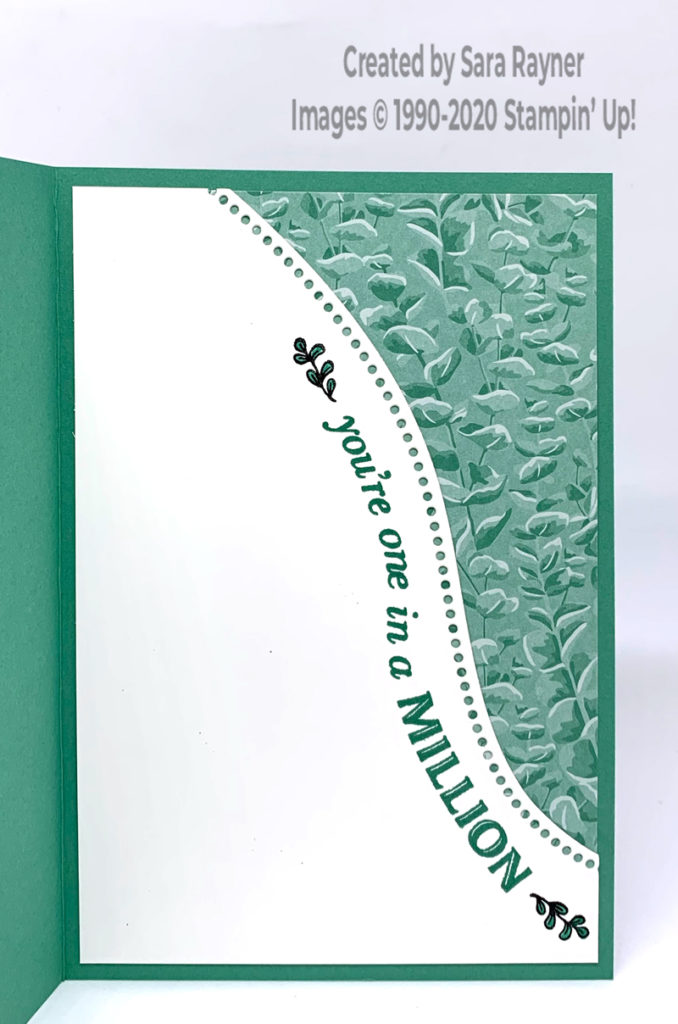
Die cut another dotted curve portion away from a Whisper White insert, following the same begin and end points as the card front. Using Just Jade ink, stamp a sentiment from the Quite Curvy set. Add little leaves at each end of the sentiment with and colour. Mat a piece of Just Jade Flowers for Every Season DSP behind the insert before adhering it inside.
Thanks for stopping by.
Sara xx
You can find supplies for this Curvy hooray card in my online shop.


0 Comments