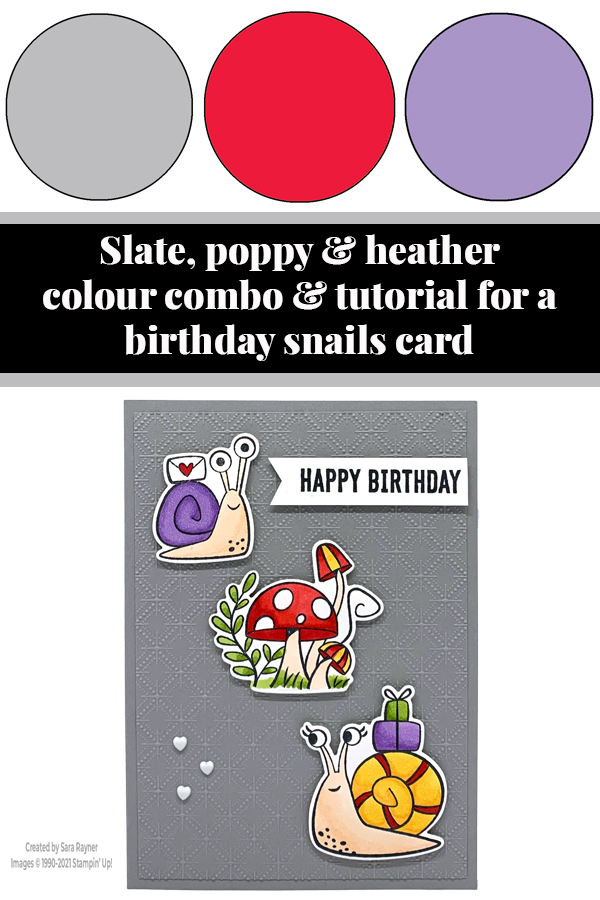
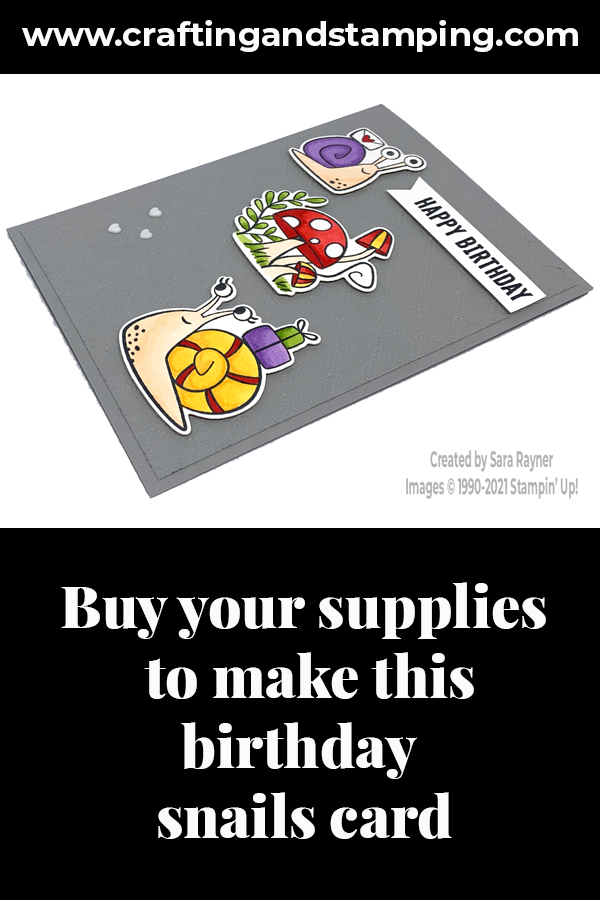
My tutorial today is for a cute birthday snails card. Today we’re using the Snail dies to cut out the images from the co-ordinating stamp set.
The stamp set includes a few different sentiments for general occasion and congratulations but it doesn’t cover birthdays so I added the Itty Bitty Birthdays stamp set.
In the tutorial below, I take you step by step through creating the birthday snails card. I also have a supply list for purchasing anything you don’t already own.
I’m using the Snail dies in my FB Live Online Workshop tonight. It starts at 7pm. Depending on when you read this, you could catch me live, or catch up with the recording afterwards, for a couple more samples.
Colour Combo
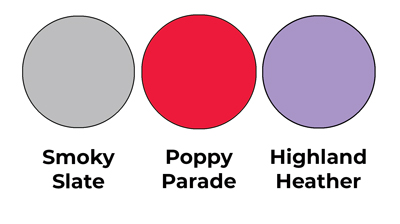
The colour combo mixes Smoky Slate, Poppy Parade and Highland Heather (with little splashes of Mango Melody and Granny Apple Green).
Birthday snails card tutorial
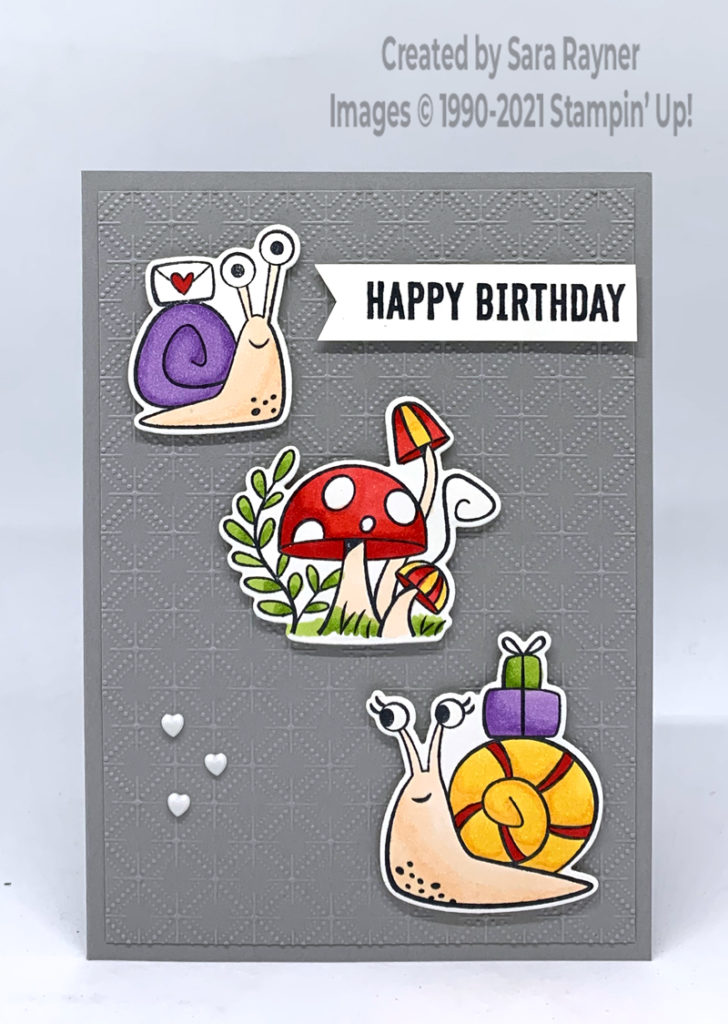
Start with an A6 portrait card of Smoky Slate. Run a card front layer of the same Smoky Slate through the Dainty Diamonds embossing folder before adhering direct to the card front. Using Memento Black ink, stamp the two snails and the toadstool set from the Snailed It set onto Basic White card. Colour with Blends and die cut out with the Snail dies. Pop the two snails up on dimensionals in opposite corners of the card front and then position the toadstool group in between the two. (This method helps you to space the elements evenly). Stamp a sentiment from Itty Bitty Birthdays onto a strip of Basic White card. Flag one end of the sentiment and pop up on the card front with dimensionals. Finish with some Resin Hearts.
Birthday snails card insert
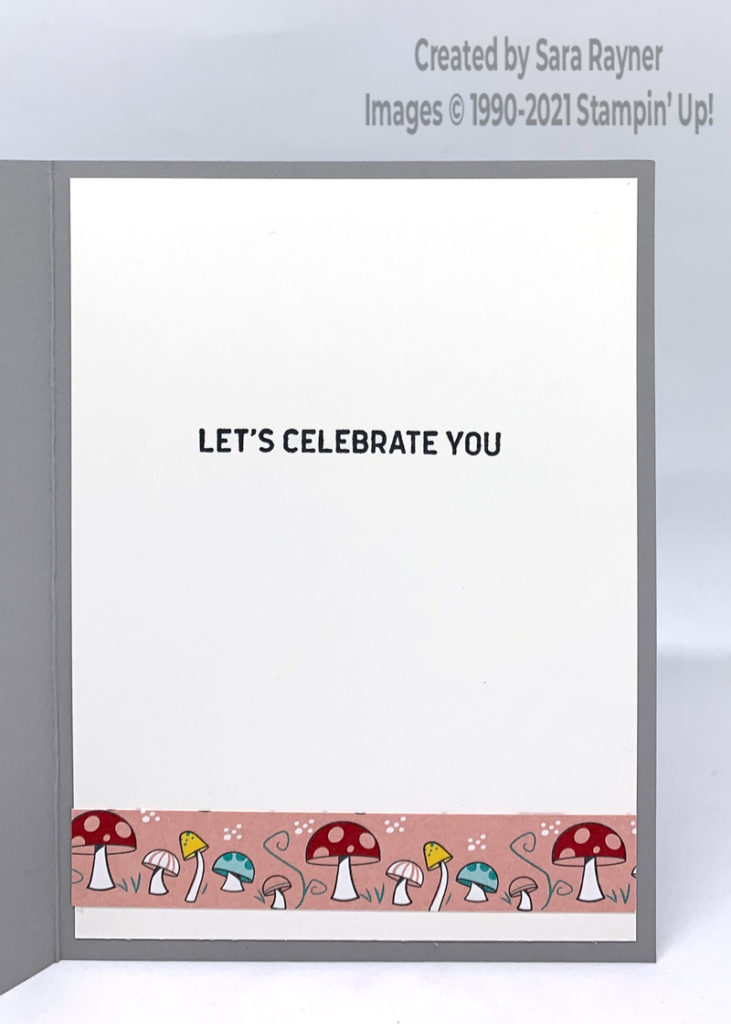
On the Basic White insert, using Memento Black ink, stamp another sentiment from the Itty Bitty Birthdays set. Add a strip of Snail Mail DSP along the base.
Thanks for stopping by.
Sara xx
Buy the supplies for this birthday snails card in my online shop.


0 Comments