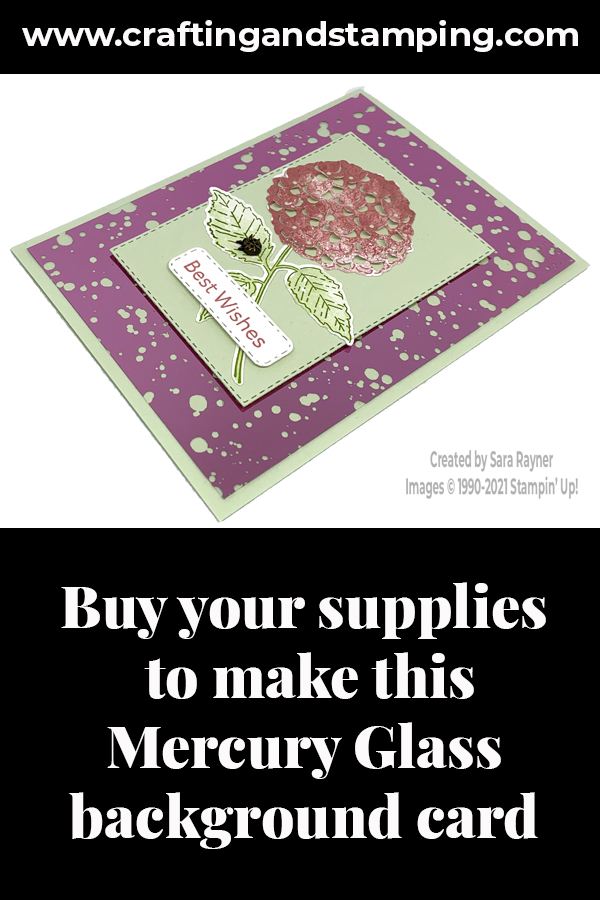
My tutorial today is for a Hydrangea Hill mercury glass background card. The mercury glass provides a deep background frame for the main panel on this card.
Rather than waste all the mercury glass that is hidden. I have a tip to share for getting the most from your mercury glass (or any other designer acetate or foil or similar, that you don’t want to waste).
In the tutorial below, I take you step by step through creating the Hydrangea Hill mercury glass background card. I also have a supply list for purchasing anything you don’t already own.
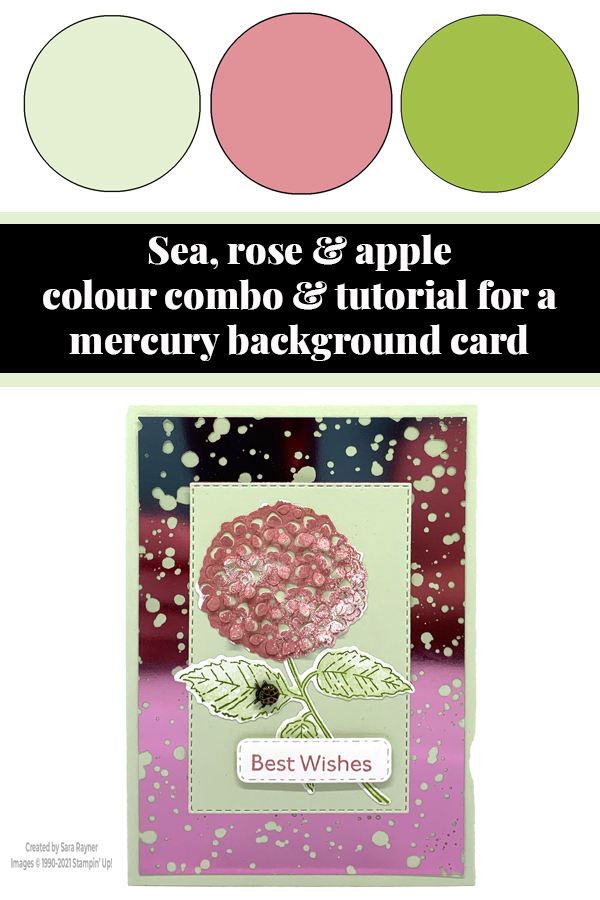
This was my swap card for our Paper Dolls team this month. Swapping is an optional activity for team members that most enjoy for the challenge and giving a purpose to their crafting. All levels of crafter are welcome to take part. If you’d like to know more about joining the team then please get in touch for more information.
Colour Combo
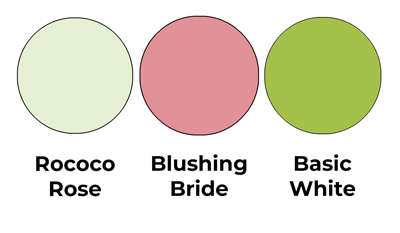
The colour combo mixes Soft Sea Foam and Rococo Rose with just a splash of Granny Apple Green.
Mercury glass background card tutorial
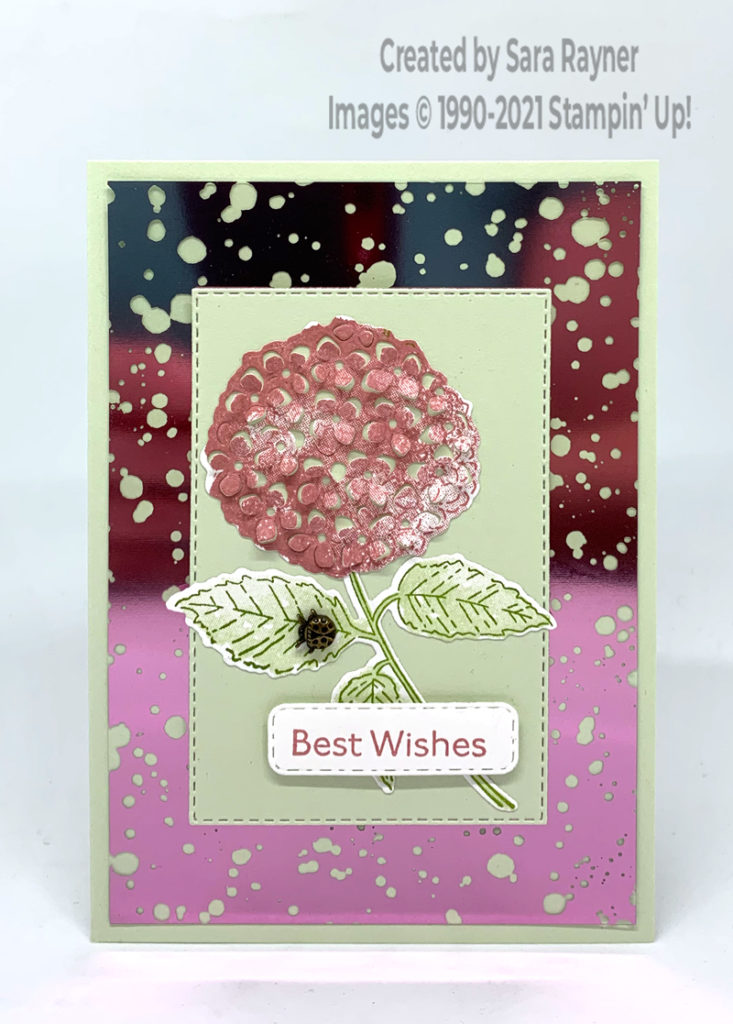
Start with an A6 portrait card of Soft Sea Foam. Cut a card front layer of Hydrangea Hill mercury glass designer acetate. Using the Stitched Rectangle dies, die cut a panel from the centre of the card front layer (using one size smaller than the rectangle you plan to use on the card front). Retain the centre panel and use on a separate project. Note – there is a thin film backing on the mercury glass that will need removing before or after cutting. This video shows how you can effectively get two projects from the single sheet of acetate. Please subscribe to my Youtube channel to make sure you see all future quick tips.
Add glue just around the inner edge of the rectangle frame and adhere the mercury glass to the card front. Use the next size of Stitched Rectangle to die cut a panel from Soft Sea Foam card.
Using Rococo Rose ink, ink and stamp just the full outline Hydrangea head of the flower from the Hydrangea Haven set onto some Basic White card. Use the same ink to add the watercolour flowerhead over the top. Now ink and stamp the bottom of the same flower onto Basic White card (this time just the leaves) using Granny Apple Green ink. Use Soft Sea Foam ink to add the watercolour background to the leaves. Die cut out both the flower head and the leaves using the full flower die from the Hydrangea Dies. Use the flower head die to add die cut petals to the flower, and press the petals up to create a 3D effect. Adhere the leaves and flower head direct to the Soft Sea Foam panel.
Using Rococo Rose ink, stamp a sentiment from the Art Gallery set onto Basic White card. Die cut out with the stitched label from the Hydrangea die set and pop up over the flower with dimensionals. Pop the panel up on the card front with dimensionals, covering the die cut hole in the mercury glass. Finish by adding a Ladybug Trinket to one of the leaves.
Mercury glass background card insert
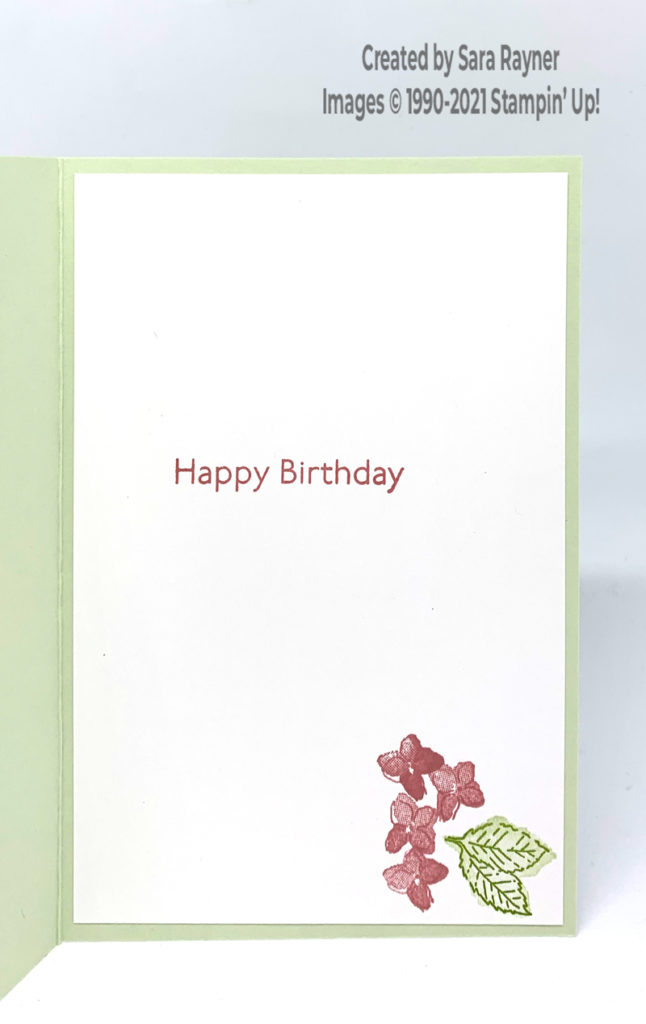
On the Basic White insert, using Rococo Rose ink, stamp another sentiment from the Art Gallery set. Use Granny Apple Green ink to stamp the duo of leaves from the Hydrangea Haven set in the bottom right corner. Add the matching watermark over the top with Soft Sea Foam ink. Using Rococo Rose ink, stamp the single Hydrangea petal several times and then add its watermark over the top of each.
Thanks for stopping by.
Sara xx
Buy the supplies for this Hydrangea Hill mercury glass background card in my online shop.


0 Comments
Trackbacks/Pingbacks