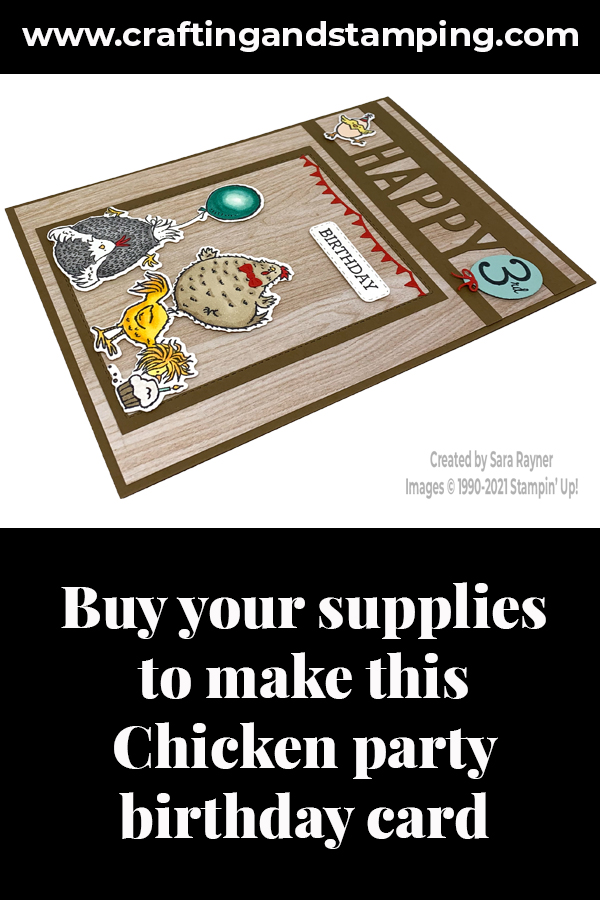
My tutorial today is for a chicken party birthday card. This card is one of my large cards (A5 size – a full sheet of card folded in half) and so there is room for all of the chickens to be included.
This particular card was commissioned for a specific family birthday. Of course it can be adapted simply by leaving the balloon blank and switching the sentiment inside.
In the tutorial below, I take you step by step through creating the chicken party birthday card. I also have a supply list for purchasing anything you don’t already own.
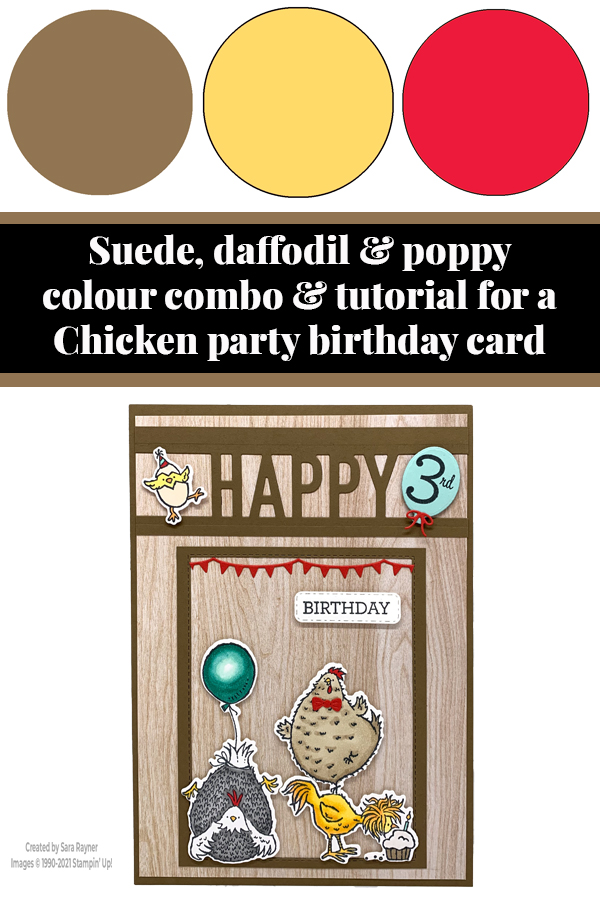
The Happy die set works so well with the Hey Birthday Chick bundle, providing more balloons and bunting and adding to the party feeling.
I’ve also used the Stitched Rectangle dies to create a frame and the Hydrangea dies for the stitched label, simply because they were out on my desk. You could easily use simple cut pieces instead if you don’t have these dies.
Colour Combo
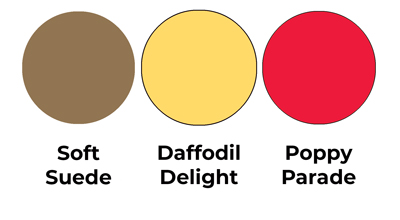
The colour combo mixes Soft Suede, Daffodil Delight and Poppy Parade.
Chicken party birthday card
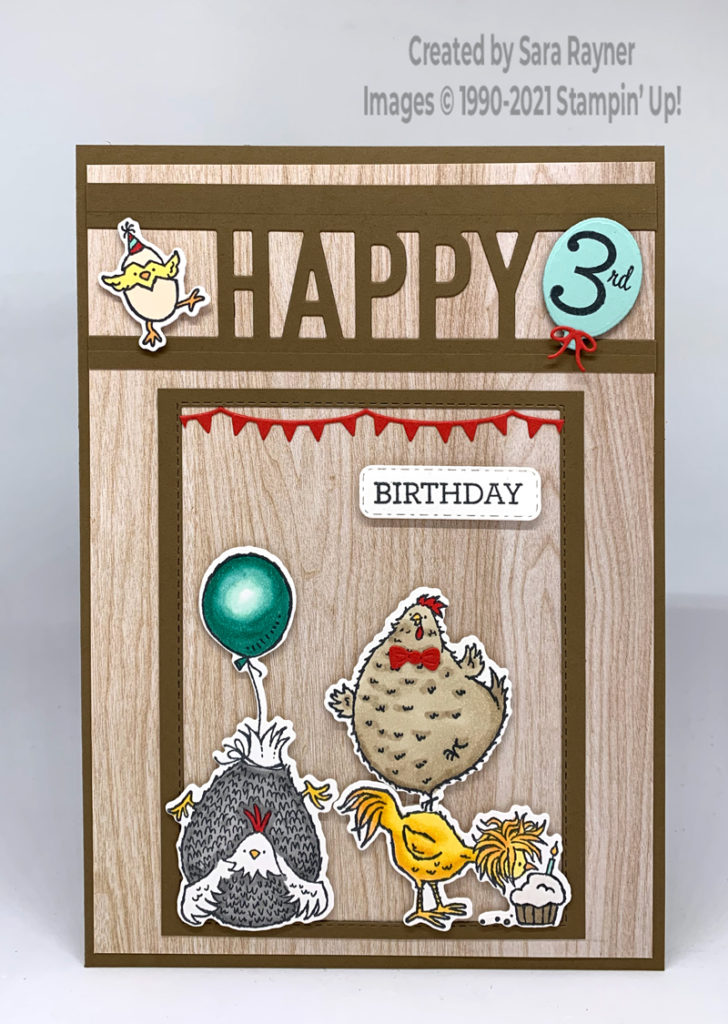
Start with an A5 portrait card of Soft Suede. Mat with In Good Taste DSP. Using the Happy dies, die cut the sentiment from Soft Suede card and adhere direct to the card front. Cut a large panel of Soft Suede card and die cut away the largest Stitched Rectangle from the centre. Adhere the frame direct to the card front.
Die cut a large balloon from Pool Party card using the the same Happy die set. Add the birthday number from the Family Party set with Memento Black ink and pop the balloon up on a dimensional to the right of the “Happy”. Use the Happy dies to die cut bunting, a bow for the balloon and a bow tie, all from Poppy Parade card. Adhere the balloon bow and the bunting direct and save the bow tie for the next step. Using Memento Black ink, stamp the sentiment from Family Party onto a scrap of Basic White card. Die cut out with the Hydrangea dies and pop up on the card front with mini dimensionals.
Using Memento Black ink, stamp the four chickens from the Hey Birthday Chick set onto Basic White card. Colour with Blends and die cut out. Pop the hatchling chick up on a dimensional to the left of the “Happy”. Pop the other three chickens up within the frame with more dimensionals, “balancing” one on the back of another. Add the bow tie to the balancing chicken.
Chicken party birthday card insert
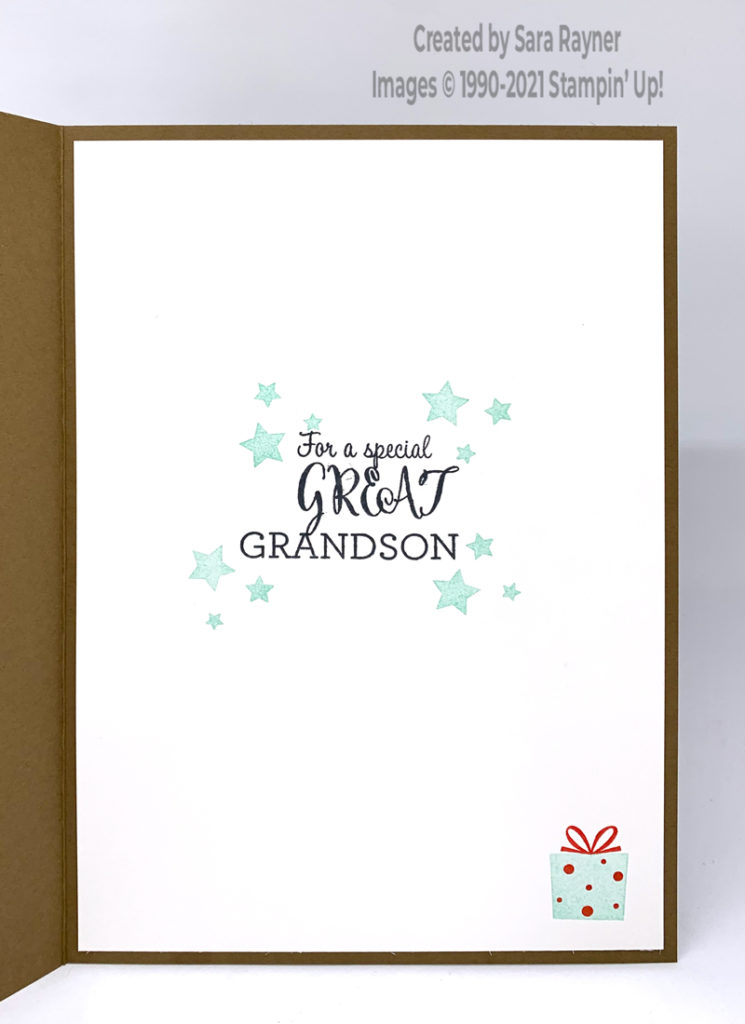
On the Basic White insert, using Memento Black ink, stamp a family birthday sentiment from the Family Party set. (The “Great” was added with the Making a Difference set). Using Pool Party ink, add stars and the box for the gift from the same stamp set. Finish by adding a decoration to the “gift” using Poppy Parade ink.
Thanks for stopping by.
Sara xx
Buy the supplies for this chicken party birthday card in my online shop.


0 Comments