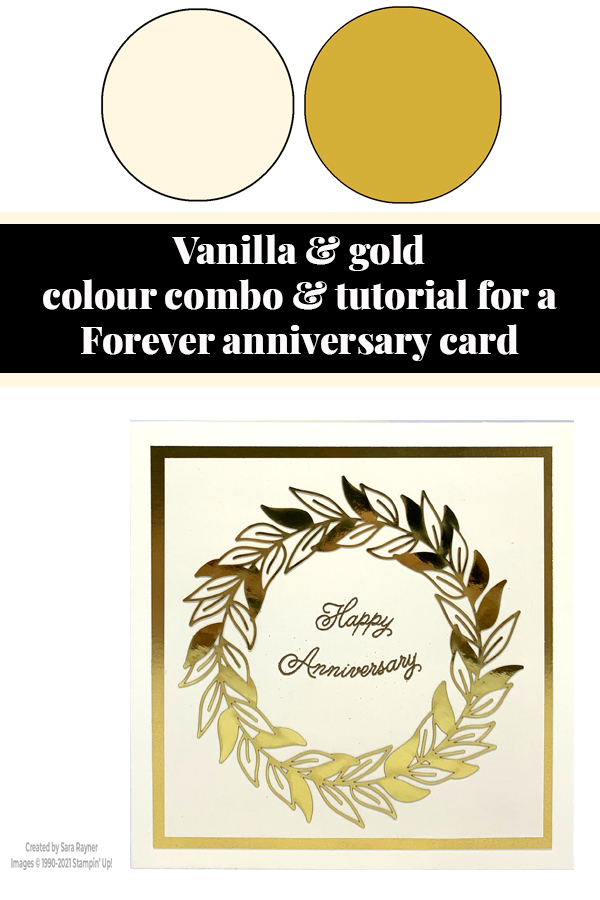
Today’s tutorial is for a Forever Gold anniversary card. The Forever Gold Laser-cut Specialty Paper contains pre-cut card fronts and greenery accents of Gold Foil. They make a quick and easy but elegant addition to your projects.
Each week over on my Facebook page (please pop over and Like or Follow) I choose a product pick of the week to feature. This week, it’s this Forever Gold Laser-cut Specialty Paper. I’ll have a selection of tutorials for you throughout the week that use this elegant paper.
In the tutorial below, I take you step by step through creating the Forever Gold anniversary card. I also have a supply list for purchasing anything you don’t already own.
Although all the elements in the Forever Gold pack are laser cut from gold foil, the other side is white (which of course you can colour to match any other project). There are 6 (9-3/4″ x 10″) sheets in each pack: 3 each of 2 single-sided designs.
Heat embossing is used for the sentiment on the front of the card. If this is too advanced for a beginner crafter, or you just need a quicker option, then simply stamp the sentiment with Soft Suede ink.
Colour Combo
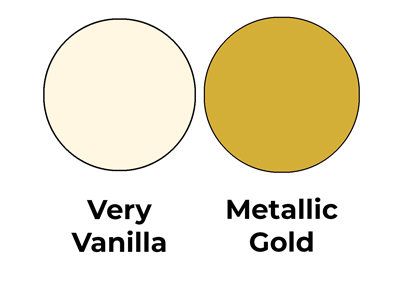
The colour combo is a simple and elegant duo of Very Vanilla and Metallic Gold.
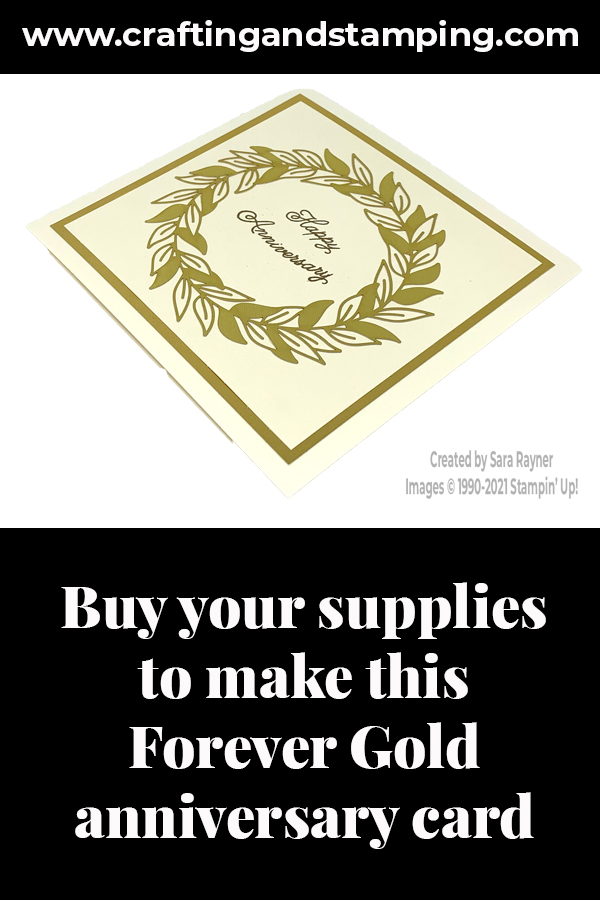
Forever Gold anniversary card
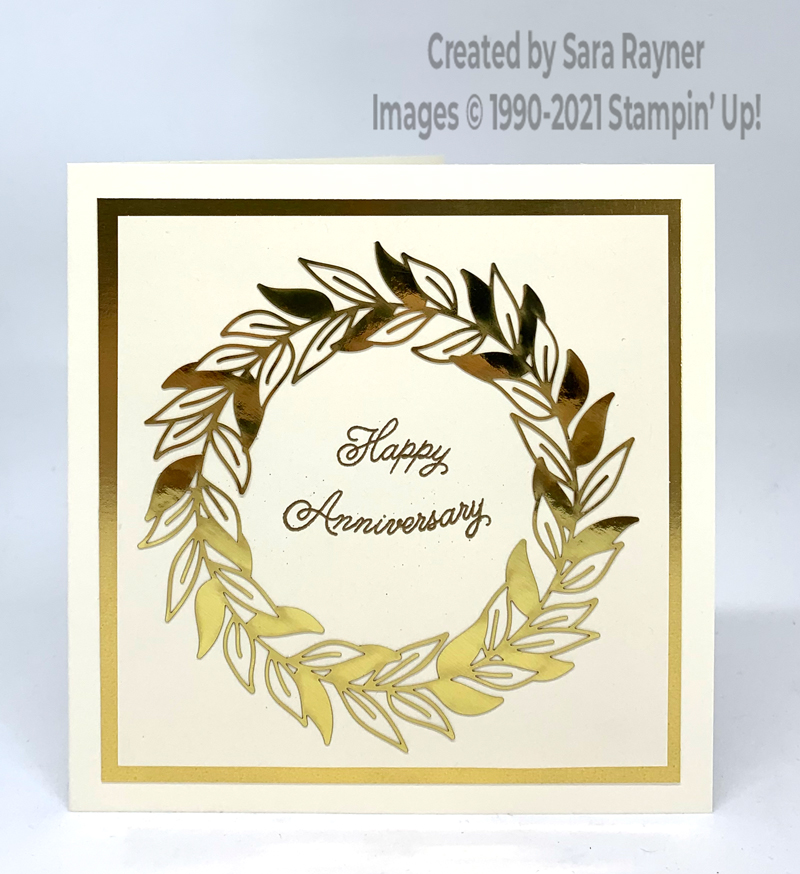
Start with a large square (5″ x 5″) of Thick Very Vanilla card. Mat with Gold Foil. On a slightly smaller square of Very Vanilla, stamp a sentiment from the Always in My Heart stamp set with Versamark ink. (I snipped my sentiment in two to fit it in the centre – it can be assembled back together on a clear block to stamp as a single line). Cover with Gold EP and heat emboss. (Tip – flick away any stray specks of embossing powder before heating). Adhere the wreath of leaves from the Forever Gold Laser-cut Specialty Paper direct to the embossed layer. Adhere the layer direct to the card front.
Forever Gold anniversary card inside
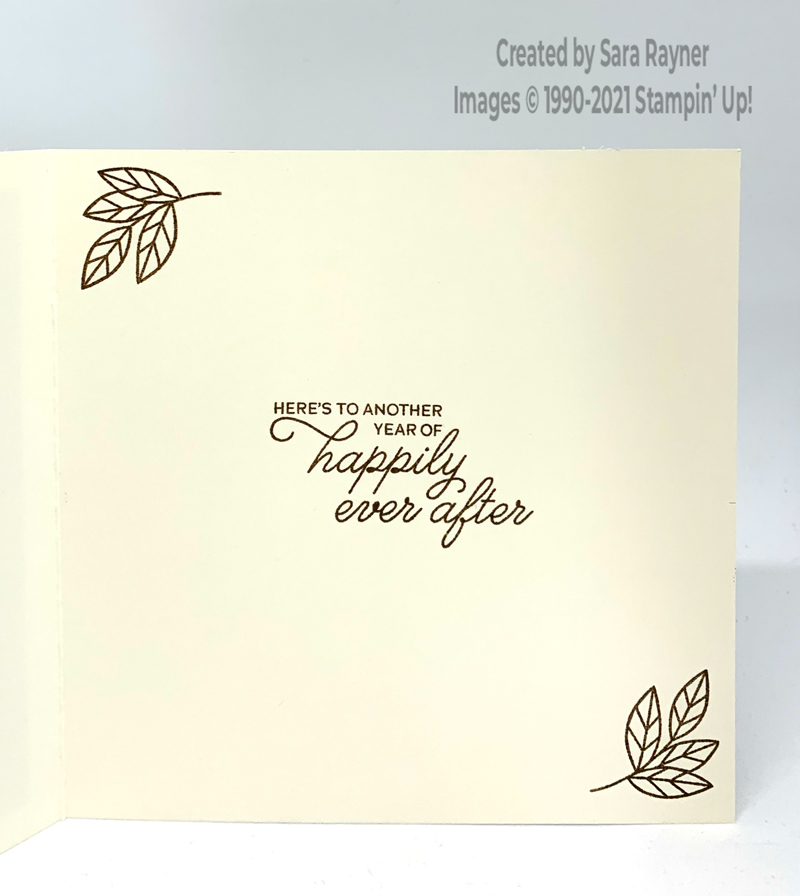
I usually add an insert to any coloured card base but if I’m using Basic White or Very Vanilla as my base, then I stamp on the inside direct. If I make a mistake then I can always add an insert to cover it up. Using Soft Suede ink, stamp another sentiment from the Always in My Heart stamp set and add the leaves from it in opposite corners.
Thanks for stopping by.
Sara xx
Buy the supplies for this Forever Gold anniversary card in my online shop.


0 Comments
Trackbacks/Pingbacks