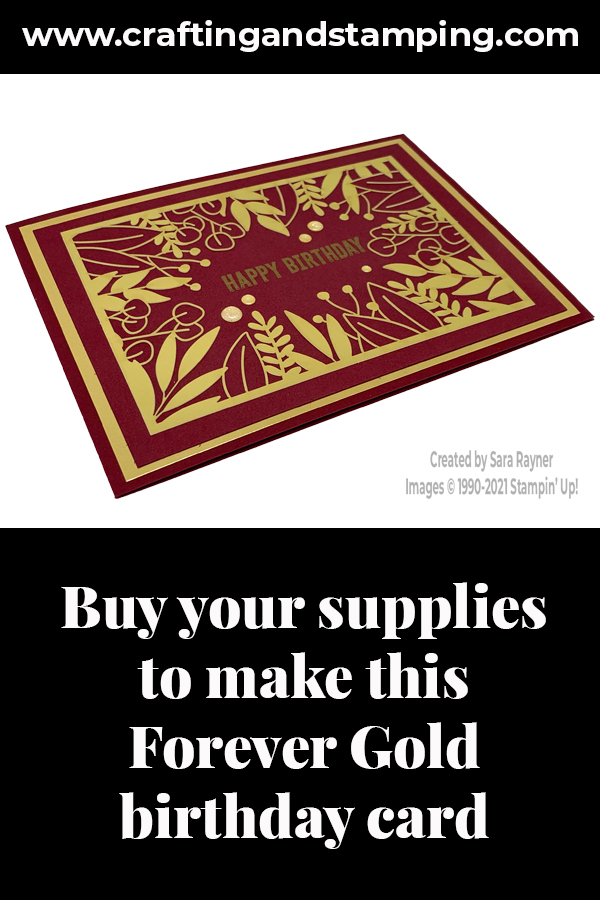
My tutorial today is for a Forever Gold birthday card. This one uses one of the pre-cut card fronts from the Forever Gold Laser-cut Specialty Paper to do most of the work for me.
In the tutorial below, I take you step by step through creating the Forever Gold birthday card. I also have a supply list for purchasing anything you don’t already own.
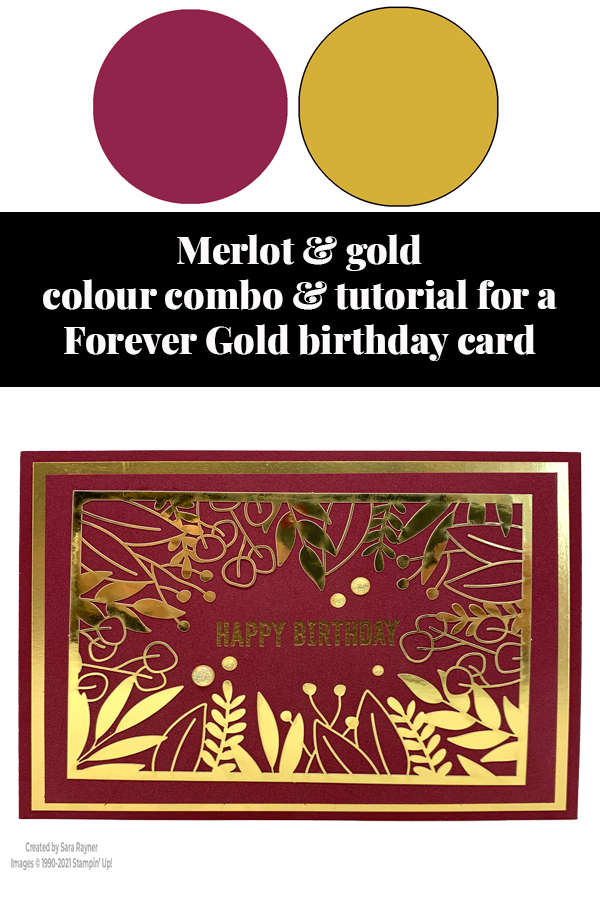
Heat embossing is used for the sentiment on the front of the card, the same as for the Forever Gold anniversary card I shared. This technique may be too advanced for a beginner crafter. The darker cardstock limits our options a little more this time, but an alternative is to stamp the sentiment with Merry Merlot ink onto a small rectangle of Very Vanilla card.
Exciting news – today is the day that Stampin’ Up! are sharing the new annual catalogue with us demonstrators. It doesn’t launch until 4th May. One of the perks of being a demonstrator though, is that I get to see the catty online tonight and then I’ll get to pre-order goodies next week! If you like the idea of these benefits then please get in touch so I can help you join my team and get your very own sneak peeks.
Colour Combo
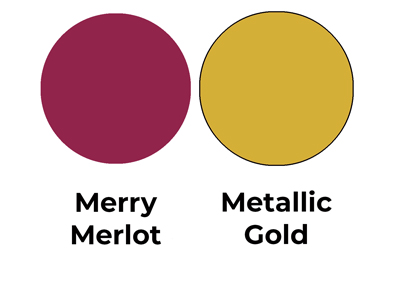
A simple duo for the colour combo again, this time adding Merry Merlot to the Metallic Gold.
Forever Gold birthday card
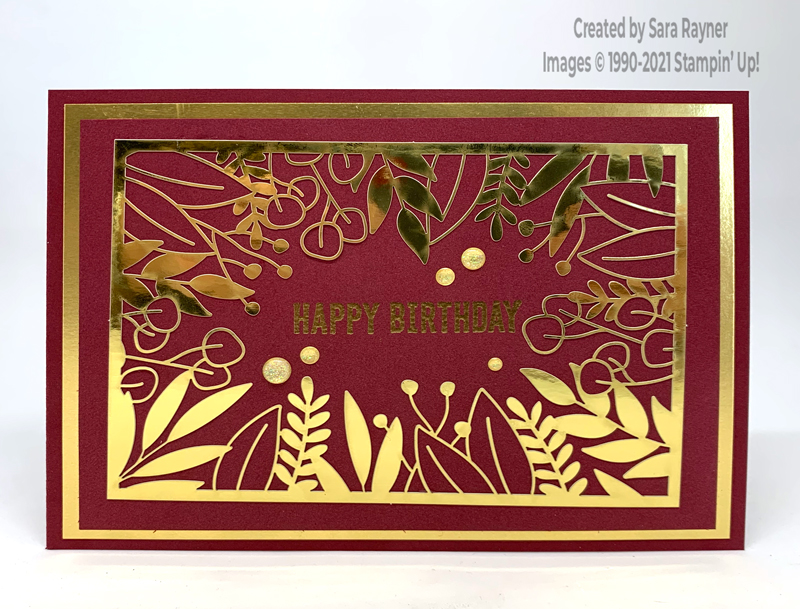
Start with an A6 landscape card of Merry Merlot. Mat with Gold Foil. On a card front layer of Merry Merlot stamp a sentiment from the Itty Bitty Birthdays in the centre using Versamark ink. Cover with Gold EP and heat emboss. Adhere the card front with a space in the centre, from the Forever Gold Laser-cut Specialty Paper direct to the embossed layer. Adhere the layer direct to the card front. Finish with Gold Glitter Enamel Dots.
Forever Gold birthday card insert
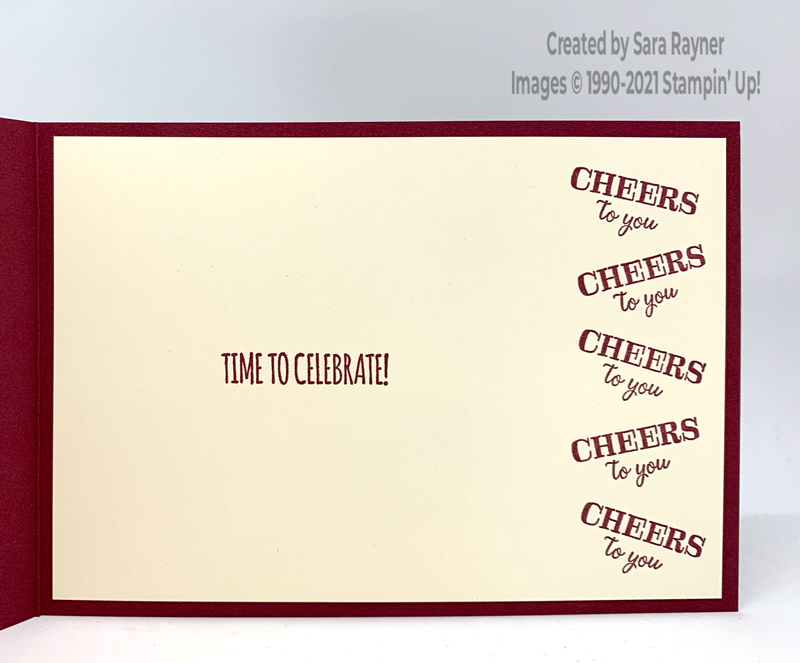
On the Very Vanilla insert, stamp a sentiment from the Itty Bitty Birthday set slightly to centre left using Merry Merlot ink. Using the same ink, repeat stamp one of the other sentiments down the right side, varying the angle each time. Tip – I stamped the centre one first and then worked outward from there for the spacing.
Thanks for stopping by.
Sara xx
Buy the supplies for this Forever Gold birthday card in my online shop.


0 Comments