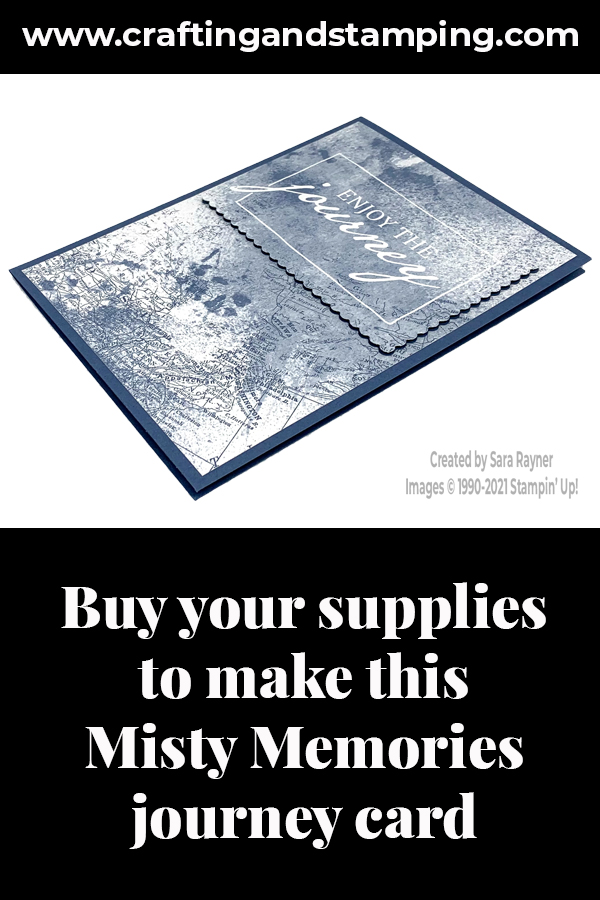
Today’s tutorial is for a Misty Memories journey card. Although this card mentions a journey, it doesn’t necessarily have to mean a travel journey. As with our earlier card on the same theme, it could be any major change on the journey through life.
This is a really simple and quick card to make.
In the tutorial below, I take you step by step through creating the Misty Memories journey card. I also have a supply list for purchasing anything you don’t already own.
As a reminder, this particular Memories & More Card Pack has 50 total double-sided cards (2 each of 25 designs) in 3″ x 4″ and 4″ x 6″ sizes; six 4″ x 6″ single-sided speciality cards with brass foil; 4 sticker sheets, 1 each of 4 designs.
The World of Good Memories & More Card Pack is no longer showing as backordered so it may sell out soon. The Stitched So Sweetly dies will be carrying forward to the new catalogue but they won’t be available as a bundle with the So Sentimental stamp set as the stamps are retiring.
Colour Combo
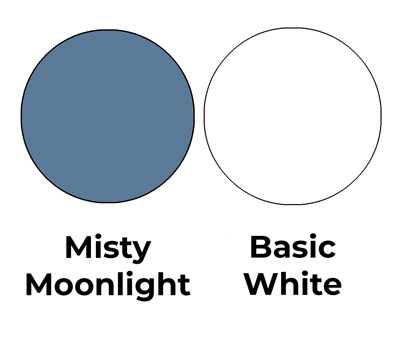
The colour combo uses only Misty Moonlight and there is some white there too for a little lift.
Misty Memories journey card
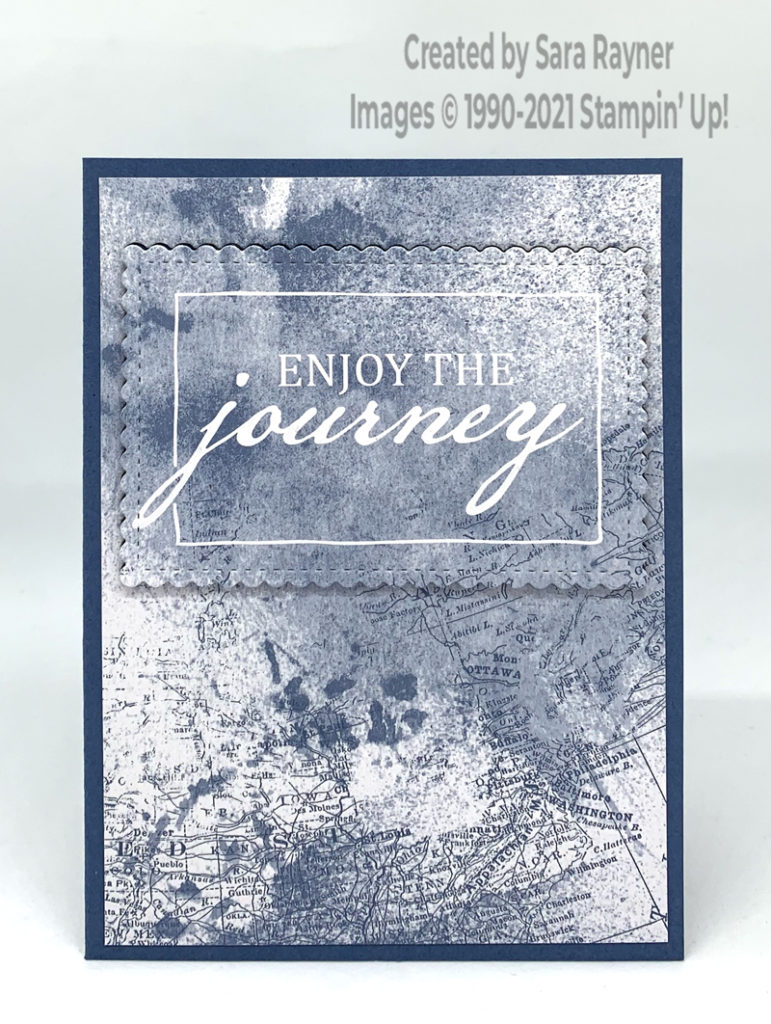
Start with an A6 portrait card of Misty Moonlight. Take one of the large sentiment cards from the World of Good Memories & More Card Pack. Trim the card slightly on all four sides so that it fits on the card front. Using the Stitched So Sweetly dies, die cut the sentiment from the card. Adhere the map portion direct to the front of the card. Pop the die cut sentiment up on the card front with dimensionals, lining it up with aperture, which then gives a slight shadow effect.
Misty Memories journey card insert
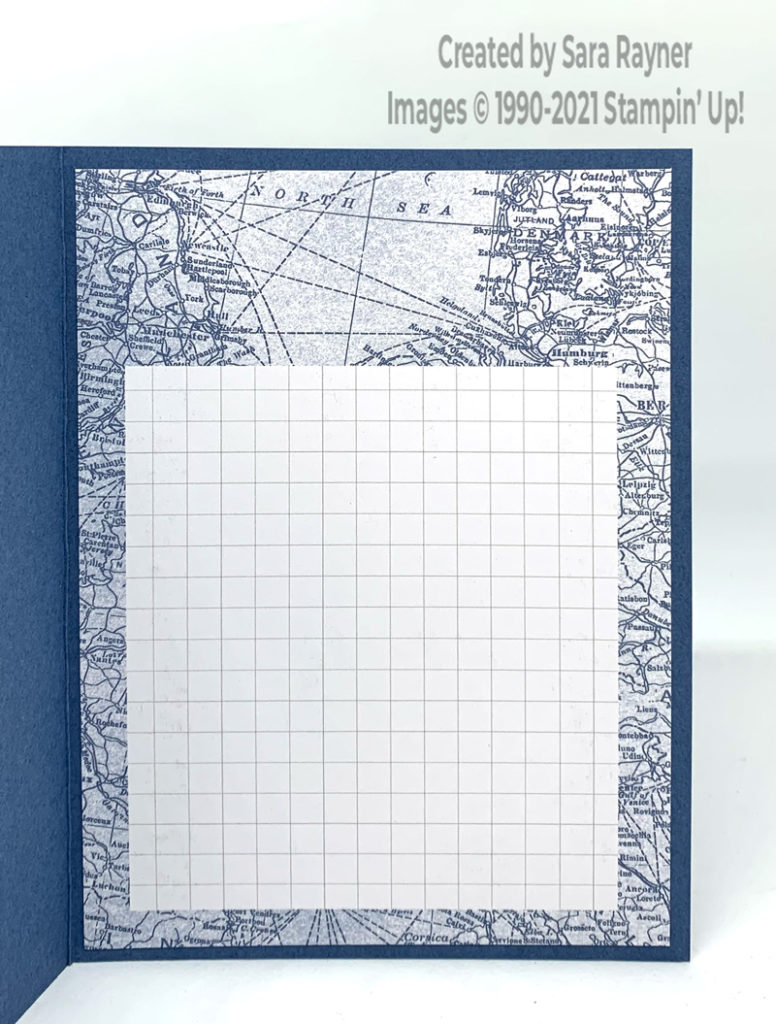
Take another of the Misty Moonlight coloured large cards from the World of Good Memories & More Card Pack. Trim again slightly from all four sides and adhere direct to the inside of the card.
Thanks for stopping by.
Sara xx
Buy the supplies for this Misty Memories journey card in my online shop.


0 Comments