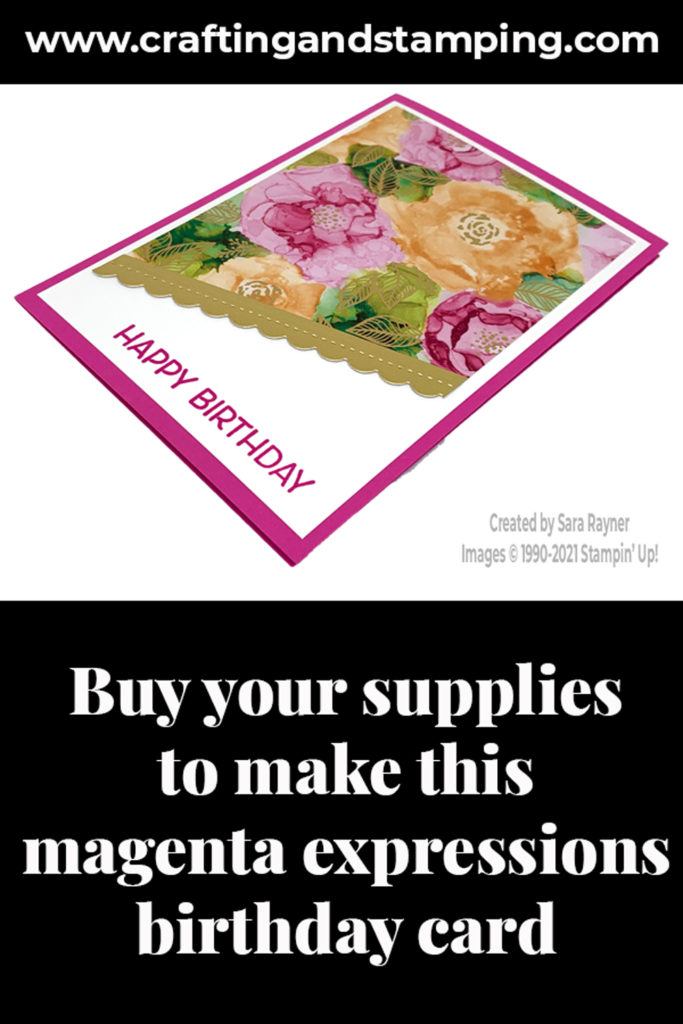
Today’s tutorial is for a Magenta Madness expressions birthday card. We’re using negative space again to place our sentiment but this time we’ve created it, rather than found it as we did in the pattern here.
In the tutorial below, I take you step by step through creating the Magenta Madness expressions birthday card. I also have a supply list for purchasing anything you don’t already own.
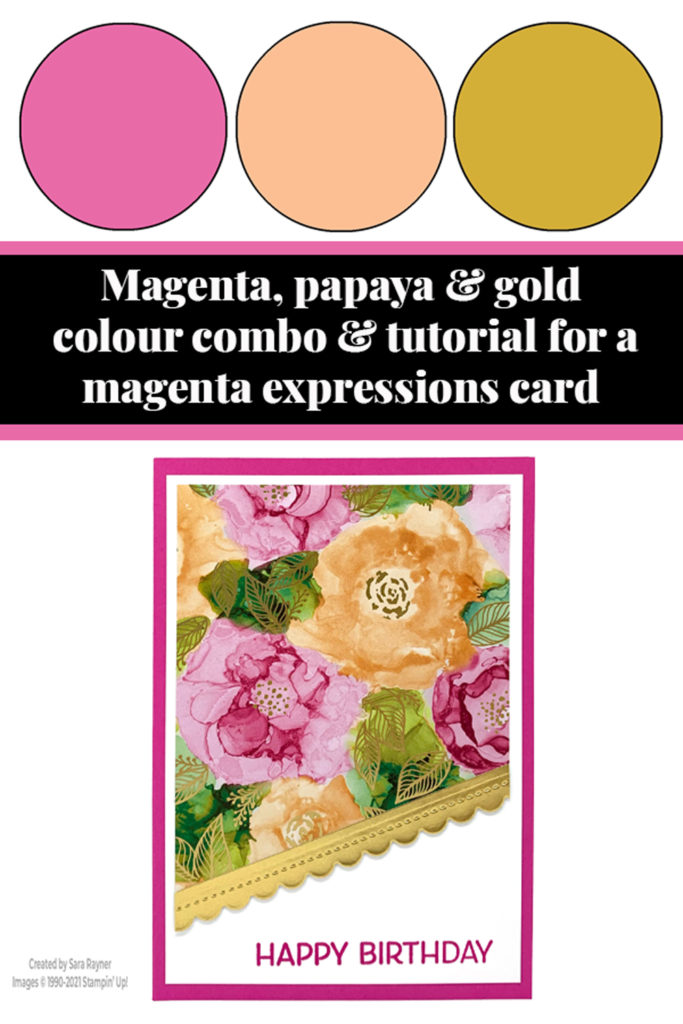
We made an alternate version of this card as one of the make and takes at our monthly online team meeting on Tuesday, using the Love You Always Specialty DSP and foil from the retiring January-June catalogue. If you’d like to know more about joining our team to craft along at future meetings then please email me.
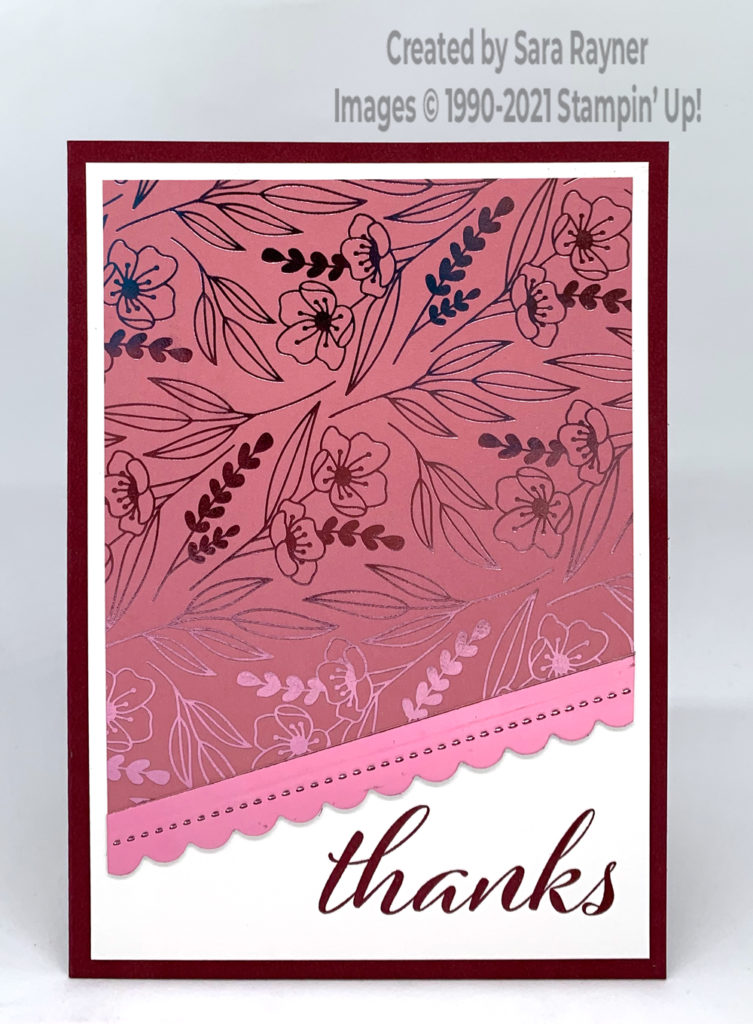
Colour Combo
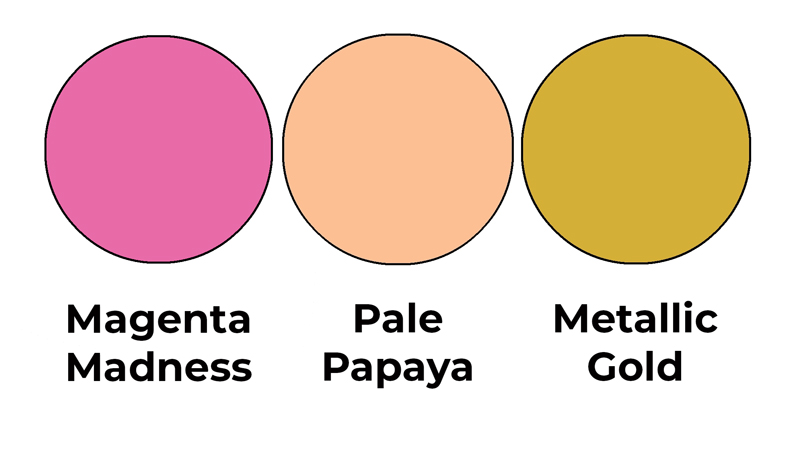
The colour combo mixes Magenta Madness, Pale Papaya and Metallic Gold.
Magenta Madness expressions birthday card
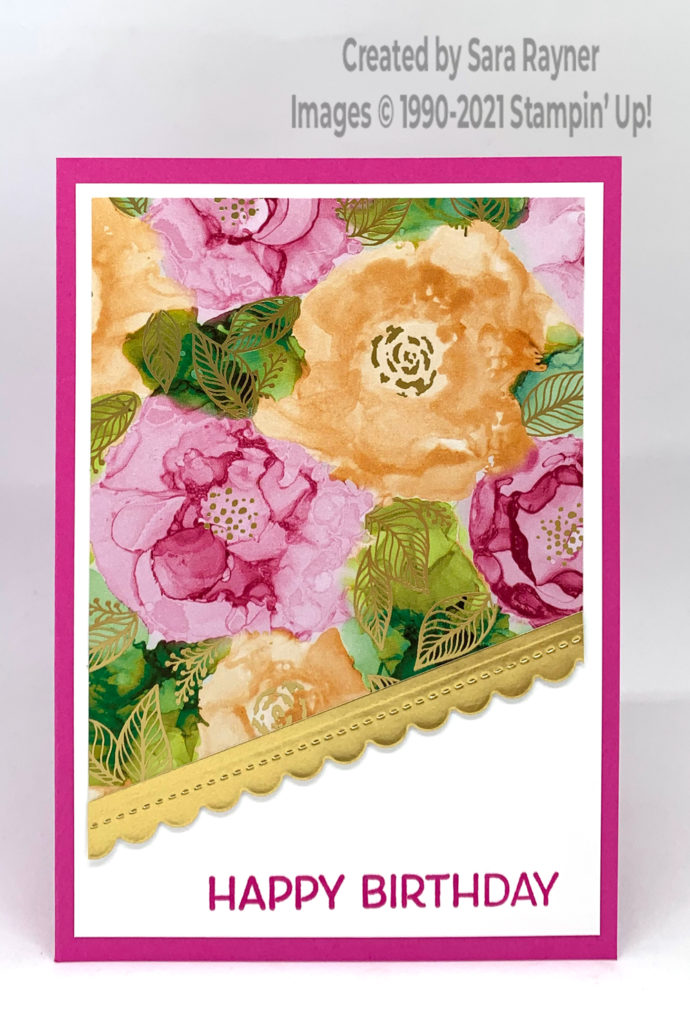
Start with an A6 portrait card of Magenta Madness. Cut a card front layer of Basic White card. Using Magenta Madness ink, stamp a sentiment from the Artistically Inked stamp on the lower right corner of the layer. Cut a card front layer of Expressions in Ink Specialty DSP. Cut away the bottom right corner diagonally, starting 3/4″-1″ on the left and rising to 2-1/2-3″ on the right. Retain this piece for the insert. Using the the scalloped border from the Penned Flowers die set, die cut a skinny border from Gold Foil. Adhere this direct along the diagonal cut line of the DSP and trim away any excess. Adhere the decorated DSP layer direct to the stamped layer and then direct to the card front.
Magenta Madness expressions birthday card insert
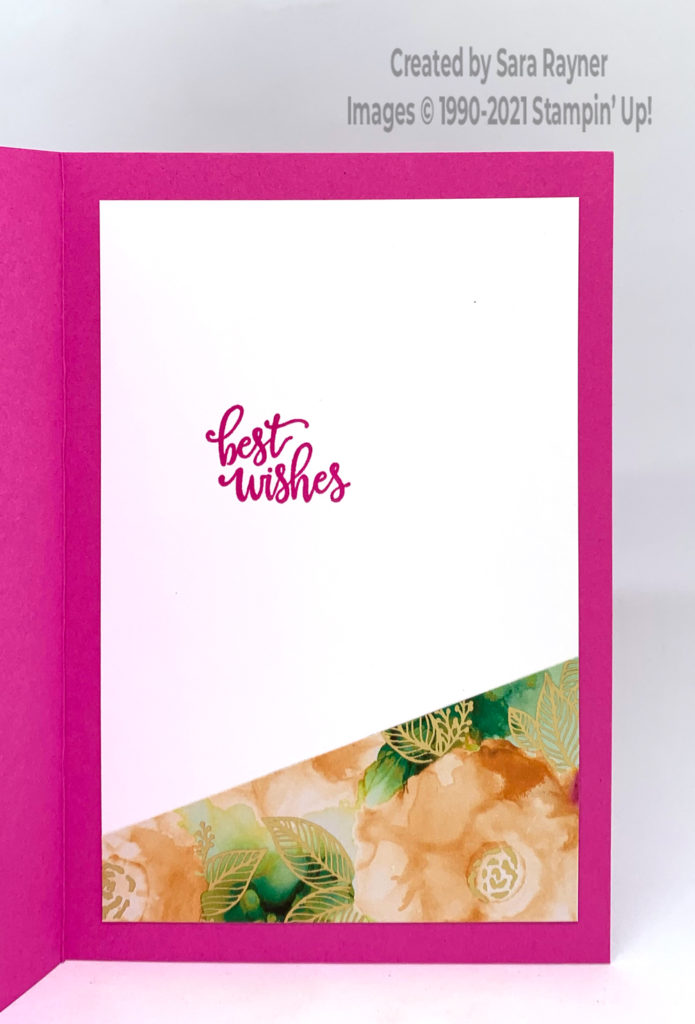
On the Basic White insert, stamp another sentiment from the Artistically Inked stamp set using Magenta Madness ink. Use the cut away DSP from the card front to decorate the base of the insert.
Thanks for stopping by.
Sara xx
Buy the supplies for this Magenta Madness expressions birthday card in my online shop.


0 Comments
Trackbacks/Pingbacks