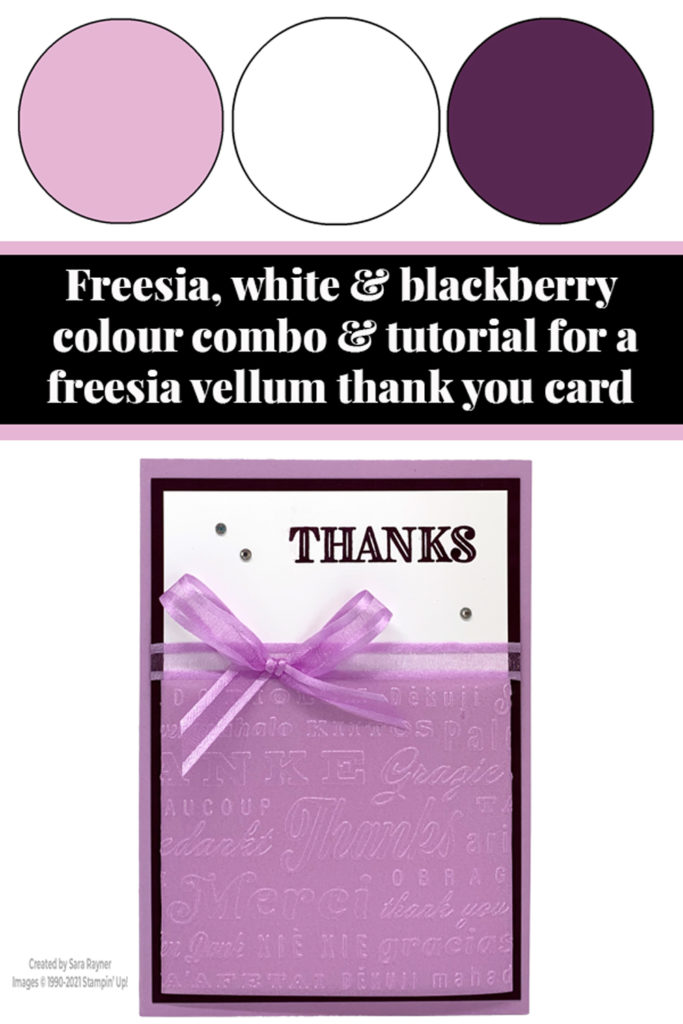
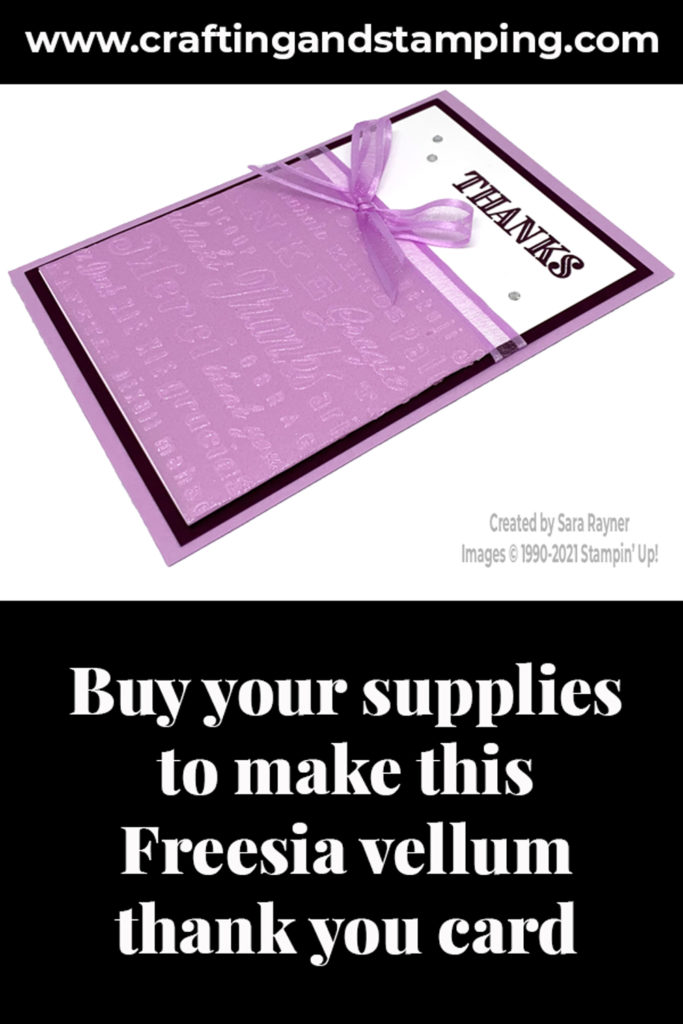
Today’s tutorial is for a Fresh Freesia vellum thank you card. The shimmer of the vellum is highlighted by the texture of the embossing.
In the tutorial below, I take you step by step through creating the Fresh Freesia vellum thank you card. I also have a supply list for purchasing anything you don’t already own.
This card was one of the make and takes at our monthly online team meeting in June. We have a formal meeting with a “mini class” of optional make and takes on the second Tuesday evening of each month (next one is 13 July). There’s also an informal coffee and craft session, where we can have a “proper natter”, later in the month. If you’d like to know more about joining our team to craft along at future meetings then please email me.
Colour Combo
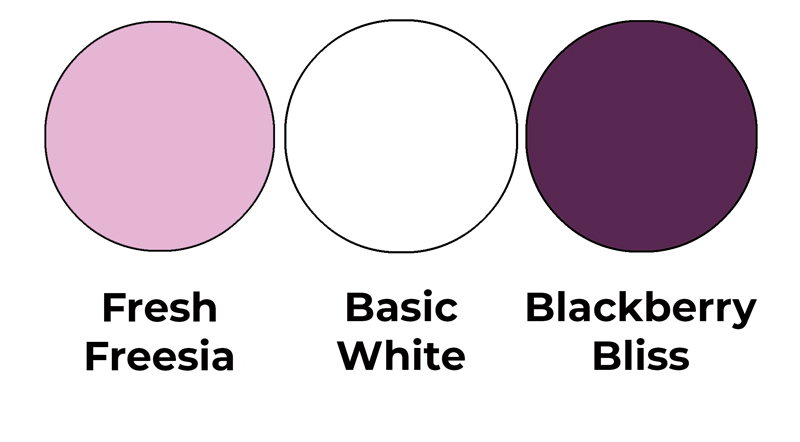
The colour combo mixes Fresh Freesia, Basic White and Blackberry Bliss.
Fresh Freesia vellum thank you card
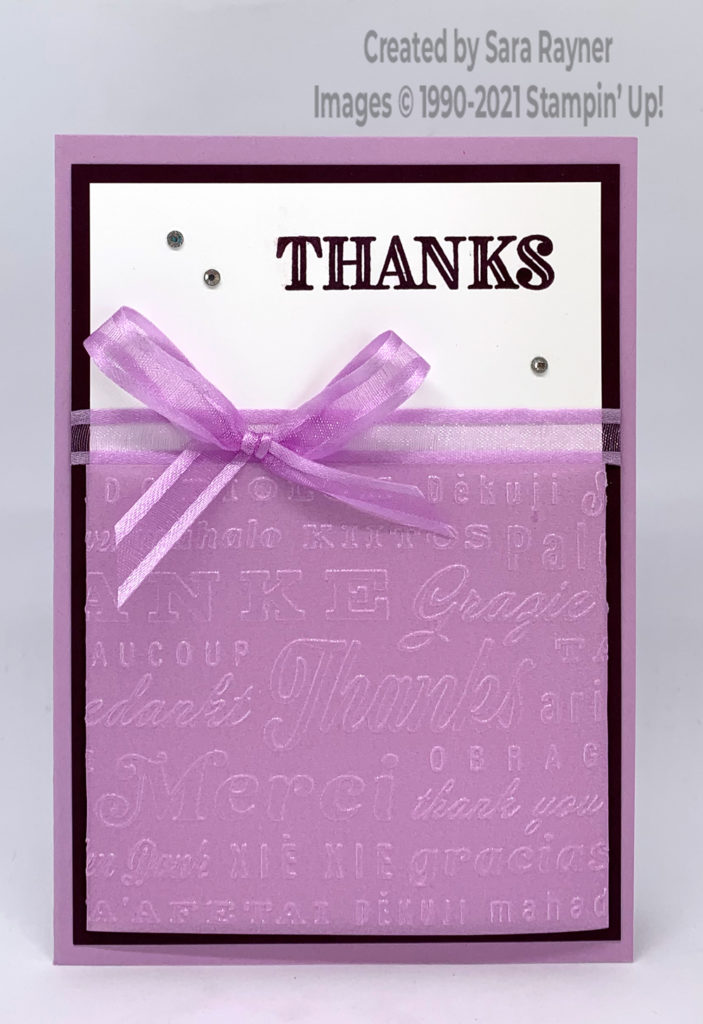
Start with an A6 portrait card of Fresh Freesia. Cut a card front layer of Basic White card and a mat of Blackberry Bliss card. Using Blackberry Bliss ink, stamp a sentiment from the Ornate Thanks stamp on the upper right corner of the Basic White layer. Cut a card front layer of Fresh Freesia Shimmer Vellum (half-two-thirds the height of the white layer and approx. 1-1/2″-2″ wider). Run the vellum through the Thanks embossing folder (of the Thanks & Hello duo). Fold around the white layer, only adhering on the reverse (so that no glue shows through the vellum). Adhere this layer direct to the Blackberry Bliss mat. Wrap Fresh Freesia Open Weave Ribbon around both layers, just above the vellum and secure on the reverse. Adhere the layers direct to the card front. Finish with a bow of the same ribbon and a trio of Basic Rhinestones.
Fresh Freesia vellum thank you card insert
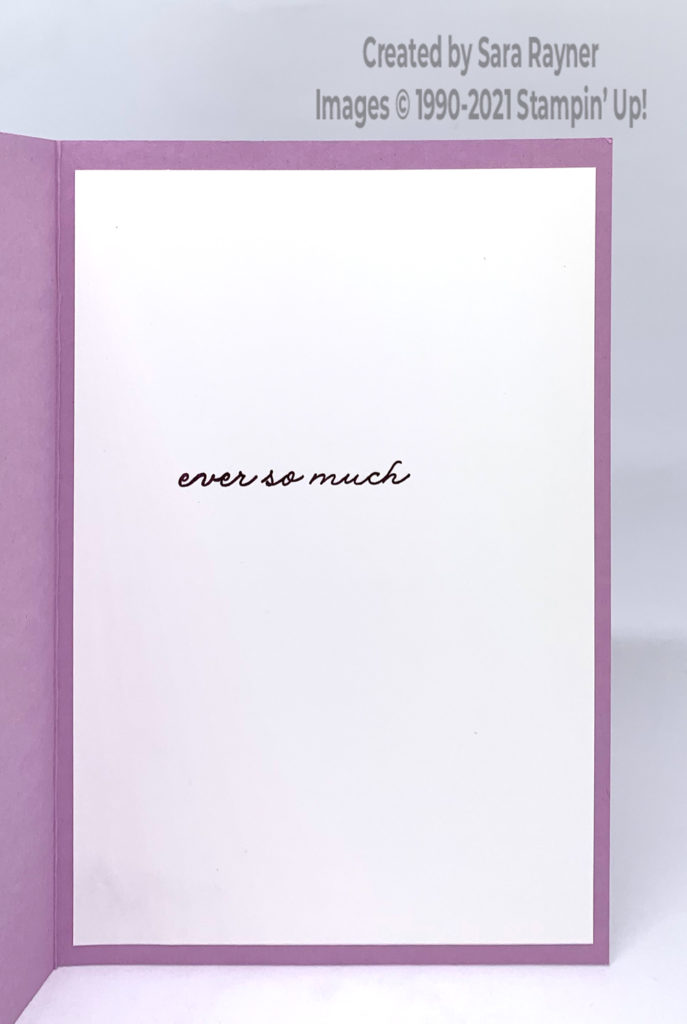
On the Basic White insert, stamp another sentiment from the Ornate Thanks stamp set using Blackberry Bliss ink.
Thanks for stopping by.
Sara xx
Buy the supplies for this Fresh Freesia vellum thank you card in my online shop.


0 Comments
Trackbacks/Pingbacks