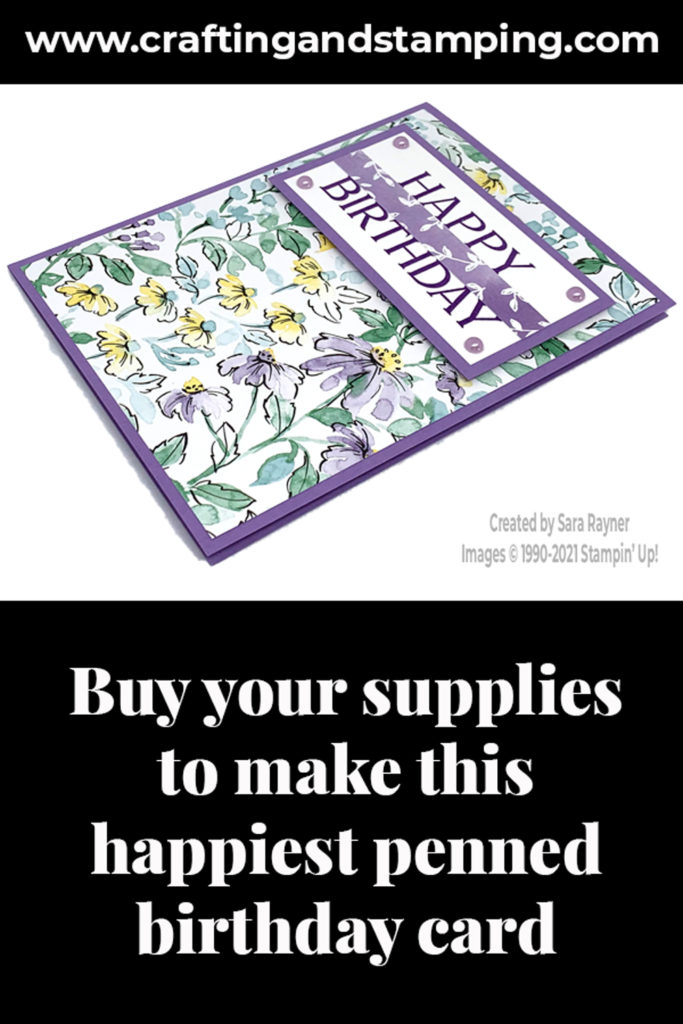
Today’s tutorial is for a happiest penned birthday card. This time we’re mixing the Happiest of Birthdays stamps with the Hand-Penned DSP.
In the tutorial below, I take you step by step through creating the happiest penned birthday card. I also have a supply list for purchasing anything you don’t already own.
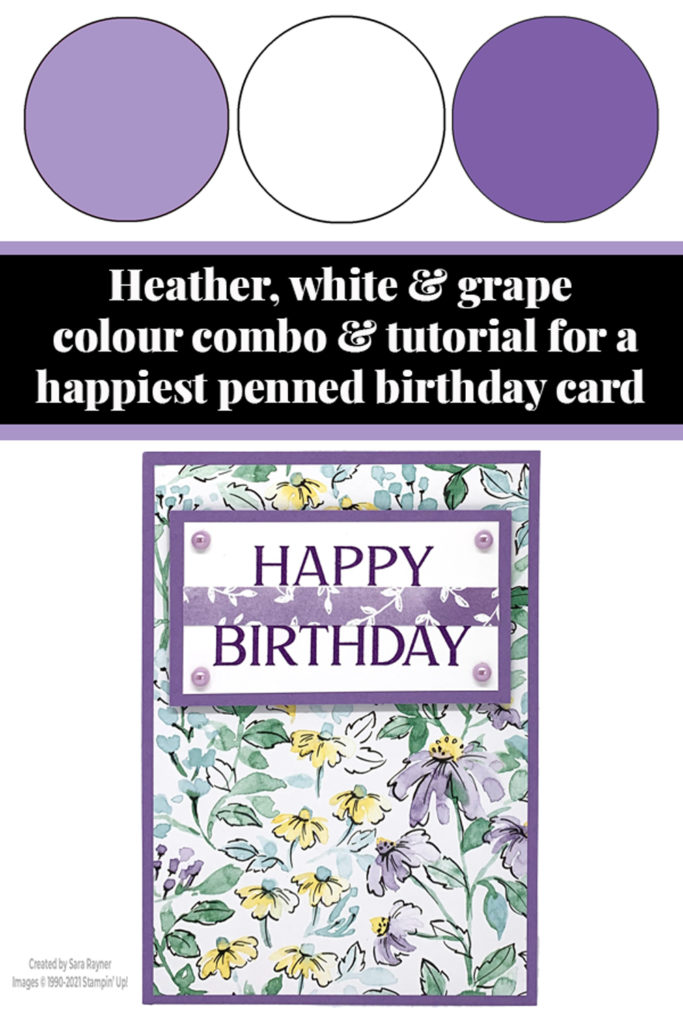
This stamp set has great birthday sentiments for both outside and inside the card and one of them covers you for a belated birthday. Luckily, I rarely need the belated sentiment but rather than letting the stamp go to waste, I just use it without the “little bit late” text (see below).
Colour Combo
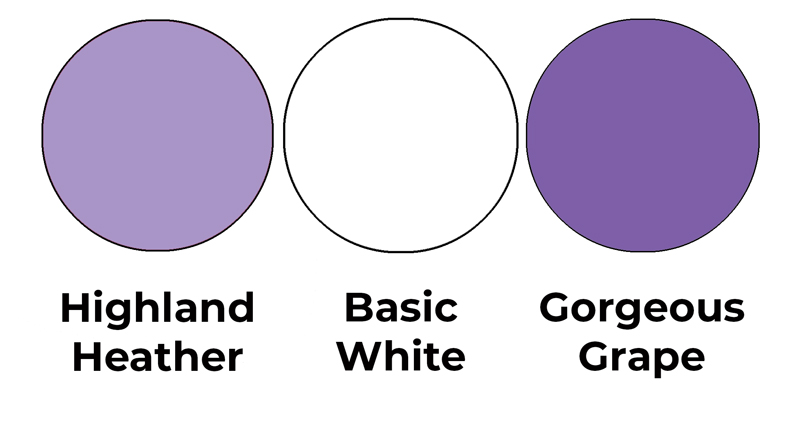
The colour combo mixes Highland Heather, Basic White and Gorgeous Grape.
Happiest penned birthday card
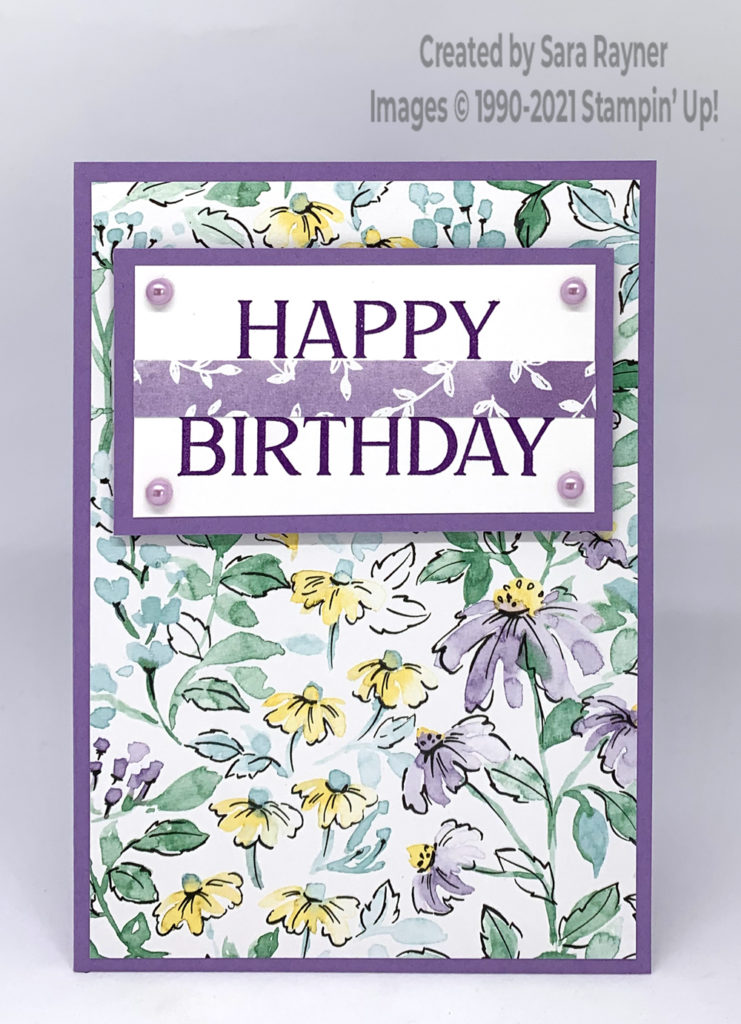
Start with an A6 portrait card of Highland Heather. Cut a card front layer of Hand-Penned DSP and adhere direct to the card front. Using Gorgeous Grape ink, stamp the belated birthday sentiment from the Happiest of Birthdays stamp set on a panel of Basic White card. Cover the “little bit late” text with a strip of the same DSP flipped over. Adhere this direct to a mat of Highland Heather and pop up on the card front with dimensionals. Finish with some Pastel Pearls in the corners.
Here’s the quick tip video explaining how to mask the words with “paper ribbon” and offering another alternative or two. Please subscribe to my Youtube channel for future quick tips and quick cards.
Happiest penned birthday card insert
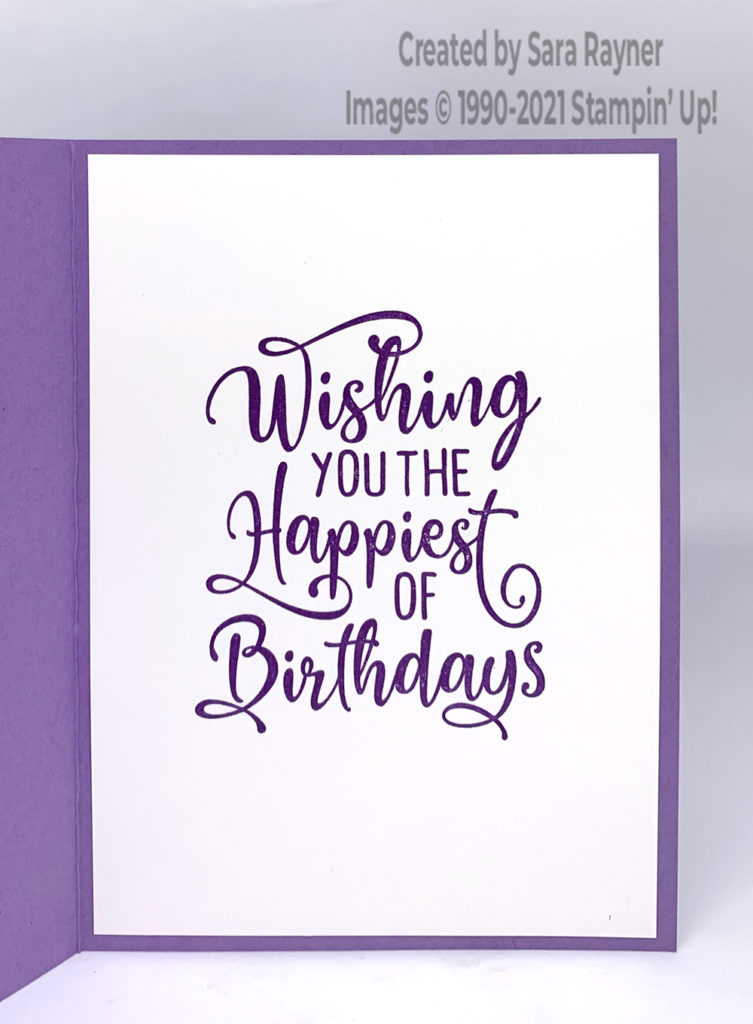
On the Basic White insert, stamp the large sentiment from the Happiest of Birthdays set using Gorgeous Grape ink.
Thanks for stopping by.
Sara xx
Buy the supplies for this happiest penned birthday card in my online shop.


0 Comments