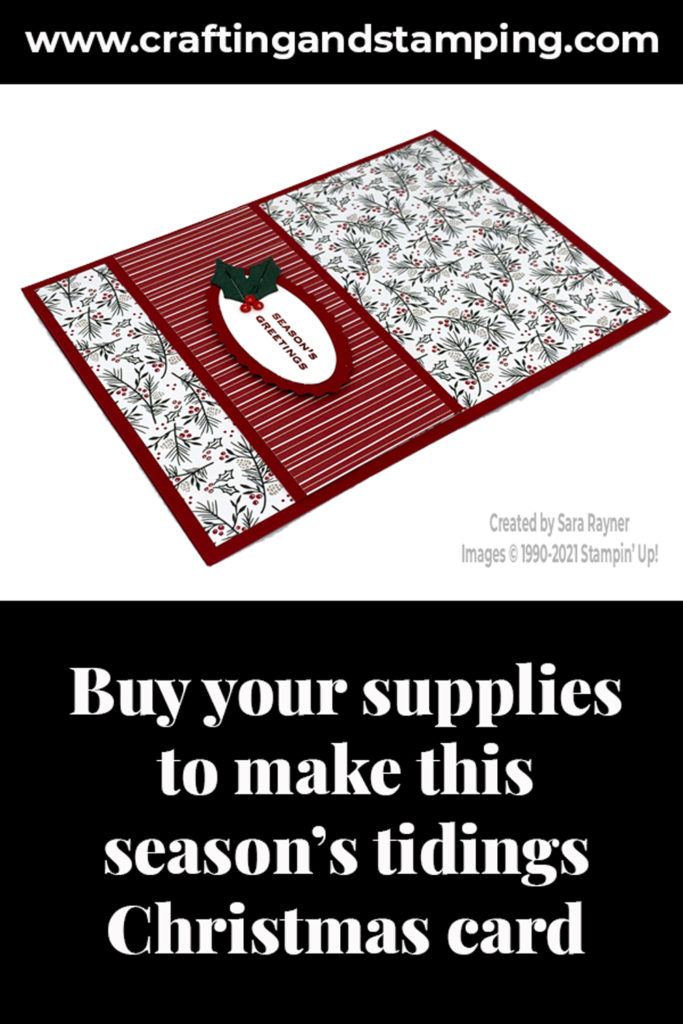
Today’s tutorial is for a season’s tidings Christmas card. This design makes the most of the patterns in the Tidings of Christmas DSP by mixing a busy pattern with a simpler one.
With 15% off selected DSP until 2 August, you can afford to make the DSP a major element of your projects.
In the tutorial below, I take you step by step through creating the season’s tidings Christmas card. I also have a supply list for purchasing anything you don’t already own.
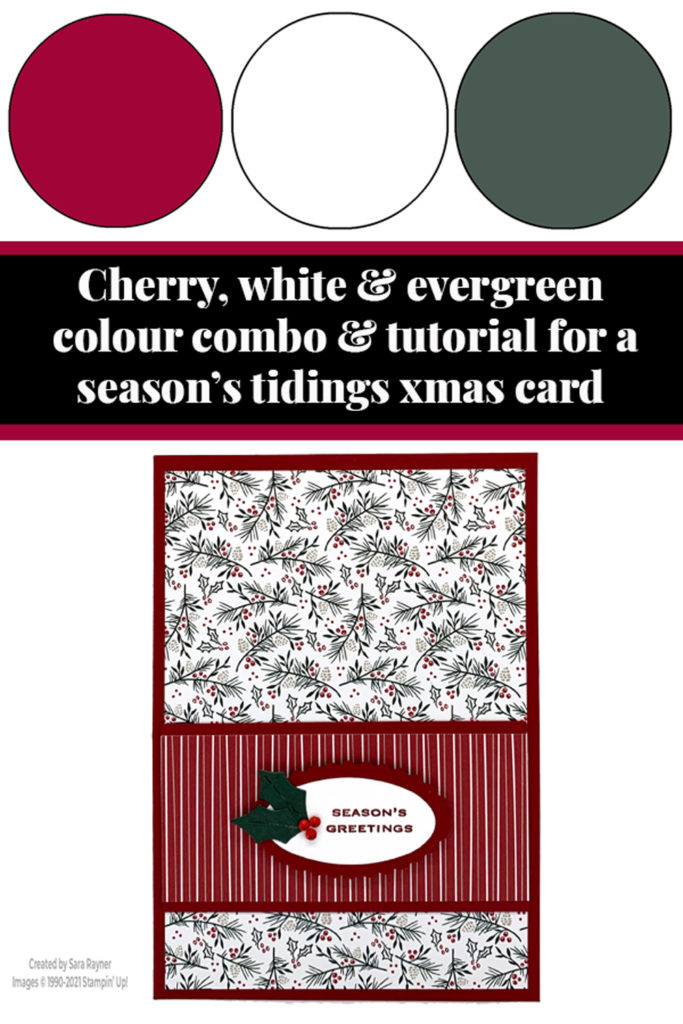
This layout is one that can easily be reused with other DSPs and sentiments. In fact I’m using it for one of the cards in my Online Workshop at 7pm tonight. Please stop by via my Facebook Group if you get chance (or drop in later and catch the replay).
Colour Combo
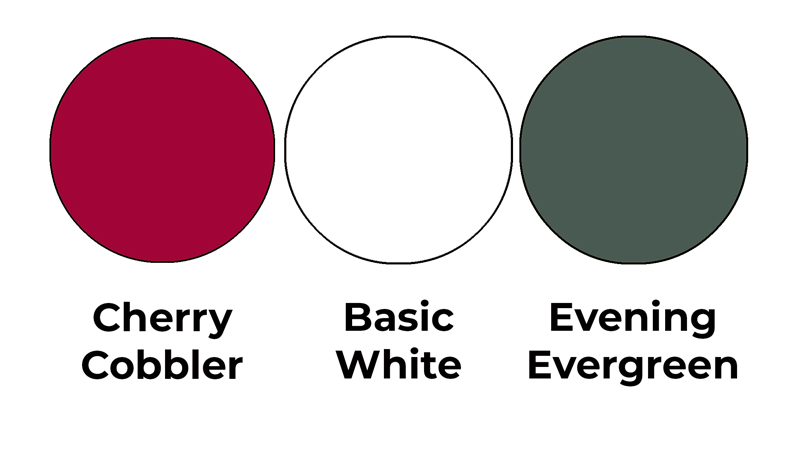
The colour combo mixes Cherry Cobbler, Basic White and Evening Evergreen.
Season’s tidings Christmas card
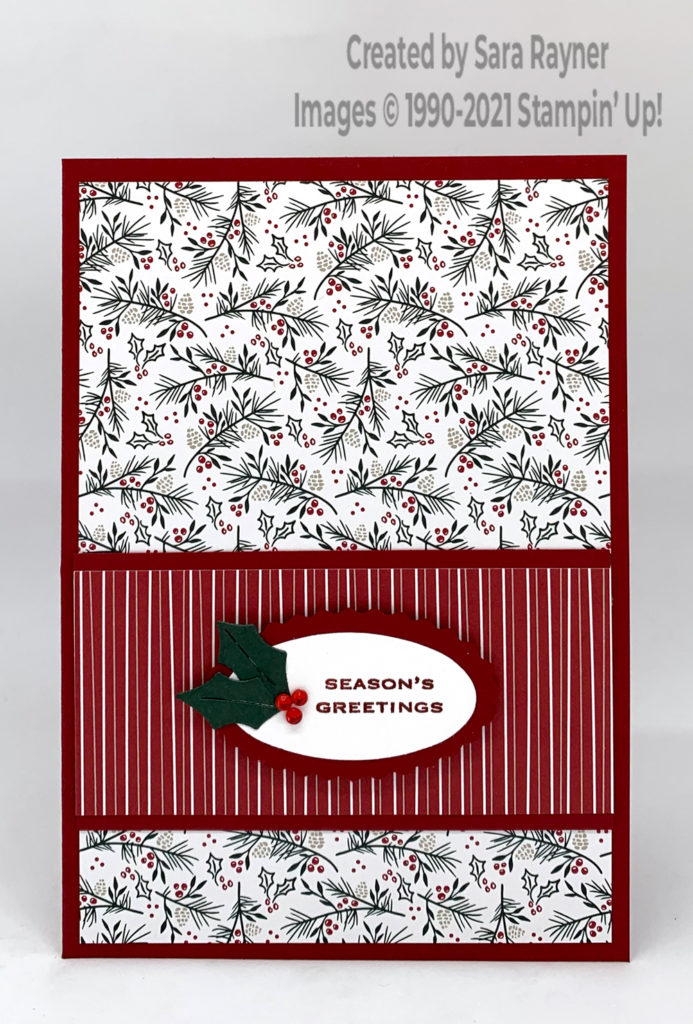
Start with an A6 portrait card of Cherry Cobbler. Cut a card front layer of Tidings of Christmas DSP (busy pattern) and adhere direct. Cut a wide panel of Tidings of Christmas DSP (simple pattern) and mat onto Cherry Cobbler card before adhering direct to the card front. Using Cherry Cobbler ink, stamp a sentiment from the Tidings & Trimmings stamp set on to a scrap of Basic White card and punch out with the Double Oval. Mat onto a scalloped oval punched from Cherry Cobbler card and pop up on the card front with dimensionals. Die cut two small holly leaves from Evening Evergreen card with the Christmas Trimmings Dies and adhere to the side of the sentiment. Finish with a trio of Red Rhinestones.
Season’s tidings Christmas card insert
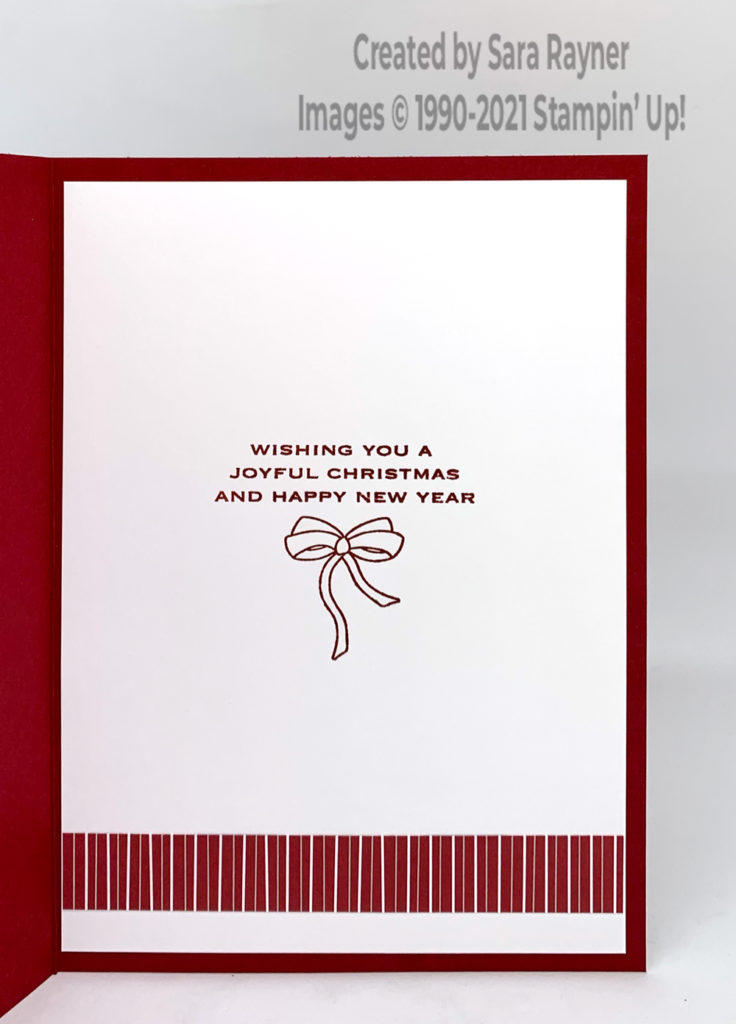
On the Basic White insert, stamp another sentiment and the bow from the Tidings & Trimmings stamp set using Cherry Cobbler ink. Add a strip of one of the patterns of DSP used on the front, along the base.
Thanks for stopping by.
Sara xx
Buy the supplies for this season’s tidings Christmas card in my online shop.


0 Comments
Trackbacks/Pingbacks