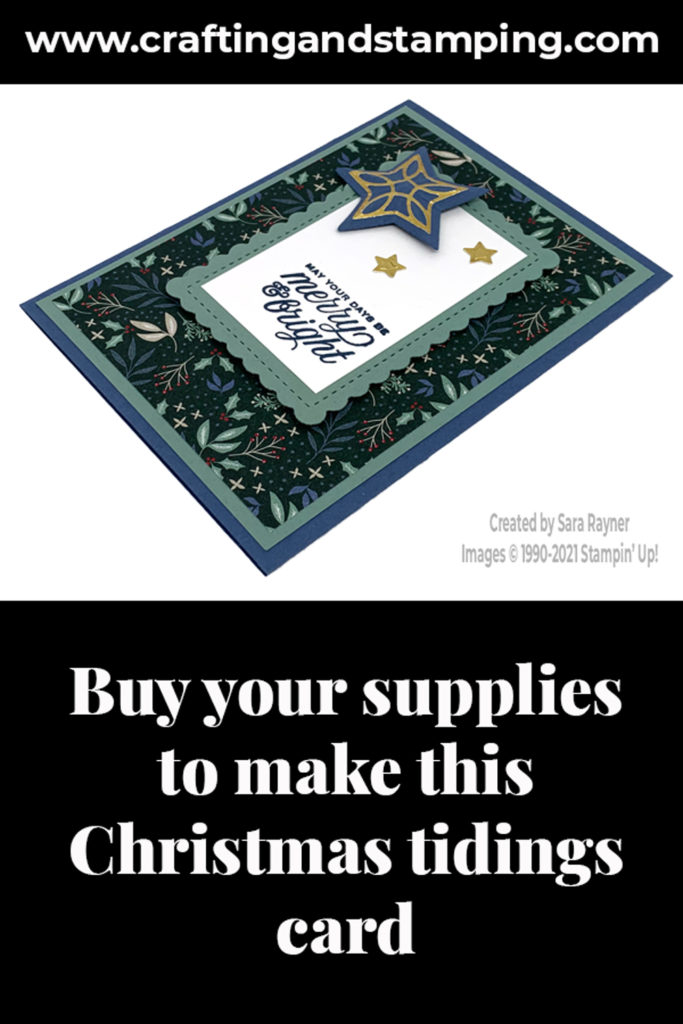
Today’s tutorial is for a Christmas tidings card. We’re still using the Tidings & Trimmings bundle but this time we’re going for a more masculine card, using darker colours and star motifs.
In the tutorial below, I take you step by step through creating the Christmas tidings card. I also have a supply list for purchasing anything you don’t already own.
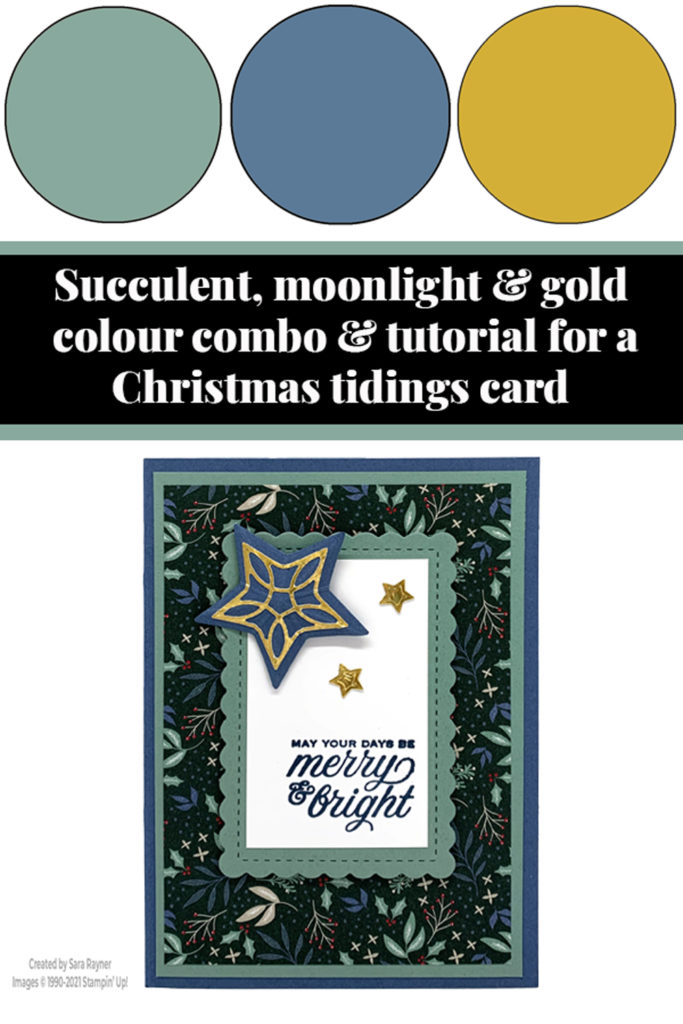
Colour Combo
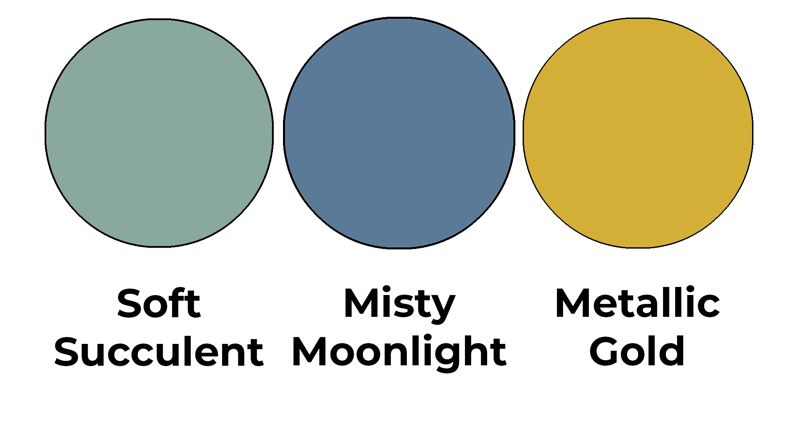
The colour combo mixes Soft Succulent, Misty Moonlight and Metallic Gold.
Christmas tidings card
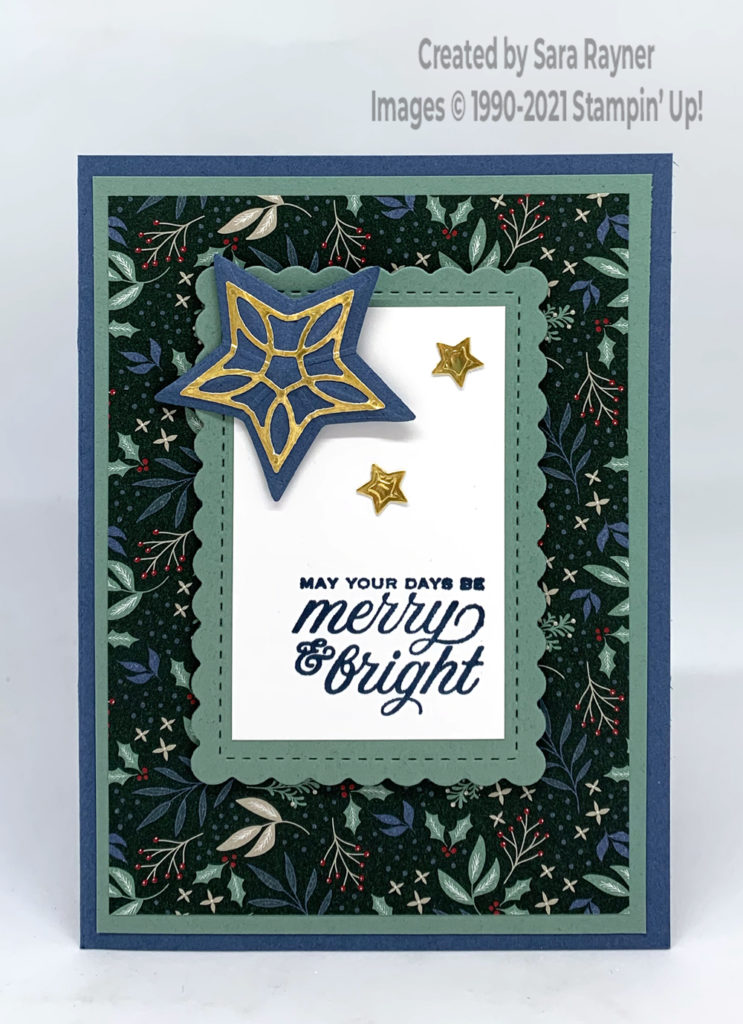
Start with an A6 portrait card of Misty Moonlight. Cut a card front layer of Tidings of Christmas DSP and mat onto Soft Succulent card before adhering the layers direct to the card front. Using the Scalloped Contours dies, die cut a stitched, scalloped rectangle from Soft Succulent card. Cut a panel of Basic White to fit the frame. Using Misty Moonlight ink, stamp a sentiment from the Tidings & Trimmings stamp set onto the panel. Pop up the layers up on the card front with dimensionals. Using the Christmas Trimmings Dies, die cut a medium star from Misty Moonlight card. Use the same die set to create the filigree and teeny stars from Gold Foil backed with Adhesive Sheet. Add the filigree star to the Misty Moonlight one and score, fold and shape the star before popping up on the sentiment panel with dimensionals. Finish with the teeny stars.
Here’s the quick tip video explaining how to create the stickered star. Please subscribe to my Youtube channel for future quick tips and quick cards.
Christmas tidings card insert
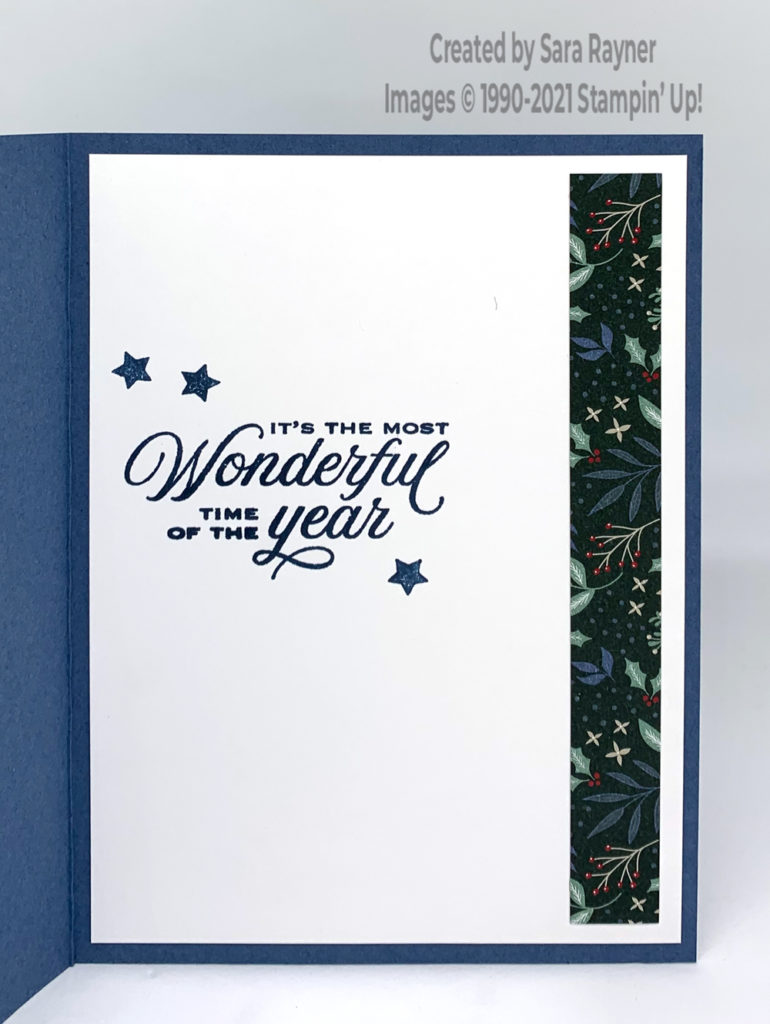
On the Basic White insert, stamp a sentiment from the Tidings & Trimmings stamp set using Misty Moonlight ink. Add teeny stars around with the same ink. Finish with a strip of the same pattern of DSP used on the front, down the right side.
Thanks for stopping by.
Sara xx
Buy the supplies for this Christmas tidings card in my online shop.


0 Comments