Today’s tutorial is for a Garden Green penned thank you card. I’ve also included a sneak peek of a Sale-a-bration freebie – the Beautifully Penned DSP, available from 3 August, free with a £45 purchase. This is a black and white set of papers. There are twelve sheets of 12″ x 12″ paper, 4 each of 3 double-sided designs and they work amazingly with the Hand-Penned DSP (15% off until 2 August).
In the tutorial below, I take you step by step through creating the Garden Green penned thank you card. I also have a supply list for purchasing anything you don’t already own.
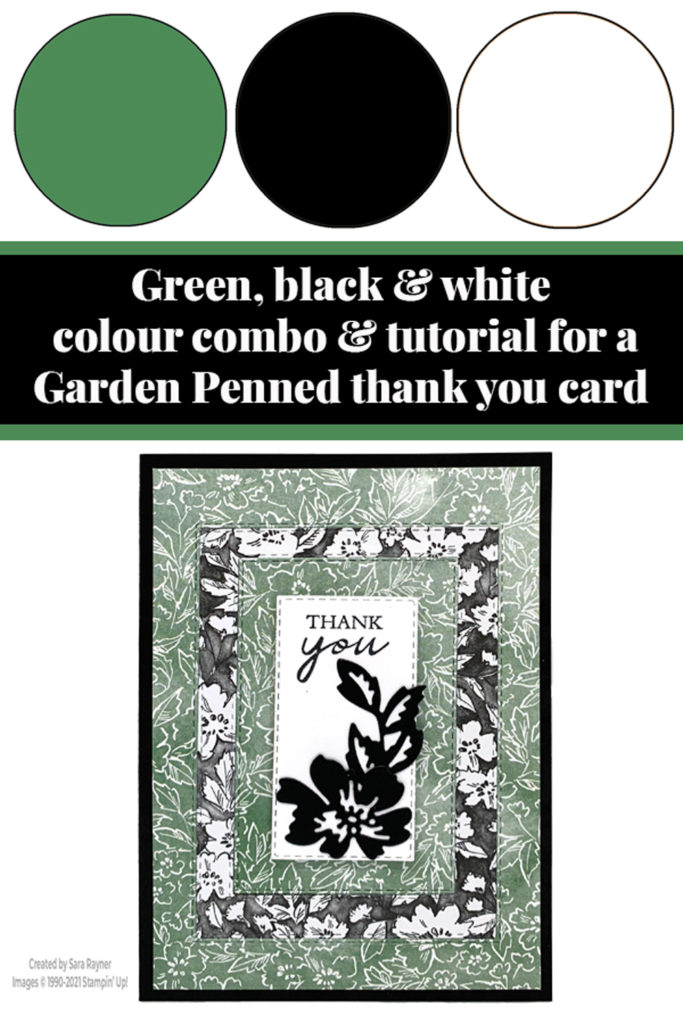
By choosing and aligning the positive and negative patterns from the two DSP packs you can create a continuous pattern and cut two card fronts in one pass.
Colour Combo
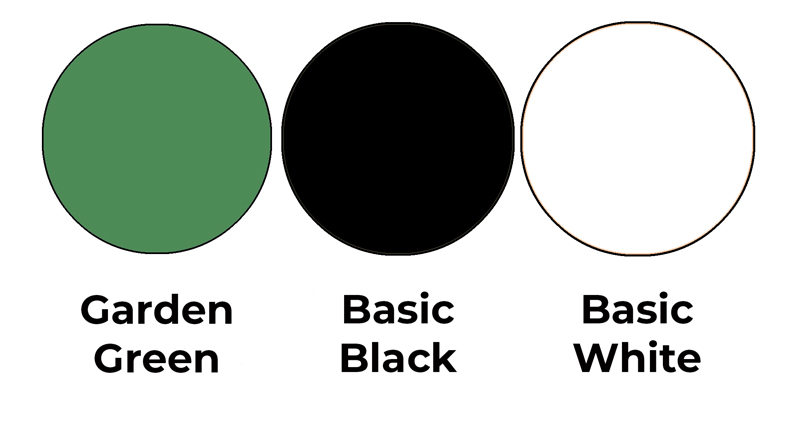
The colour combo mixes Garden Green, Basic Black and Basic White.
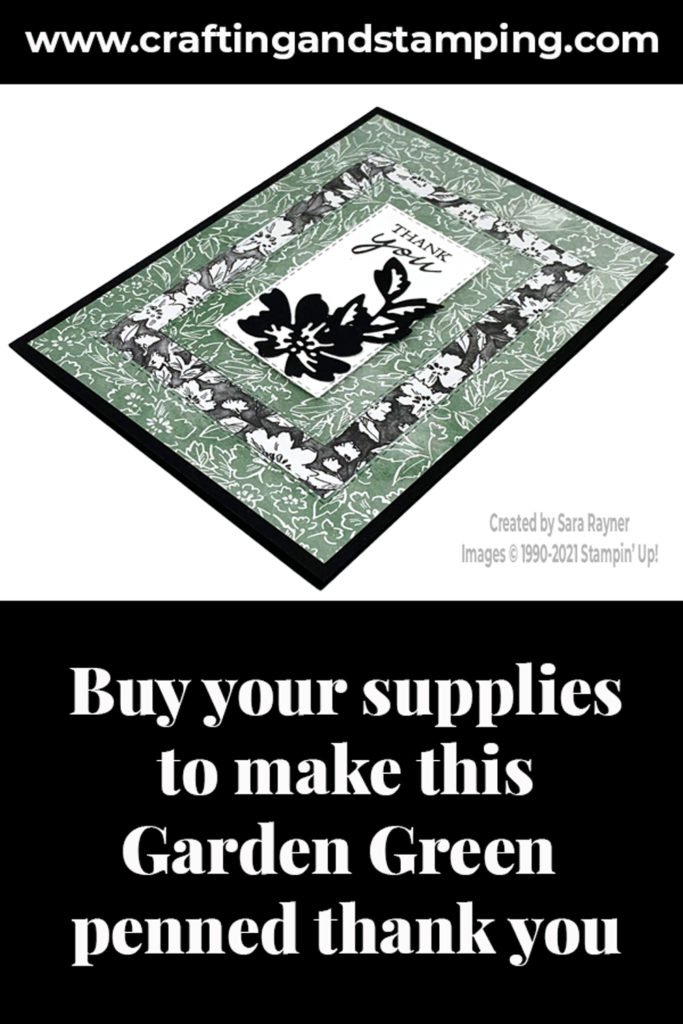
Garden Green penned thank you card
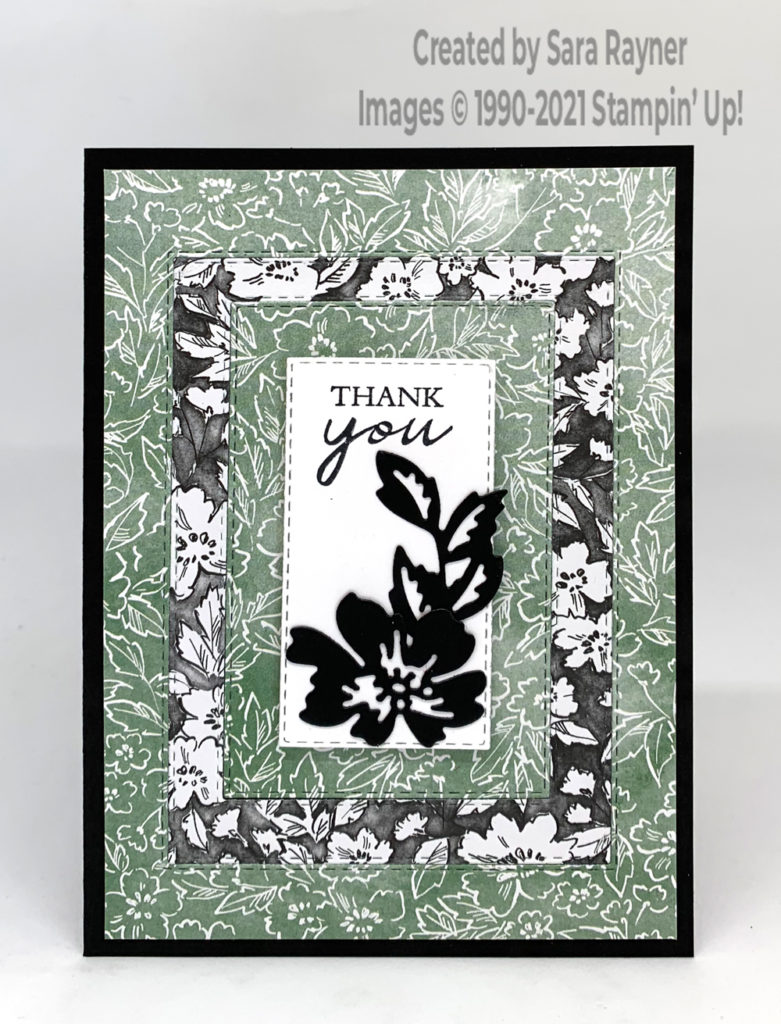
Start with an A6 portrait card of Basic Black. Cut two card front layers, one of the Garden Green Hand-Penned DSP and the other the same pattern from the Beautifully Penned DSP, aligning the patterns. Layer together and die cut with two different sizes of the Rectangle Stitched dies. Mix and match the frames and adhere a set of them direct to the front of the card. Die cut out with another Rectangle Stitched die from Basic White card. Using Memento Black ink, stamp a sentiment from the Shaded Summer set onto the top of the rectangle. Die cut a flower and a leaf spray from Basic Black card using the Penned Flower dies. Adhere these direct, below the sentiment. Pop the rectangle up on the card front with dimensionals.
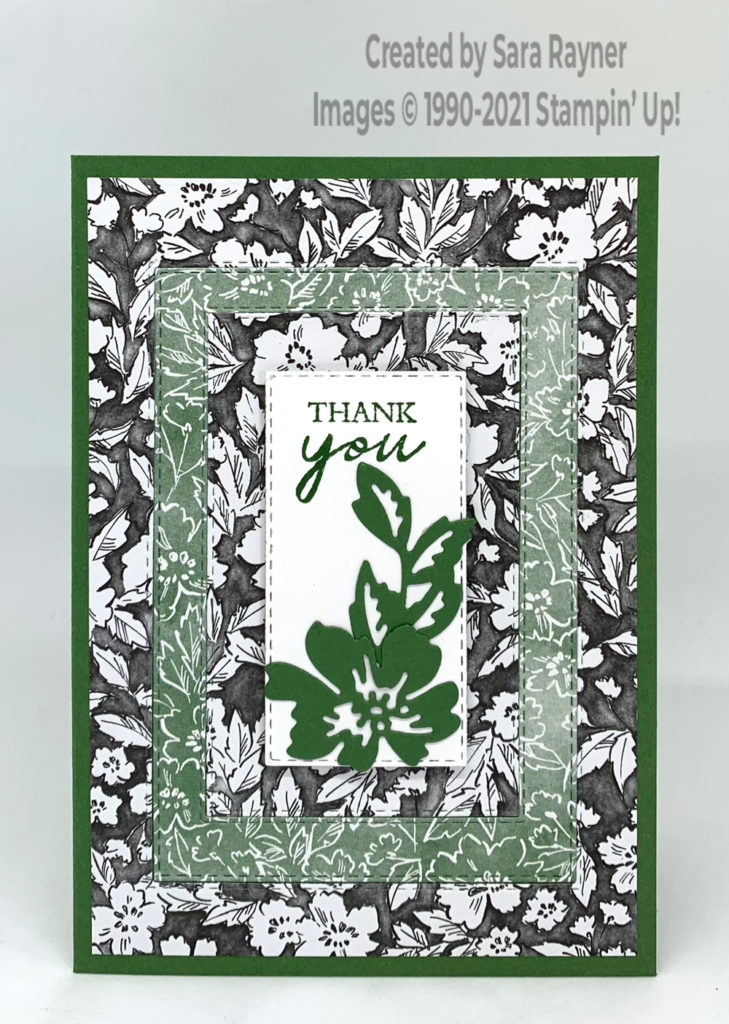
Using the other set of mixed and matched Stitched Rectangles you can create a Garden Green version of the same card.
Garden Green penned thank you card insert
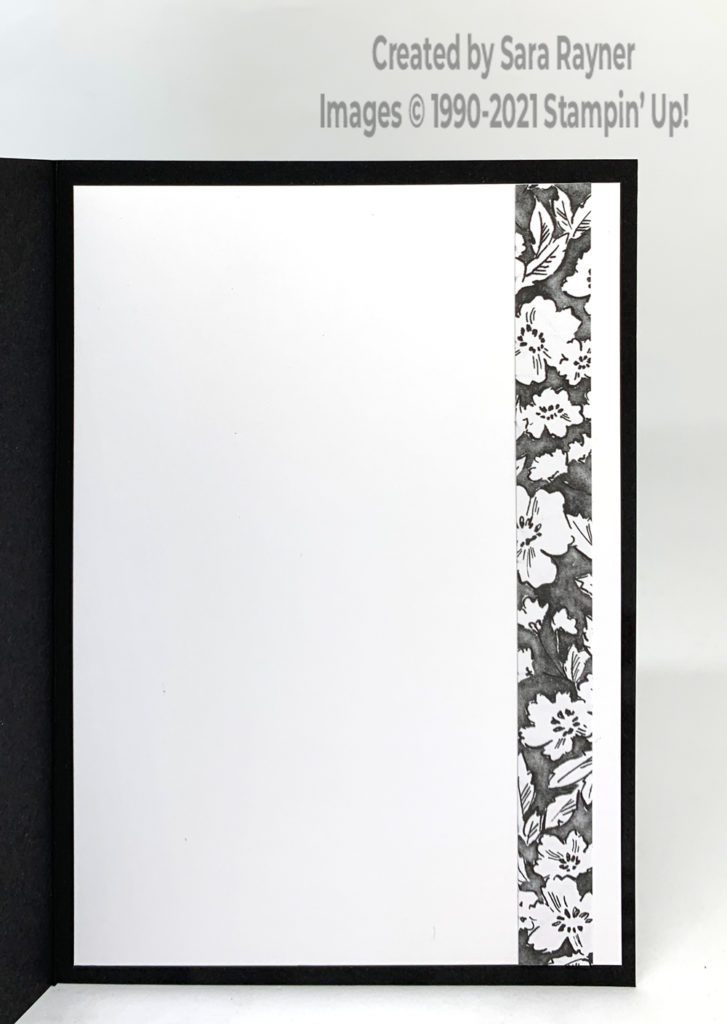
On the Basic White insert, add a strip of the Beautifully Penned DSP down the right side.
Thanks for stopping by.
Sara xx
Buy the supplies for this Garden Green penned thank you card in my online shop. Please note that the Beautifully Penned DSP will not be available until 3 August.


0 Comments
Trackbacks/Pingbacks