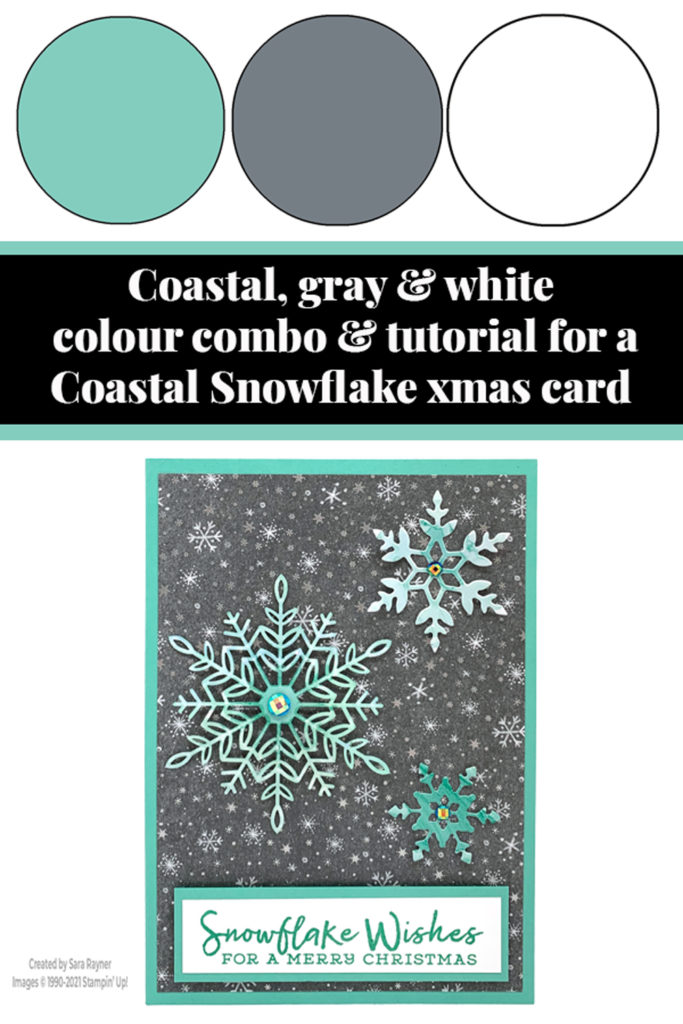
Today’s tutorial is for a Coastal Snowflake Christmas card. I couldn’t feature the Wonderful Snowflakes without combining them with a full snowflake bundle on at least one occasion. My choice was the Snowflake Wishes stamp set and matching So Many Snowflakes dies. You could also pick the Merry Snowflakes bundle.
In the tutorial below, I take you step by step through creating the Coastal Snowflake Christmas card. I also have a supply list for purchasing anything you don’t already own.
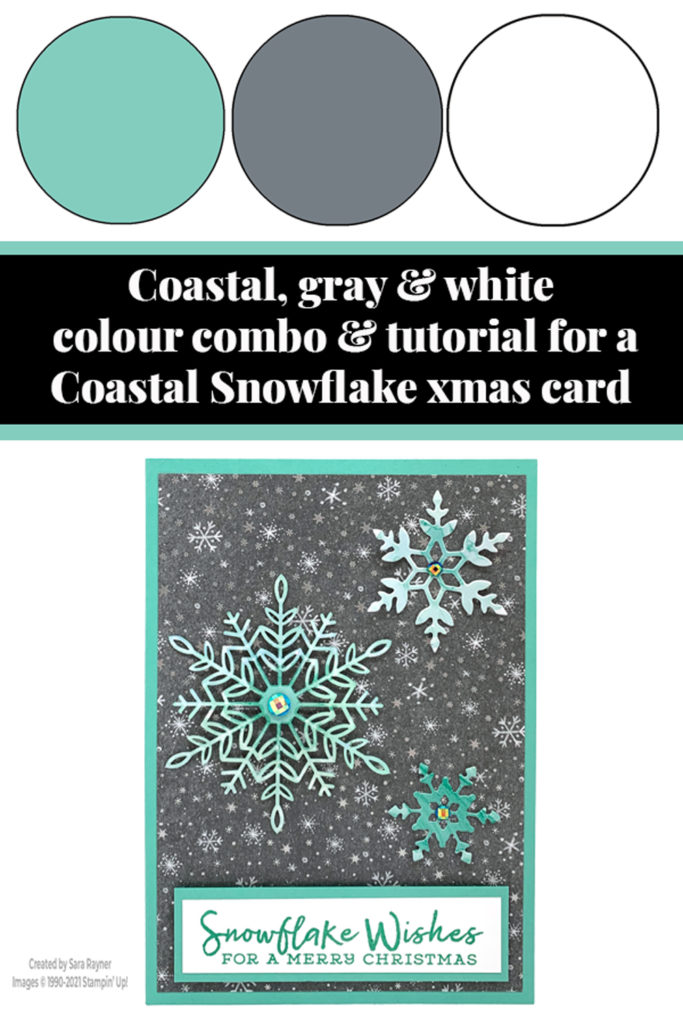
Colour Combo
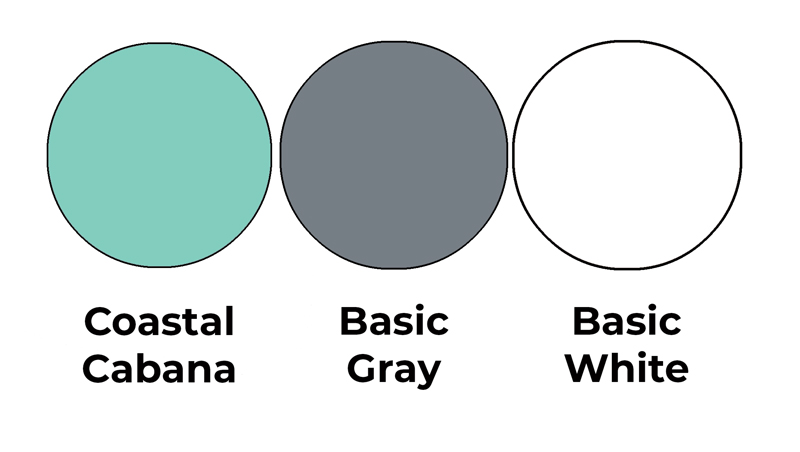
The colour combo mixes Coastal Cabana, Basic Gray and Basic White.
Coastal Snowflake Christmas card
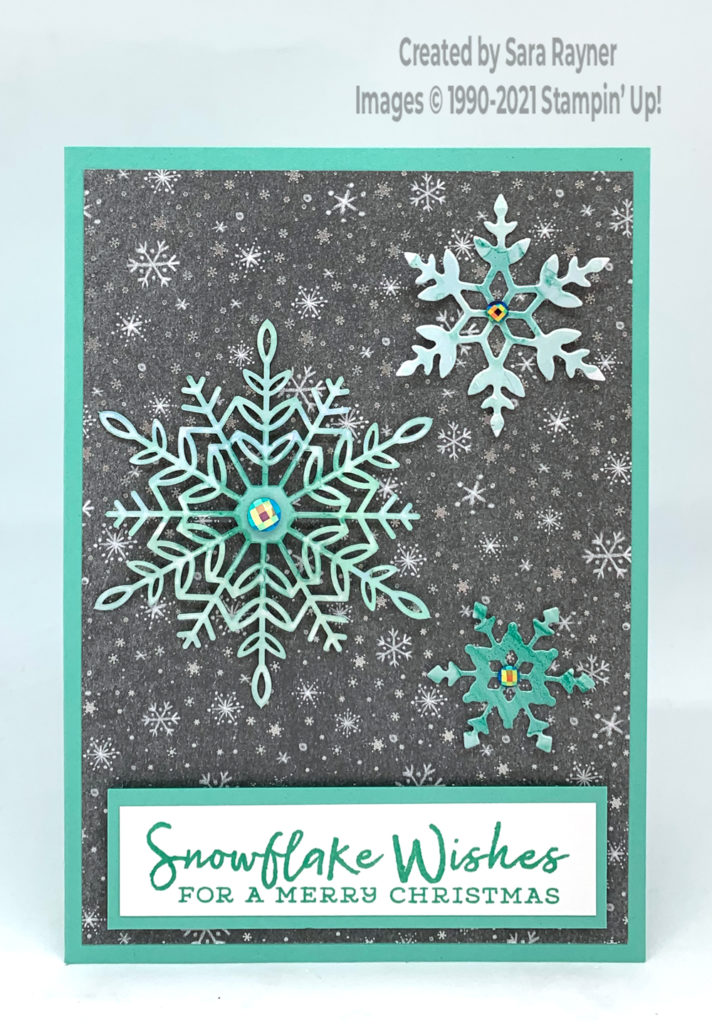
Start with an A6 portrait card of Coastal Cabana. Mat with a layer of Peaceful Place Specialty DSP. Using Coastal Cabana ink, stamp a sentiment from the Snowflake Wishes set onto a strip of Basic White card. Mat onto Coastal Cabana card and pop up on dimensionals at the base of the card front. Colour a Wonderful Snowflake with Blends (I used Light Bermuda Bay and Dark Pool Party). Pop up on the card front with a dimensional. Colour some of the negative space from the Wonderful Snowflakes with Blends and die cut two different sizes of snowflakes from this with the So Many Snowflakes dies. Adhere these snowflakes direct to the card front. Finish the centres of the snowflakes with Blue Adhesive-Backed Gems.
Here’s the quick tip video explaining how to colour the snowflakes. Please subscribe to my Youtube channel for future quick tips and quick cards.
Coastal Snowflake Christmas card insert
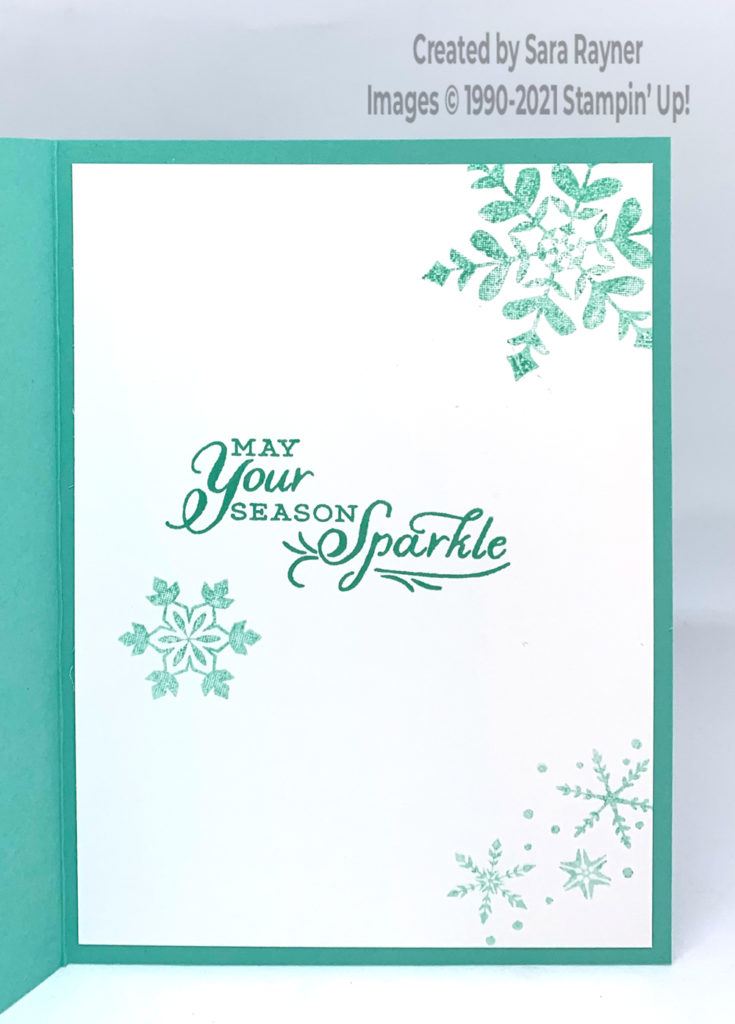
On the Basic White insert, stamp another sentiment from the Snowflake Wishes set using Coastal Cabana ink (at full strength). Use the same ink, but stamped off first each time, to stamp some of the snowflakes from the set around the insert.
Thanks for stopping by.
Sara xx
Buy the supplies for this Coastal Snowflake Christmas card in my online shop.


0 Comments