Today’s tutorial is for a Daffodil penned birthday card. This time I’m using two sides of the same sheet of Beautifully Penned DSP. One provides the background and the other, a fussy cut embellishment.
As the Beautifully Penned DSP (free with a £45 purchase during Sale-a-bration) is a simple black and white design throughout, it really benefits from the pop of colour that the Brights Collection can add. On Monday I added Coastal Cabana. Wednesday it was Poppy Parade. Today I’m using Daffodil Delight. You can purchase an assortment pack of the Brights Collections A4 card (rather than single packs in each colour). That way you have 2 sheets of each of the 10 colours to make a full set of bright fun cards whilst making the most of the freebie papers.
In the tutorial below, I take you step by step through creating the Daffodil penned birthday card. I also have a supply list for purchasing anything you don’t already own (the order code for the Beautifully Penned DSP is 156630 – you can add this when your order reaches £45 or over).

Colour Combo
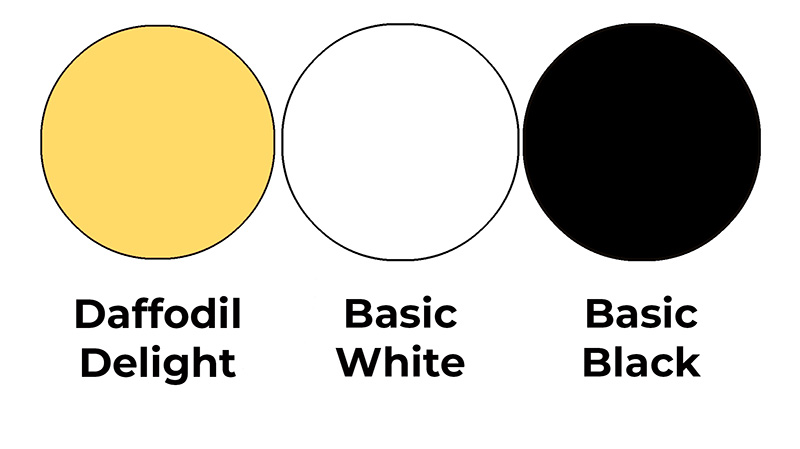
The colour combo mixes Daffodil Delight, Basic White and Basic Black.
Daffodil penned birthday card
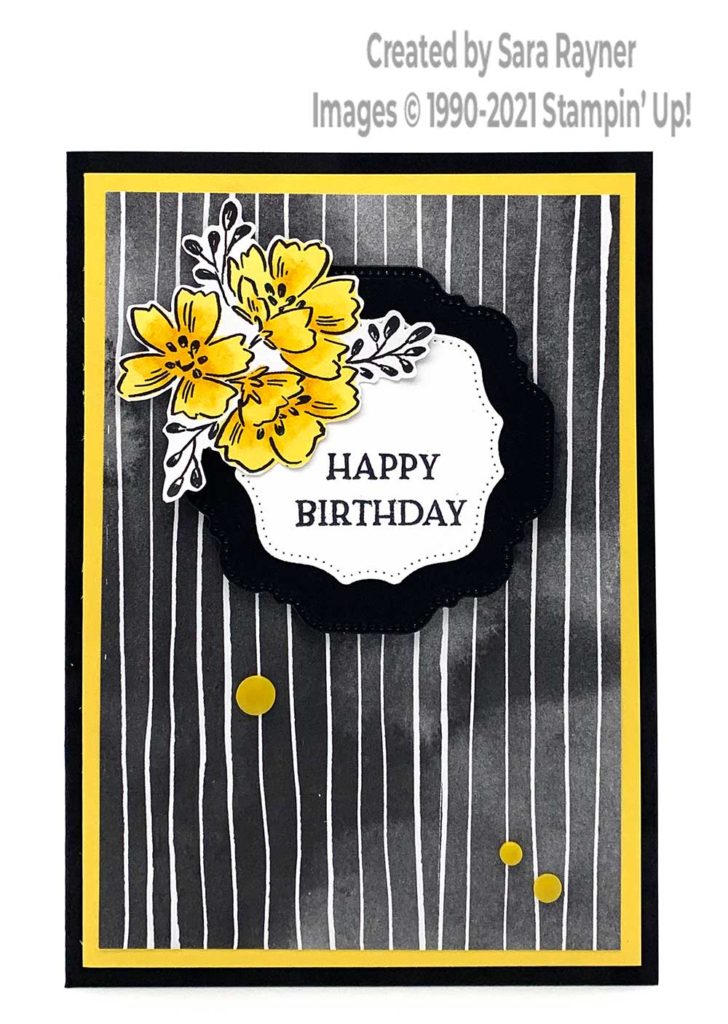
Start with an A6 portrait card of Basic Black. Cut a card front layer (3-7/8″ x 5-1/2″) of Daffodil Delight card and adhere direct to the card front. Cut a card front layer (3-5/8″ x 5-1/4″) panel of striped Beautifully Penned DSP and adhere direct to the card front. On the other side of the striped design of DSP you will find clusters of flowers (the same ones used on this Poppy Penned card). Colour a cluster in with the Daffodil Delight duo of Stampin’ Blends. (Tip – the flowers start to look grey as you colour them because of the dark pattern on the back of the paper. Allow the Blends to dry and they will look brighter and lose the greyness).
Fussy cut out the cluster of flowers. Using the Hippo & Friends dies, die cut a smaller label from Basic White card and a larger one from Basic Black card. Stamp the White label with a sentiment from the Blossoms in Bloom set using Memento Black ink. Mat onto the Black label and pop up on the card front with dimensionals. Adhere your coloured flower cluster in place, adhering the main segment direct to the label and supporting the overhanging petals with mini dimensionals. Add a trio of Playing with Patterns Resin Dots to the card front. These are Crushed Curry rather than Daffodil Delight but work well against the dark background.
Daffodil penned birthday card insert

On the Basic White insert, using Memento Black ink, stamp a sentiment from the Happiest of Birthdays set. Add a strip of the same Penned DSP used for the background on the front, along the base of the insert.
You may be wondering about this week’s quick tip? Well we still have one, it’s just not related specifically to today’s card design. Today’s tip is about the benefits of using Grid Paper. I wanted to share it now while Sale-a-bration is still running (until 30 September) because purchasing it can help you to qualify for a Sale-a-bration freebie. Please subscribe to my Youtube channel for future quick tips and quick cards.
Thanks for stopping by.
Sara xx
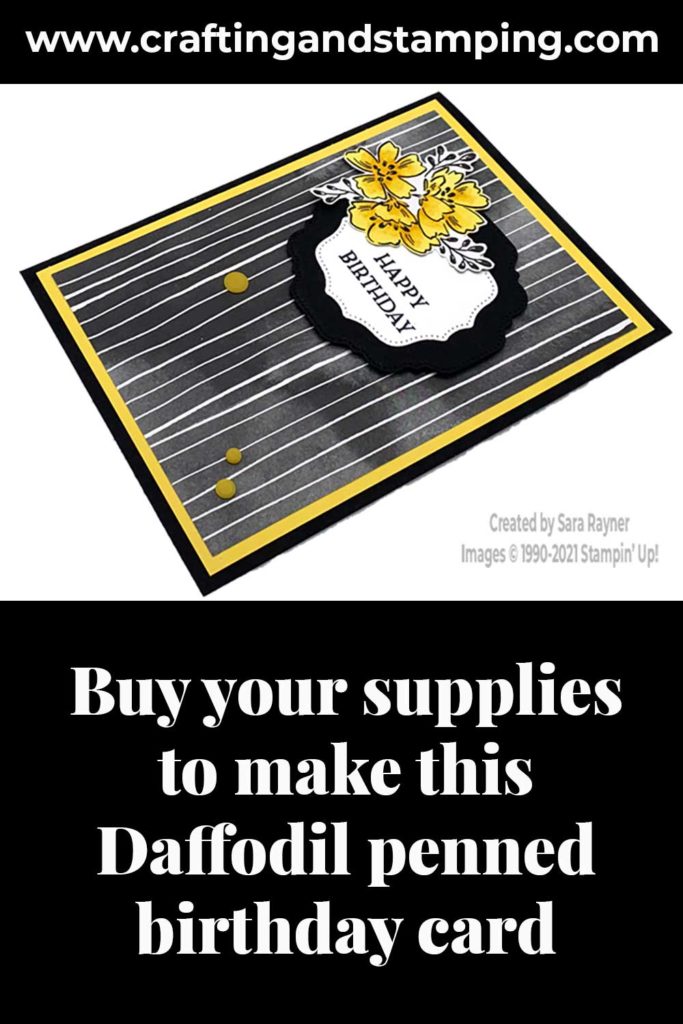
Buy the supplies for this Daffodil penned birthday card in my online shop (the order code for the Beautifully Penned DSP is 156630).


0 Comments