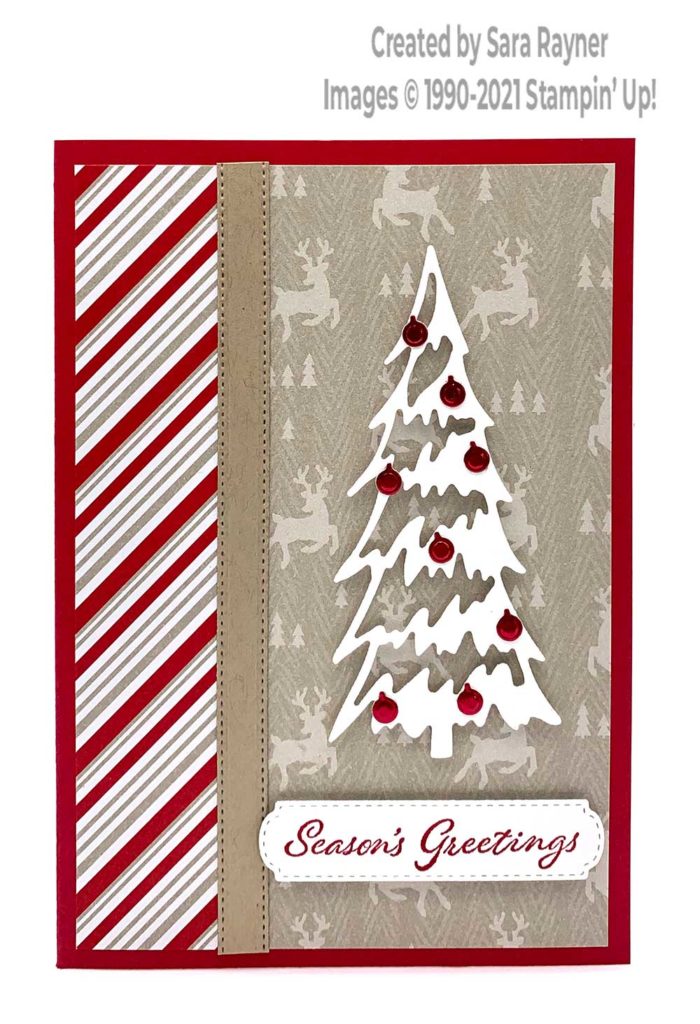
Today’s tutorial is for a Peaceful Prints Christmas card. This time I’m using two patterns of the Peaceful Prints DSP to create a background for my Christmas tree.
The Peaceful Prints DSP (free with a £45 purchase during Sale-a-bration) is only available until 30 September so please don’t miss your chance to grab it, for all your Christmas and masculine projects especially.
In the tutorial below, I take you step by step through creating the Peaceful Prints Christmas card. I also have a supply list for purchasing anything you don’t already own (the order code for the Peaceful Prints DSP is 156628 – you can add this when your order reaches £45 or over).

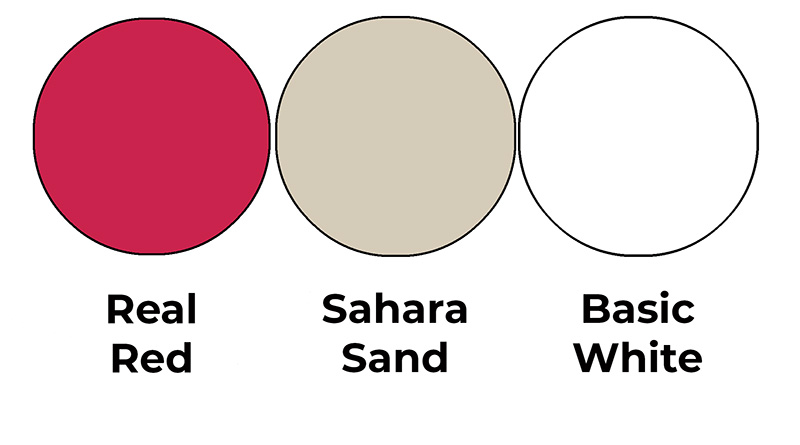
Colour Combo

The colour combo mixes Real Red, Sahara Sand and Basic White.
Peaceful Prints Christmas card

Start with an A6 portrait card of Real Red. Cut two panels (one narrow and one wide) from two different patterns of Peaceful Prints DSP to fit the card front and adhere direct. Cover the join in the DSP with a stitched strip of Crumb Cake card, die cut with the All Dressed Up dies. Using the Christmas Trees die set, die cut a shaded tree from Basic White card and pop up on the card front with mini dimensionals. Add teeny baubles die cut from Red Foil with a die from the same set. Die cut a stitched label from Basic White card with another of the All Dressed Up dies. Using Real Red ink, stamp a sentiment from the Time of Giving set onto the stitched label and pop up on the card front, below the tree.
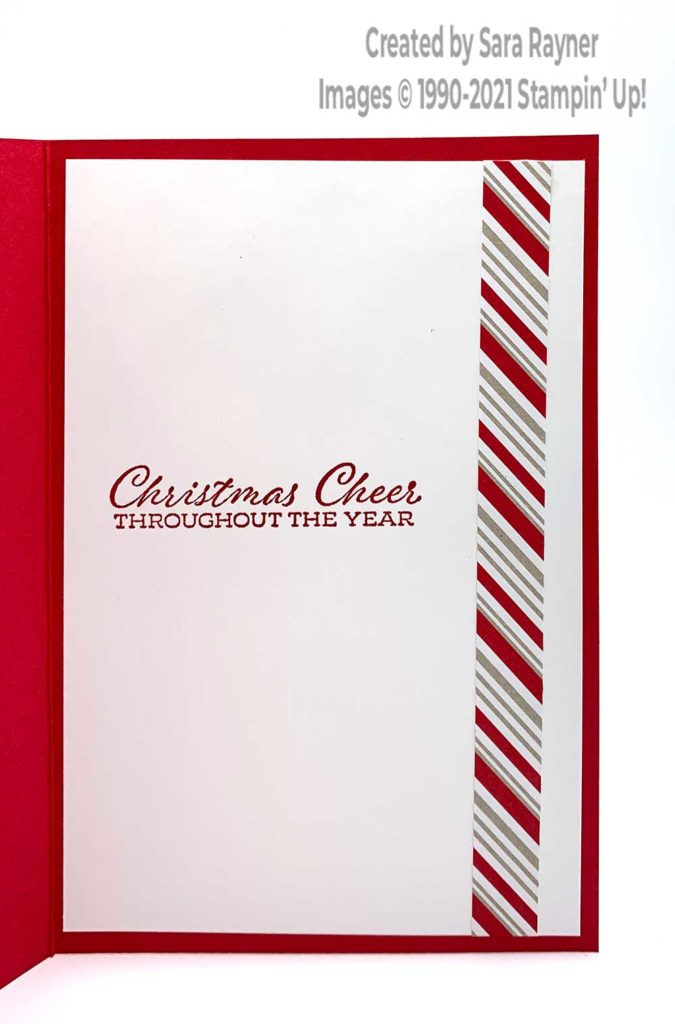
Peaceful Prints Christmas card insert

On the Basic White insert, using Real Red ink, stamp another sentiment from the Time of Giving set. Add a border to the right hand side using Peaceful Prints DSP.
Thanks for stopping by.
Sara xx
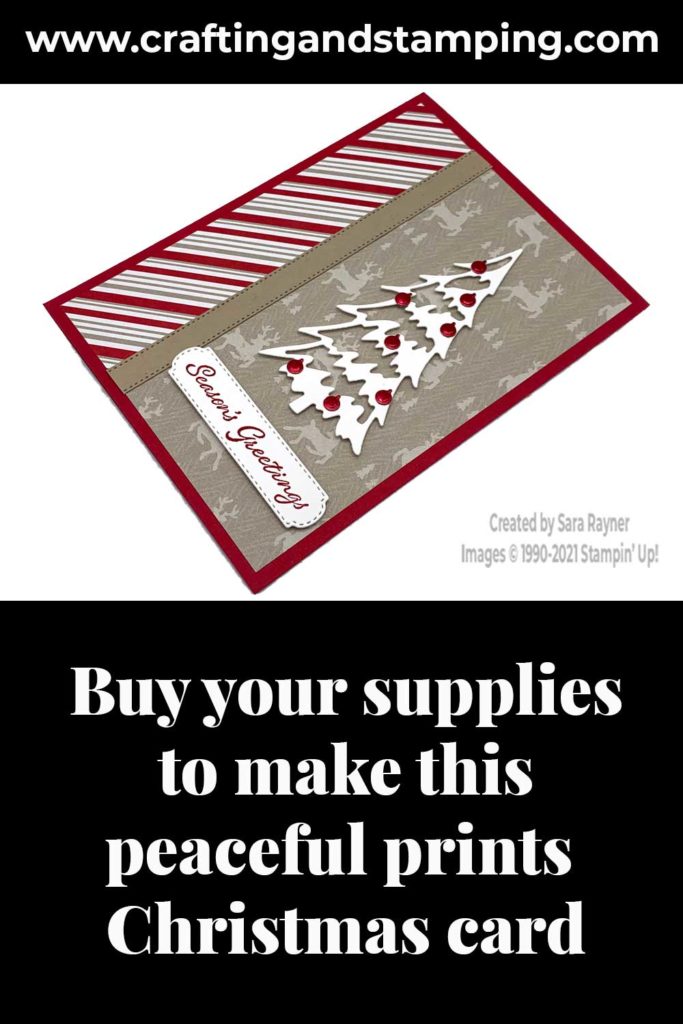
Buy the supplies for this Peaceful Prints Christmas card in my online shop (the order code for the Peaceful Prints DSP is 156628).


0 Comments