Today’s tutorial is for a metallic thank you card. Actually, as you need to die cut three lots of metallic card, it’s worth putting in the very little extra effort needed to create three cards at once.
I’ve also suggested a few variations for the layering.
In the tutorial below, I take you step by step through creating the metallic thank you card. I also have a supply list for purchasing anything you don’t already own.
Colour Combo
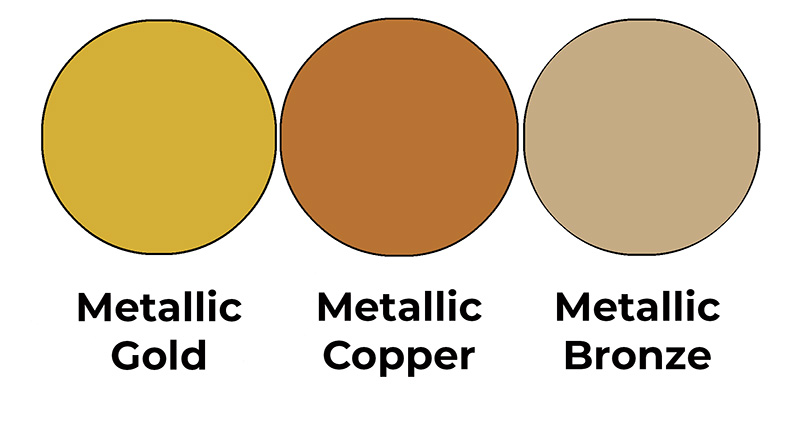
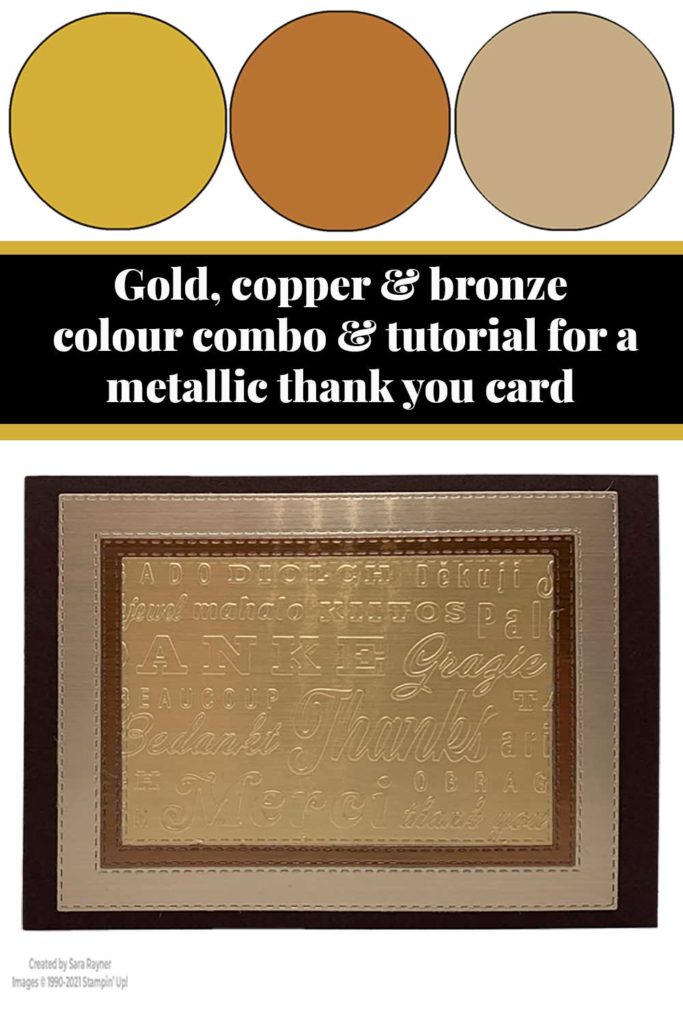
The colour combo mixes Metallic Gold, Metallic Copper and Metallic Bronze (all set against a base of Early Espresso).
Metallic thank you card
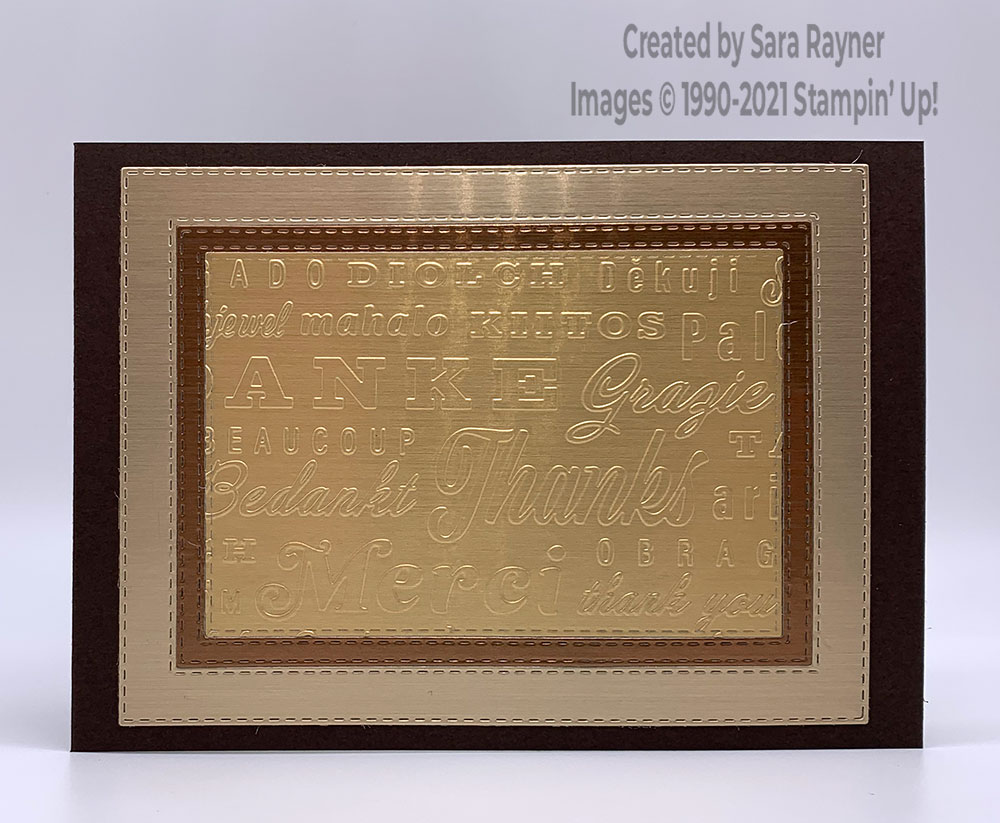
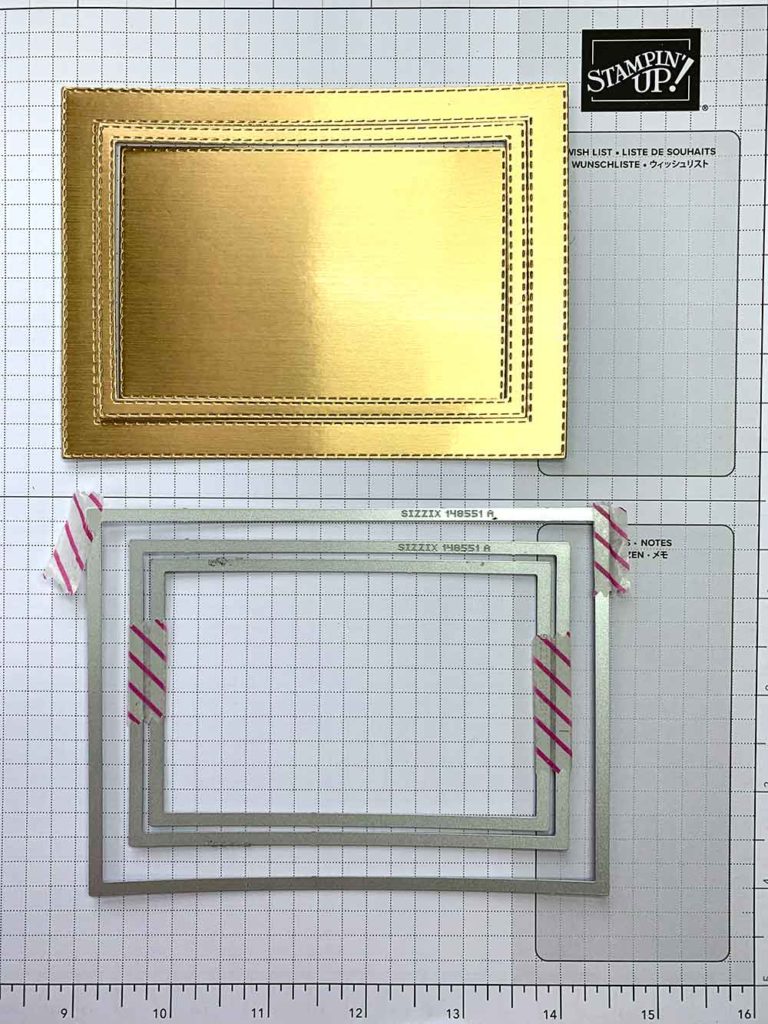
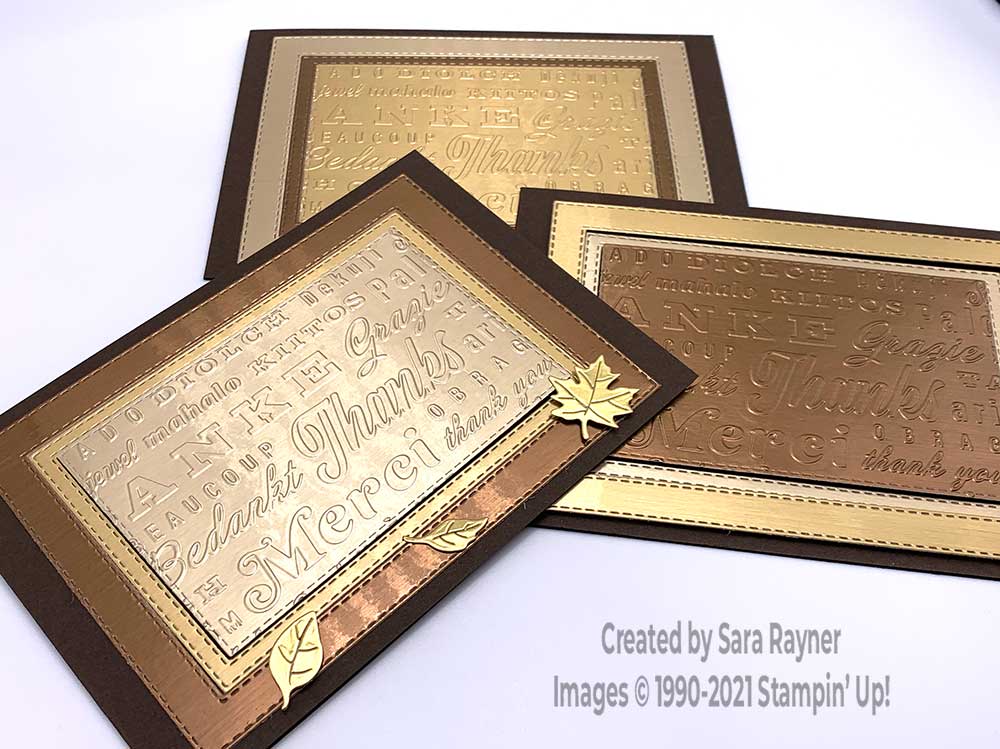
Start with an A6 landscape card of Early Espresso. Using the Stitched Rectangle dies, die cut three nested rectangles each from the different Brushed Metallic Cardstock (Gold, Copper and Bronze) (see photo below). Run the centre rectangle from each trio through the Thanks embossing folder (from the Thanks & Hello Embossing Folders). Mix all of the metallic rectangles so that you have three trios that each include one of every different metallic. Adhere or pop up the rectangles as preferred, on the card front.
To step the card up, (or to cover up any splashes of liquid glue as they won’t fully clean off the foil) add a few die cut leaves using the Giving Gifts dies.
Metallic thank you card insert
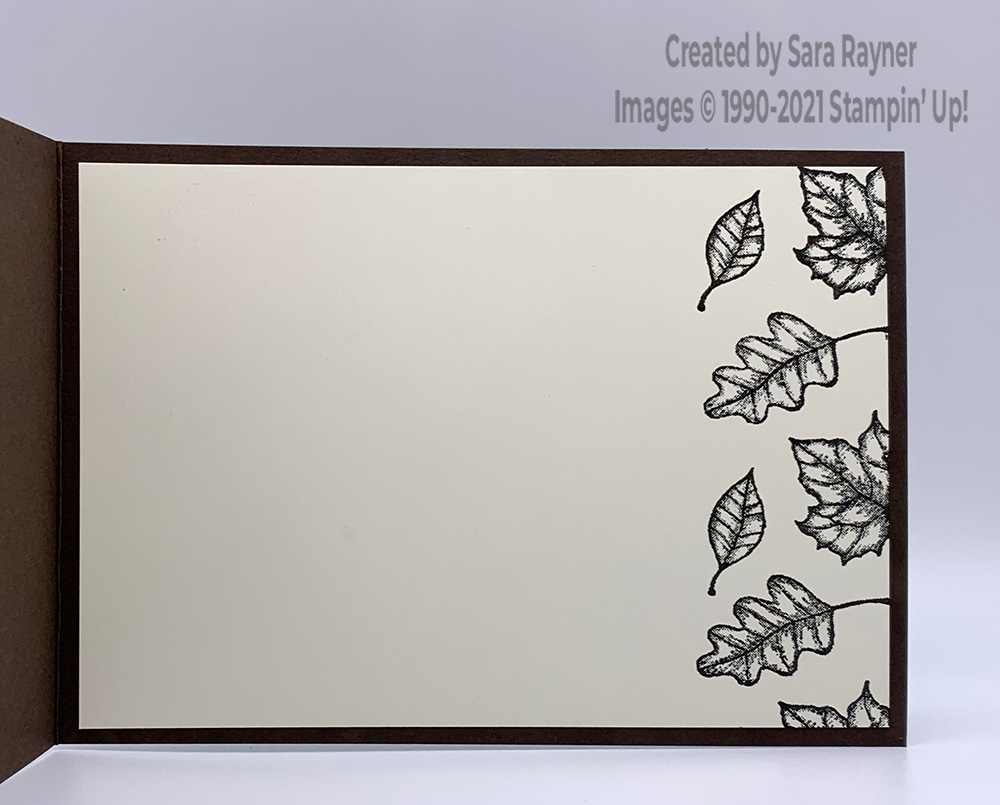
On the Very Vanilla insert, using Early Espresso ink, stamp a border down the right side using the trio of leaves from the Time of Giving set, starting in the centre and working upwards and downwards.
Here is my final trio of thank you cards. The layers on the back card are all adhered direct. On the two front cards the centre and outer rectangles are popped up on dimensionals and the centre one is adhered direct. A few small die cut leaves were added along the base of one of the cards.
Thanks for stopping by.
Sara xx
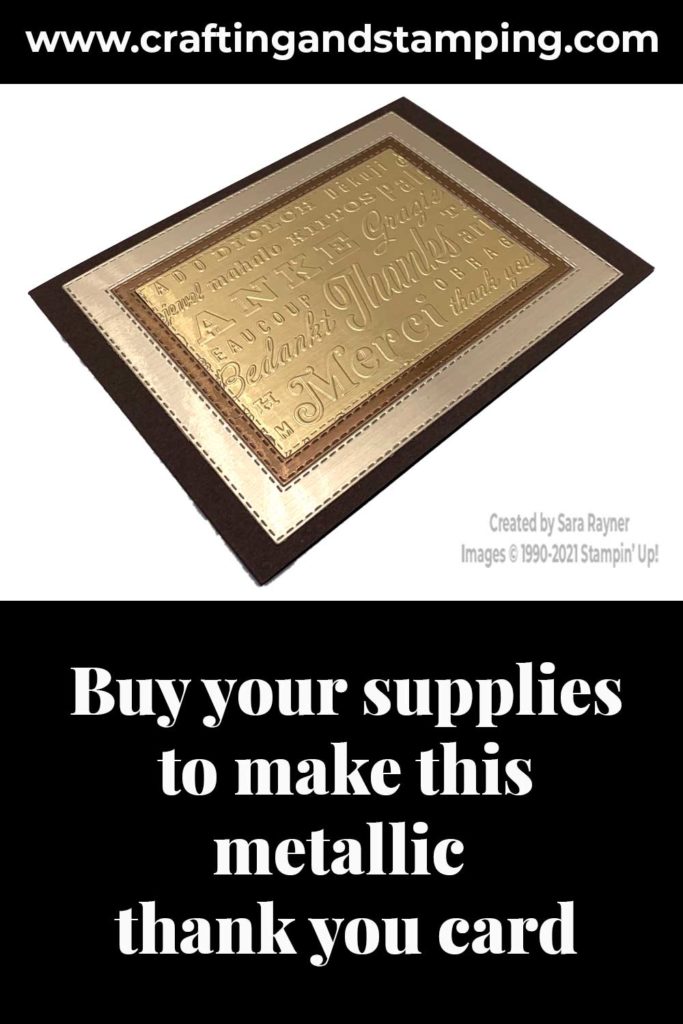
Buy the supplies for this metallic thank you card in my online shop.


0 Comments